Delicious Disney Chocolate Chip Cookies
Have you ever taken a bite of a cookie and felt like you were instantly transported to a magical place? honestly, that’s how i feel every time i bake delicious disney chocolate chip cookies .
Picture this: i’m at home, the smell of warm chocolate in the air, and for a moment, i’m at disneyland, munching on a sweet treat while watching the fireworks.
Doesn’t that sound dreamy?
Well, if you’ve ever found yourself daydreaming about those amazing disney cookie recipes , you’re in for a treat. these cookies aren’t just great for dessert; they’re perfect for family gatherings or cozy evenings in.
Plus, baking cookies with kids makes for some of the best memories. you know how it is, flour flying everywhere and giggles all around.
Let's dive into the delightful world of these disney inspired treats !
Recipe Overview
First up, did you know that the classic chocolate chip cookie has a fun backstory? created in the 1930s by ruth wakefield, it became a snack everyone loves especially at the disney parks! these cookies are oh-so-popular because they embody that soft and chewy texture we all crave.
Now, if you’re looking to whip up a batch, it won’t take forever. you’re looking at about 55 minutes total 15 minutes of prep time, just 10- 12 minutes baking, and a little 30 minutes chilling for that perfect cookie texture.
Trust me, the chilling time is key! the best part? this recipe yields about 24 cookies, so you’ll have plenty to share or not! no judgment if you devour them solo.
When it comes to costs, this recipe is wallet friendly. most ingredients like flour, butter, and chocolate chips are pantry staples.
Plus, making homemade chocolate chip cookies can save you a few bucks compared to buying those fancy cookies at the store.
Key Benefits
Now, let’s talk about the wins. these delicious disney chocolate chip cookies aren’t just tasty; they also come with some great health benefits .
They give you a little pick-me-up thanks to that sugar rush, and let’s be real, sometimes you just need something sweet to brighten your day.
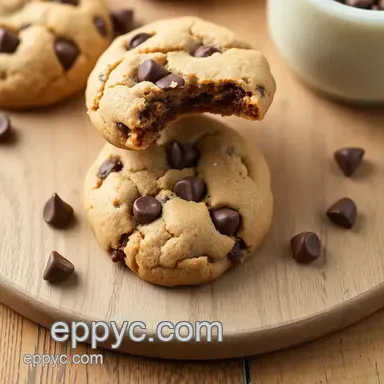
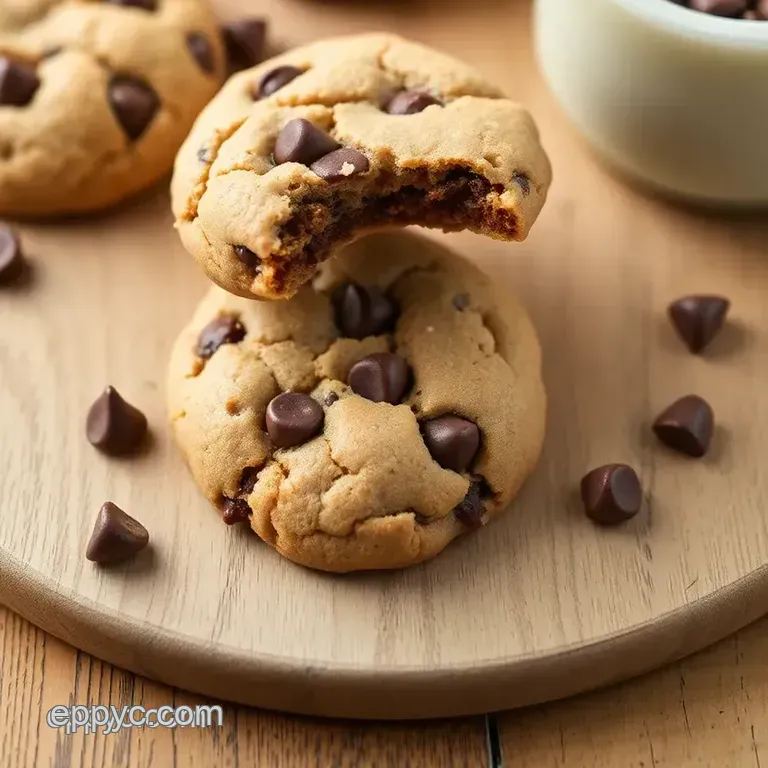
What makes these cookies special? they’re not just your average cookies; they are soft and chewy, with chunks of semi sweet chocolate melting in your mouth.
So, whether it’s a birthday, family gathering, or just a casual weeknight treat, these cookies fit right in. plus, they beat store-bought cookies any day!
Cooking with kids? oh my gosh, these cookies are perfect! kids love to mix, scoop, and, let’s be honest, taste test right out of the oven, and trust me, you’ll want to sneak a bite or two, too.
Plus, the recipe is super easy to follow. you won’t need any fancy skills here.
If you’re worried about allergies, there are plenty of cookie variations and substitutions to make this recipe work for you.
Think nut-free, gluten-free, or even vegan options! you can adjust it how you want without losing that magical flavor.
But hold on, I know you’re itching to find out how to make this wonder. Let’s jump into the ingredient list so you can start baking your own batch of magical cookies !
The Essential Ingredients Guide for Awesome Baking
Baking is a magical experience, like whipping up a spell in your kitchen. when it comes to creations that tug at your heartstrings and deliver that perfect bit of nostalgia, nothing beats a classic chocolate chip cookie recipe .
Before we dive into baking those delicious disney chocolate chip cookies , we need to chat about what makes your cookies fantastic.
The right ingredients totally separate the good from the best chocolate chip cookies .
Premium Core Components
First up, let’s talk measurements. you gotta have a clear idea here: 2 1/4 cups (280 g) of all-purpose flour is essential to create that delightful dough.
Don’t skimp! and for those who roll with the fancy stuff, you can use metric measurements too . always check the labels for quality.
Look for unsalted butter that's creamy and smooth trust me, it's worth it. it leads to that soft and chewy cookie we all dream about!
Storage is also crucial . keep your flour in a cool, dark place. it should last around six to eight months if stored correctly.
And for your baking soda? make sure it’s fresh. otherwise, your cookies might not rise like they should. here's a pro tip: grab a new box every few months for the best results.
Signature Seasoning Blend
Speaking of essential ingredients, let’s get funky with seasonings. you may think a simple cookie is just flour, sugar, and butter, but oh, there's a whole world of flavor waiting! instead of just salt, consider using sea salt for that gourmet touch.
And don’t forget the magic of vanilla extract. two teaspoons of that stuff will take your cookies from meh to yum!
You can also play with herbs and flavors. how about trying a pinch of cinnamon? it adds a warm twist and takes your cookies up a notch.
If your palate craves something different, look into regional variations. think about using brown sugar for that richer flavor or even mixing up chocolate chip cookie flavors with nutty or minty variations for a unique twist.
Smart Substitutions
Let’s be real. sometimes you find yourself in a pinch, and you don’t have all the ingredients you need. no worries! you can use what's on hand.
Like, if you run out of butter, coconut oil works wonders too. or if you want to take it easy on the sugar, switch out granulated sugar with coconut sugar .
It’s healthier and will give your cookies a nice, caramelized finish.
Plus, those of you who have food sensitivities? there’s no need to miss out. you can easily find gluten-free cookie alternatives or even go for a vegan version by swapping in substitutes like flaxseed for eggs.
The world of cookie variations and substitutions is your oyster, my friend!
Kitchen Equipment Essentials
You can't bake without the right tools! grab your measuring cups and spoons to keep those cookie ingredients and measurements precise.
A whisk or electric mixer is key for combining those wet ingredients. don’t forget your rubber spatula for folding in those scrumptious chocolate chips!
And oh boy, let’s not overlook the baking sheets. Use parchment paper or silicone mats for the best results. You want those cookies to slide right off without any fuss.
Now, Let’s Get Cooking!
With our essential ingredients guide in mind, you’re totally ready to whip up those delicious disney chocolate chip cookies . this magical dessert is not just a treat; it's a journey back to the happiest places on earth.
Baking cookies with kids ? they'll love it just as much as you will, trust me! stay tuned for the step-by-step instructions coming right up, because the magic in your kitchen is about to happen!
Professional Cooking Method: The Magic of Baking Cookies
Have you ever taken a bite of a warm, gooey chocolate chip cookie and felt like you were transported straight to a magical place? that’s the beauty of baking, especially when we talk about those delicious disney chocolate chip cookies .
Whether you’re whipping up family favorite recipes or displaying disney inspired treats, mastering the professional cooking method can elevate your cookie game to new heights.
Let's dive in!
Essential Preparation Steps
Alright, first things first. if you want to bake cookies like a pro, you need to nail your mise en place .
Sounds fancy? it’s just a french term that means having all your ingredients prepped and ready. measure out your 2 1/4 cups of flour , whisk together the dry stuff, and have your 2 cups of chocolate chips waiting.
Trust me, it saves time and stress once the mixing starts.
Time management tips are crucial, too. preheat the oven to 350° f ( 175° c) while you mix your dough.
It'll save you some precious time later. speaking of time, don’t forget about cookie dough chilling time ! letting that dough chill for 30 minutes before baking not only helps with flavor but makes for softer, chewier cookies.
Next, let’s chat about organization. keep everything within arm's reach, from your measuring cups to the spatula. it’s all about flow, baby.
And hey, safety considerations are key. wash your hands, keep surfaces clean, and be wary of hot oven racks. we’re here for a good time, not a burnt finger!
step-by-step Process
Now for the fun part. Let’s break it down into simple instructions. Following these steps ensures you bake the best chocolate chip cookies every single time:
- Preheat your oven to 350° F ( 175° C) .
- Combine dry ingredients : Whisk 2 1/4 cups of flour , 1/2 teaspoon baking soda , and 1 teaspoon salt in a bowl.
- In a separate bowl, cream 1 cup of softened butter , 3/4 cup granulated sugar , 3/4 cup brown sugar , and 1 teaspoon vanilla until smooth.
- Beat in the eggs : Add 2 eggs , one at a time, mixing well.
- Gradually mix in the dry ingredients.
- Fold in chocolate chips : Time for the good stuff!
- Chill that dough : Cover it and toss it in the fridge for 30 minutes .
- Scoop out and shape into rounds on a lined baking sheet, leaving 2 inches apart .
- Bake for 10- 12 minutes until they’re golden around the edges and soft in the middle.
- Let cool on the sheet for 5 minutes , then move to a wire rack to cool completely.
Expert Techniques
Baking cookies is an art, and here’s where you can really shine. one critical step: don’t over mix your dough. mix just until combined for that soft and chewy texture we all crave.
Also, always check for doneness! those cookies might look a bit undercooked when you pull them but trust me, they’ll firm up as they cool.
For quality checkpoints, make a note of your baking time. if you’re at higher altitudes, you may need to adjust.
And if your cookies spread too much, next time, try chilling the dough longer to firm it up.
Success Strategies
We’ve all been there baking mistakes that can make you want to toss your apron aside! common mistakes to avoid include not measuring flour correctly or using cold butter.
Sounds simple, but these can change your cookie game. you want to make sure your cookies come out perfect every time, right?
For quality assurance , use quality chocolate chips. seriously, don’t skimp here. it makes all the difference! explore cookie variations and substitutions too.
Swap half the chocolate chips for nuts or try different flavors.
If you’re short on time, these cookies can be a perfect make-ahead option. you can always freeze the dough! just scoop them into rounds, freeze on a baking sheet, then transfer to a bag.
Pull them out whenever the cookie craving hits!
It’s a Wrap!
Before you dive into baking your own batch of disney cookie recipe magic, remember these techniques! the world of cookie making is vast and so much fun, especially when you can craft classic chocolate chip cookie recipes that everyone loves.
Whether you’re baking with kids or just indulging in a cozy night in, cookies can take you anywhere.
Next up, I'll share some additional information to help you keep that cookie loving spirit alive. Happy baking!
Additional Recipe Information
Baking cookies is like casting a spell in the kitchen, a bit of magic that fills your home with warmth and sweetness.
These delicious disney chocolate chip cookies are not just treats; they're moments to cherish. let's dive into some tips and tricks to enhance your baking experience, making it delightful for you and everyone you share these cookies with.
After all, it’s not just about eating cookies; it’s about enjoying the journey!
Pro Tips & Secrets
Oh, here’s where the baking magic happens ! one of my favorite secrets? chill your cookie dough! seriously, popping it in the fridge for at least 30 minutes can elevate your cookies from good to legendary .
This simple step helps them hold their shape and intensifies the flavors, giving you those soft and chewy cookies that are just unbeatable.
While we're at it, another trick is to use a mix of chocolate chips . throw in some dark chocolate chips with the semi sweet ones for a flavor party in your mouth.
Plus, don’t skimp on that vanilla extract it brings everything together!
Perfect Presentation
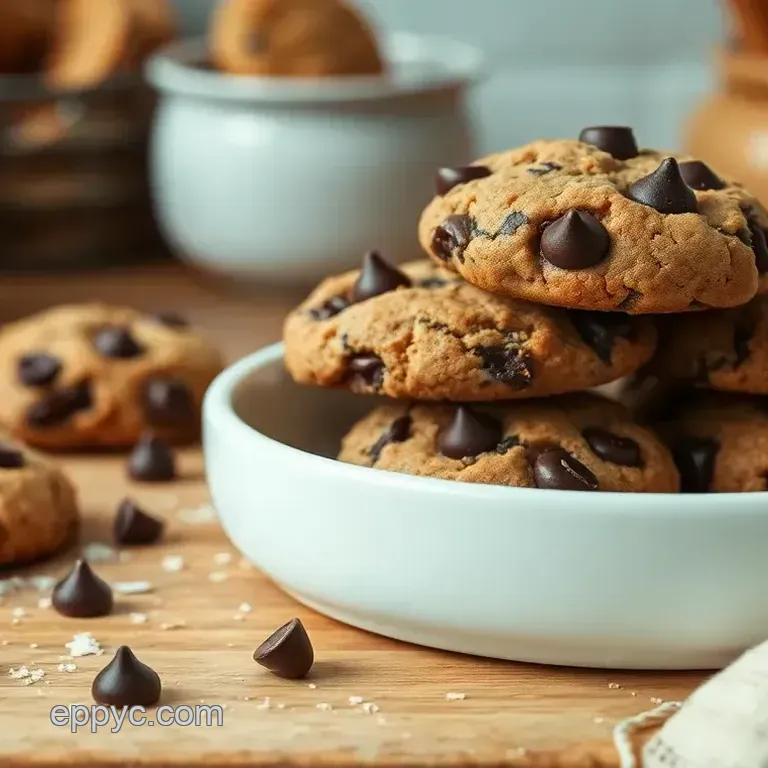
Now, let's talk plating . the way you present your cookies can make a big impression! once they cool down, place a stack of 2-3 cookies on a cute cake stand or a rustic wooden board.
This gives that cozy, homemade vibe!
For garnish , consider sprinkling just a touch of sea salt on top. it sounds fancy and is a total game changer for flavor contrast.
And don’t forget color! pair those delightful golden cookies with a rich brown chocolate drizzle or some colorful sprinkles to make them feel even more magical.
Storage & make-ahead
Want to bake your cookies ahead of time? trust me, i’ve been there and it’s a total lifesaver! you can keep them in an airtight container at room temperature for about 1 week .
If you're looking to keep them even longer, toss them in the freezer. just make sure to let the cookies cool completely first, then store them in freezer bags.
They can last up to 3 months with that frosty magic!
When it’s cookie time, just take them out and let them sit for a bit. if you want that fresh from-the-oven taste, pop them in the oven for a few minutes to warm up.
Creative Variations
Tired of the same old classic chocolate chip cookie recipe ? let’s shake things up! you can make nutty chocolate chip variations by tossing in some chopped nuts.
Or how about flourless chocolate cookies ? swap the wheat flour for a nut butter, and voilà, you’ve got a gluten-free delight!
Feeling fruity? you can add dried cranberries or cherries to the dough for a sweet twist. don’t forget about seasonal treats too imagine these cookies with a sprinkle of pumpkin spice in the fall or a dash of peppermint extract during the holidays.
Complete Nutrition Guide
Tracking your cookie intake? I get it! For those mindful of their treats, here’s a quick breakdown per cookie:
- Calories: About 150
- Fat: 8 g
- Protein: 2 g
- Carbs: 20 g
These little bites can be a source of joy without the guilt, especially if you opt for allergy friendly alternatives or vegan chocolate chip cookies .
Just remember, moderation is key (even with the best chocolate chip cookies out there).
Expert FAQ Solutions
Got questions? You’re not alone! Some common ones include:
Why did my cookies spread out too much? That could be due to warm butter. Make sure it's softened, not melted.
How do I store my cookies? Use airtight containers or freeze them for later!
Why did my cookies turn out hard? Overbaking can do that. Keep an eye on those golden edges!
Wrapping It Up
So, whether you’re baking with your kiddos or just craving that disney style nostalgia, these delicious disney chocolate chip cookies are sure to brighten your day.
Trust me, the joy of homemade treats, especially when they taste like the beloved snacks from disney parks, is totally worth it.
Now grab your mixing bowl and get ready to bake up some magical memories! happy baking!
Bake Delicious Disney Chocolate Chip Cookies