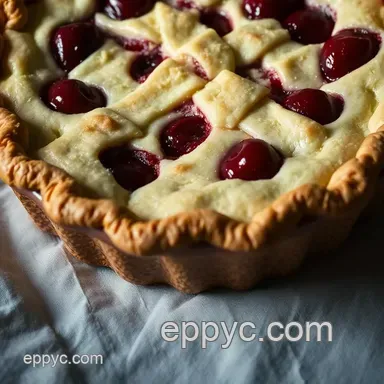
Classic Cherry Pie with a Flaky Crust
- Let’s look into into a Slice of Nostalgia: Cherry Pie
- Essential Ingredients Guide: Master Your Cherry Pie Adventure
- Mastering the Art of Professional Cooking: Cherry Pie Edition
- Pro Tips & Secrets to Perfect Your Pie
- Perfect Presentation
- Storage & Make-Ahead
- Creative Variations
- Complete Nutrition Guide
- Frequently Asked Questions
- 📝 Recipe Card
Let’s look into into a Slice of Nostalgia: Cherry Pie
Oh my gosh! remember those summer days when nothing beat a classic dessert? for me, cherry pie brings back warm memories of backyard barbecues and family gatherings.
As a kid, i always wondered, “how does grandma make that buttery crust so flaky?” well, after many trials and a couple of pie disasters (we’ll get to that!), i’ve learned the ropes.
If you’re looking for the best cherry pie recipe , you’ve hit the jackpot!
The Sweet Story Behind Cherry Pie
Did you know that cherry pie is as american as baseball and apple pie? dating back to the early settlers, it was a way to use fresh cherries.
Nowadays, cherry pie filling makes life a whole lot easier with its canned varieties. but nothing beats homemade cherry pie ! seriously, just picture it: a hot, bubbling pie fresh out of the oven, filling your kitchen with that amazing aroma.
It’s all the rage at summer picnics and holiday tables. this easy cherry pie has the charm to make anyone’s taste buds wake up and sing!
How to Conquer This Classic Recipe
Getting into cherry pie baking might sound daunting, but trust me, it's not rocket science. it takes about 30 minutes to prep and about 45- 50 minutes to bake.
If you're like me and sometimes need a bit of chill time, let the crust set in the fridge for an hour.
It’s a medium level recipe perfect for anyone who's got some baking basics under their belt.
Worried about costs? Relax. A cherry pie typically runs a little under $15 to make, and it serves 8 people . Perfect for family gatherings, right?
Why You’ll Love This Cherry Pie
Here’s what i adore about this cherry pie recipe: it's packed with deliciousness and health benefits. cherries are loaded with antioxidants, making this classic dessert a tiny bit healthier than you might expect.
Yes, fresh cherry desserts can be good for you! plus, with every slice, you’re creating memories and nostalgia in baking.
Need an excuse to whip up this pie? how about fourth of july, thanksgiving, or even a casual sunday dinner? you know everybody loves a slice served with a scoop of vanilla ice cream it’s a match made in dessert heaven.
Bake Like a Pro with These Tips
Okay, let’s chat pie baking tips. first off, keep your butter cold . i can’t stress this enough. the colder your butter, the flakier your crust.
When you’re mixing, don’t overwork the dough nobody wants a tough pie crust! seriously, just mix until it’s holding together. plus, if you let your pie cool completely before serving, you’ll get those perfect slices!
And don’t forget the egg wash! brushing a little egg and milk over your crust can make it look stunningly golden.
Want to elevate the flavor? sprinkle a pinch of cinnamon in the cherry filling. it’s a game changer!
Wrap Up with Ingredient Magic
Now that you’re all pumped about making your own cherry pie, let’s go over what you’ll need before you step into the kitchen.
You’ll be working with some basic ingredients, but trust me, fresh is always key! get those juicy cherries, a bit of sugar, and of course, the buttery pie crust to start creating your summer slice!
With the right ingredients, tips, and a sprinkle of love, you’re going to conquer that cherry pie like a pro.
Ready to jump in? let’s gather those ingredients and get ready to bake up some smiles!
Essential Ingredients Guide: Master Your Cherry Pie Adventure
When it comes to making the best cherry pie , few things matter more than knowing your ingredients. we've all been there standing in the grocery aisle, staring at a bunch of options.
Fear not! i’ve got your back with this essential ingredients guide to help you nail your cherry pie recipe !
Premium Core Components
First off, let’s chat about the premium ingredients . Here’s the lowdown on what you need:
For the crust:
- 2 ½ cups (320 g) all-purpose flour: Look for that fine, powdery goodness.
- 1 cup (227 g) unsalted butter, chilled and cubed: Seriously, keep it super cold for that flaky texture!
For the filling:
- 4 cups (600 g) fresh or frozen pitted cherries: Make sure they smell sweet! If you’re using fresh, look for plump, firm cherries. For frozen, check that they’re from the last harvest.
- 1 cup (200 g) granulated sugar: It’s the magic that brings out those cherry flavors.
- ¼ cup (30 g) cornstarch: This helps thicken that gooey filling without being noticeable.
Storage guidelines: your key ingredients will last about 6-12 months in the pantry. keep cherries, whether fresh or frozen, in good condition.
Fresh cherries last only a week, while frozen can last up to a year if kept airtight!
Signature Seasoning Blend
Now for that signature touch. when you're thinking of spices, let’s keep it simple. a little nutmeg can go a long way in a cherry filling, especially in the cooler months! and what about a spritz of lemon juice ? it balances out that sweetness beautifully.
Herbs may not be top of mind for pie, but honestly, think classics like a hint of mint nestled in your dessert plate!
Smart Substitutions
Okay, let’s move on to some smart substitutions . Sometimes life happens, and that’s where these come in handy:
- No butter? Use coconut oil instead for a dairy-free twist!
- Not a cherry fan? You can swap in blueberries or mixed berries for an equally delicious pie. Break out those cherry dessert ideas and get creative!
- Out of granulated sugar? Use brown sugar to add a lovely caramel flavor to your pie.
And for those last minute panics if you're out of cornstarch or just want to get experimental, try using arrowroot powder or even instant tapioca. These alternatives work wonders in thickening your filling!
Kitchen Equipment Essentials
Let’s chat about some must have tools . You don’t want to be rummaging around when the pie craving hits:
- Mixing bowls (you’ll need those!)
- A solid rolling pin for your buttery pie crust —make sure it's smooth!
- A 9 inch pie dish: It's like the stage for your cherry pie drama!
- A baking sheet (to catch any potential drips).
Pro Tip: Wrap that crust dough tightly and chill in the fridge for at least an hour ; it’ll make a world of difference. Seriously, don't skip this step!
Closing Thoughts Before We Bake
Now you're armed with knowledge about everything from ingredient quality to kitchen gadgets. making a classic cherry pie is more than just following a recipe; it's about the experience and trust me, nothing smells better than cherries baking slowly in the oven.
You’re not just creating a pie; you're diving into nostalgia in baking each slice can bring back memories of summer family gatherings, accidentally spilling cherry juice on your grandma’s tablecloth, or enjoying a slice late at night while binging on your favorite show.
Ready to roll up those sleeves? Up next, let’s get into the step-by-step instructions for preparing that homemade cherry pie of your dreams!
Mastering the Art of Professional Cooking: Cherry Pie Edition
When you think of american desserts, the classic cherry pie has to come to mind. there's nothing quite like a slice of homemade cherry pie to make your taste buds do a happy dance.
But before you dive into pie-making, let’s talk about professional cooking methods that can take your cherry pie from easy cherry pie to the best cherry pie recipe out there.
Essential Prep Steps: Getting Your Game Face On
First off, you gotta nail that mise en place . this fancy french term just means you should gather all your ingredients before you start.
Get those fresh cherries prepped, and have your flour, sugar, and butter ready to go. trust me, no one wants to be fumbling around for stuff halfway through making a pie!
Time management tips are crucial, too. i like to set a timer while prepping and baking to keep myself on track.
You really want your pie crust to rest while you prep the filling; chill it for 1 hour for the prettiest, flakiest crust!
Next up is organization strategies . clean as you go, or you’ll end up with a mess that’ll make you question your life choices.
And oh, let's not forget safety considerations . handle those sharp knives with care when pitting your cherries, and don’t be a hero make sure your counter is clean to avoid any unwanted trips to the er.
Step-by-step Process: Just Follow the Numbers
Baking a cherry pie isn’t rocket science, but it helps to follow clear steps. Here’s a simplified guide:
Prepare the Dough:
- Combine 2 ½ cups flour, 1 tsp salt, and 1 tsp sugar. Cut in 1 cup of chilled butter until it looks like coarse crumbs. Gradually add 6-8 tbsp of ice water.
Make the Filling:
- Toss 4 cups of cherries with 1 cup sugar, ¼ cup cornstarch, 1 tbsp lemon juice, and a pinch of salt. Let that sit and thicken.
Roll Out the Dough:
- Roll out your dough to fit a 9 inch pie dish . Make sure to handle it gently for a tender, flaky crust.
Assemble and Bake:
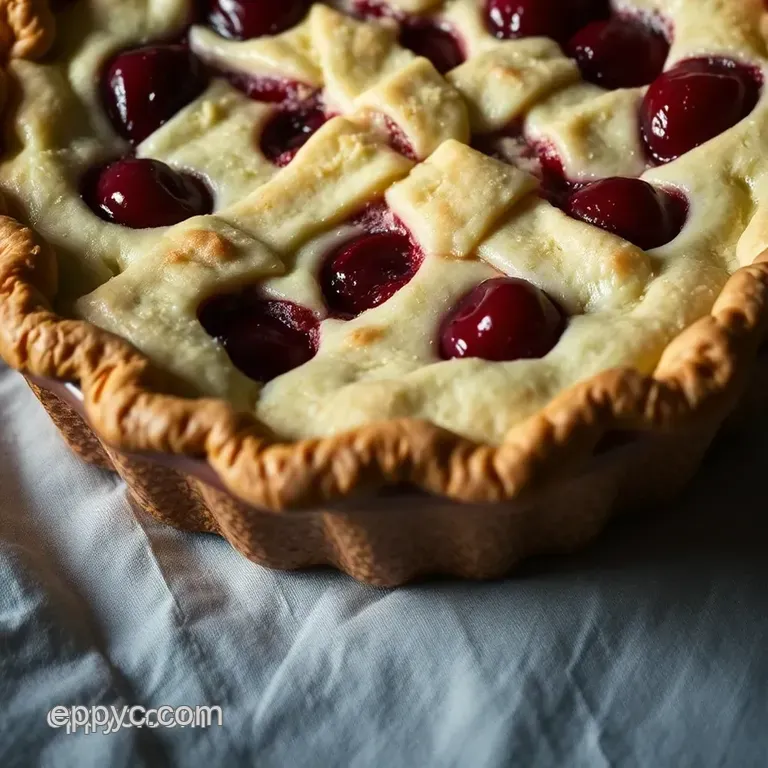
- Pour that juicy cherry filling into your crust. If you're feeling fancy, create a lattice top with the second dough. Bake in a preheated oven at 425° F ( 220° C) for 45- 50 minutes .
Timing precision is key here! You'll know it's done when the filling is bubbly and the crust looks golden brown.
Expert Techniques: The Secret Sauce
So, you want that pie to be restaurant quality? Here’s where the expert techniques come into play.
First off, check for quality checkpoints the cherries should be ripe, and that crust should feel like heaven when you take a bite.
Don’t skip the egg wash; it gives that glorious shiny finish.
And here’s a troubleshooting tip: if the crust is browning too fast, cover the edges with foil. You want even cooking without the crust burning!
Success Strategies: Avoid Those Oops Moments
Now, let’s talk about some common pitfalls. one mistake is overmixing the dough keep it gentle to avoid toughness. another is not chilling your ingredients.
Keep that butter cold and mix until just combined to ensure a buttery pie crust that melts in your mouth.
For quality assurance , allow the pie to cool completely before slicing. This helps your cherry pie filling to thicken. Trust me; no one wants runny pie!
If you want to plan ahead, consider make-ahead options like prepping the crust and filling the day before. That way, you can save yourself some hassle on busy days when you want to whip up an easy cherry pie!
Now, it's time to feast on your delicious creation! grab some ice cream for that perfect pairing if you're feeling adventurous.
Vanilla or even a scoop of cherry sorbet could elevate your dessert game to a whole new level.
That’s it, folks! with some practice and these pie baking tips , you’ll be serving up those nostalgic slices of homemade cherry pie in no time.
Stay tuned for additional information and remember baking is all about having fun and creating sweet memories!
Pro Tips & Secrets to Perfect Your Pie
When it comes to baking the best cherry pie , i've learned a few tricks along the way that make all the difference.
First and foremost, don't skip chilling your butter! :) you want it to be super cold when you mix it into your flour.
That’s the secret sauce to a buttery pie crust that flake like crazy. also, i like to use ice water rather than just cold water.
Helps with that extra flakiness!
Want to save time? here’s a time saver: while your crust is chilling, go ahead and prepare your cherry pie filling.
Combine your pitted cherries, sugar, cornstarch, lemon juice, and those flavor boosters like vanilla and almond extract in a bowl.
It not only makes things quicker later but gives the cherries time to release their juices and really hang out with the other ingredients.
Now, let's chat flavors. if you want to jazz things up, throw in a pinch of nutmeg or cinnamon to the filling.
Trust me, that little hint of spice makes your pie feel like a hug during those chilly nights. presenting your pie is as important as the taste! brush that egg wash over the crust before it hits the oven for the golden glow.
It’ll look so good, you might impress your grandma.
Perfect Presentation
Now, we know we eat with our eyes first! so let's talk plating techniques . once your cherry pie is cooled and ready, serve it up on a pretty plate.
For garnish, consider fresh mint leaves or a dusting of powdered sugar for that wow factor .
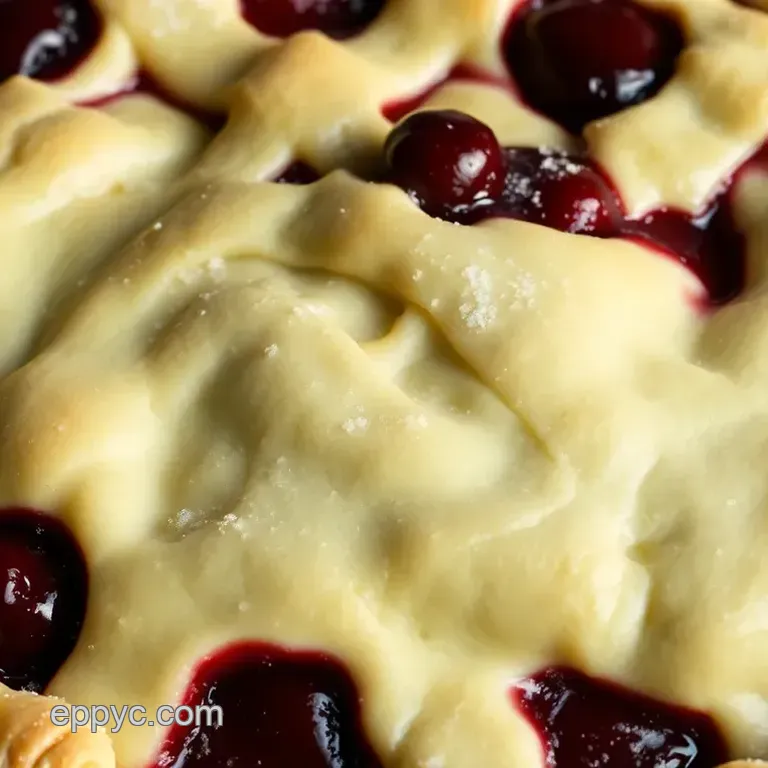
Color combinations are also important. the deep red of the cherry pie filling paired with a golden crust just screams summer, don’t you think? and align your pie slices neatly on the plate next to a scoop of vanilla ice cream.
Honestly, it’s not just about flavor; you want your dessert to look good enough to pop on instagram!
Storage & make-ahead
If you’re like me and can’t get enough of this homemade cherry pie , you might be wondering about storage.
Once it’s cooled, you can keep it covered in the fridge for about 3 to 5 days . if you want to keep it longer, wrap it well in plastic and then foil for the freezer.
It can last up to 4 months frozen. reheat it in the oven, wrapped in foil, at 350° f until warmed through.
It’s like a little slice of summer nostalgia, even in the dead of winter!
Creative Variations
Let your creativity shine! you can mix up the classic with these cherry pie variations . try swapping out a portion of the cherries for blueberries or raspberries for a fun twist.
Or how about a crumb topping instead of a traditional crust? that adds a delightful crunch.
If you're baking with kids or just want a quicker option, opt for a store-bought pie crust . just make sure to call it your easy cherry pie when you brag about it to friends.
And if you're feeling adventurous, explore some seasonal fruit desserts by adding rhubarb to your cherry filling for a tangy surprise!
Complete Nutrition Guide
Now, let’s get into the facts. this cherry pie recipe packs in approximately 320 calories per slice , and while that might sound indulgent, remember, we’re also getting some antioxidants from those sweet cherries!
Cherries are known for their anti inflammatory properties, and they’re pretty darn good at keeping that sweet tooth in check.
Plus, most of us could use a little extra fruit in our diet, right?
If portion control is your thing, think about slicing your pie into 8 servings . it makes it easier to share and helps balance the temptation to devour the whole thing in one sitting.
So there you have it an all-around guide to mastering the classic cherry pie recipe . whether you’re a seasoned baker or a newbie, these tips and tricks are your best friends in the kitchen.
Don’t forget the magical combo of pie and ice cream at the end; it’s simply legendary. look into into this cherry delight, share laughter with family, and create sweet memories.
After all, isn’t that the best part of baking? happy pie making, friends!
Frequently Asked Questions
What is the best way to pit cherries for a cherry pie recipe?
The best way to pit cherries is by using a cherry pitter, which removes the pit quickly and cleanly. If you don't have one, you can slice the cherry in half and remove the pit with your fingers or a small knife. Just be careful to minimize mess, as cherry juice can stain.
Can I use frozen cherries in my cherry pie recipe?
Yes, frozen cherries can be used in your cherry pie recipe! Just make sure to let them thaw and drain excess moisture before adding them to your filling. You may need to adjust the sugar and cornstarch to account for the extra liquid added from the thawing process.
How do I prevent a soggy crust in my cherry pie?
To prevent a soggy crust, make sure to pre-bake the bottom crust for around 10 minutes before adding the filling. Additionally, using a thickener like cornstarch or flour can help absorb some of the juices from the cherries, keeping the bottom crust crisp.
Finally, ensure your filling isn’t overly watery before pouring it into the crust.
What are some good variations to try with this cherry pie recipe?
You can try various delicious variations with this cherry pie recipe! Consider mixing in other berries like blueberries or raspberries for a berry blend pie. Alternatively, switch up the topping by using a crumb topping instead of a traditional crust for a different texture and flavor.
How should I store leftover cherry pie?
Store leftover cherry pie in the refrigerator, tightly wrapped or in an airtight container to maintain freshness. It can last for about 3-4 days. If you prefer, you can also freeze slices of the pie; just ensure they are well wrapped to avoid freezer burn and consume within 2-3 months for the best flavor.
Is there a healthier way to make cherry pie?
Yes, you can make a healthier cherry pie by using whole wheat flour for the crust and reducing the sugar in the filling. Consider using natural sweeteners like honey or maple syrup instead of granulated sugar. You can also add in some ground oats or nuts to the crust for added fiber and nutrients.
Classic Cherry Pie With A Flaky Crust