Crispy Rice Flour Substitute Waffles
- Your Essential Ingredients Guide to Waffles and More!
- Cooking Like a Pro: Mastering the Art of Waffles
- Pro Tips & Secrets for Crispy Rice Flour Substitute Waffles
- Perfect Presentation for Your Waffles
- Storage & Make-Ahead Tips
- Creative Variations to Try
- Complete Nutrition Guide
- Expert FAQ Solutions
- In Conclusion
- 📝 Recipe Card
If i had a nickel for every time i tried to whip up gluten-free waffles that turned out soggy or just plain sad, i'd probably have enough to buy a brand new waffle maker.
Seriously, i remember my first attempt i ended up with a gooey mess that barely resembled breakfast. but don’t worry, friends! after countless kitchen flops and a few minor disasters, i landed on a game changer: crispy rice flour substitute waffles .
If you're on a gluten-free journey or just looking to switch things up, this recipe is all you need.
These waffles offer more than just a fluffy bite; they’re a celebration of creativity in the kitchen. you can say goodbye to those bland, gluten-free options that leave your tastebuds aching for something better.
I promise you, once you give these bad boys a go, you’ll never look at breakfast the same way again.
Recipe Overview
Let’s start with a bit of history. waffles have been around since the middle ages, but they took on a life of their own in the u.
S., where we love to stack them high with toppings. fast forward to now, where gluten-free is more than just a trend; it’s a way of life for many.
This waffle recipe is rooted in that evolution. it uses rice flour substitutes that not only meet dietary needs but also add a delightful textural twist.
Wondering about time? you’ll need about 35 minutes from start to final syrup drizzling. and honestly, it’s easy. if you can mix batter, you can master these waffles.
Plus, they’re doable on any weekday morning or for those lazy weekend brunches. and better yet, they won’t break the bank; you can whip up a batch for around $5.
Key Benefits
Now, let me hit you with the good stuff. first, let’s chat about the health benefits . these waffles are generally lower in calories compared to traditional ones, perfect for those counting calories or watching their carbs.
Exchange cow’s milk for a plant based option for a dairy-free twist. the rice flour benefits are real offering a nutty flavor without any gluten baggage.
And let me tell you, whether you're hosting a brunch or just want to impress your family at breakfast, these waffles are the way to go.
They’re a hit in every household i know! you can easily jazz them up with toppings like fruit, yogurt, or a drizzle of maple syrup.
On top of that, they’re an excellent choice for special occasions or just a lazy sunday; who doesn’t love waking up to the smell of warm waffles?
What makes these waffles stand out from others? for starters, we’re talking about that crispy exterior with a soft inside.
Most gluten-free recipes fall flat on this front, but with the right combo of ingredients like cornstarch for crispiness , you're on a flavor highway.
Plus, they’re super versatile you can toss in a spoonful of pumpkin puree for fall vibes or switch things up with sweet potato if you’re feeling adventurous (hello, sweet potato waffles !).
If you're itching to know how to get started with these easy gluten-free recipes , we’re about to dive into the ingredients section. Gather your measuring cups, and let’s get cooking!
Your Essential Ingredients Guide to Waffles and More!
Oh my gosh! if you’re looking to whip up some mouthwatering gluten-free waffles, you’ve hit the jackpot. let’s dive into the essentials that’ll make your cooking experience smooth and your meals fabulous.
Believe me, having a solid handle on your essential ingredients is a game changer, whether you're all about those crispy waffles or exploring healthy brunch ideas .
Premium Core Components
First off, let’s talk ingredients . It’s key to know what you’re dealing with. Here’s the lowdown:
Measurements : Get familiar with both US and metric . For example, if you need 1 cup of flour, that’s about 120g . Easy peasy!
Quality Indicators : Always look for fresh ingredients. Check for vibrant colors and good smells. If it looks or smells off, it probably is!
Storage Guidelines : Most flours need a cool, dark place. But did you know that rice flour can last for months in an airtight container? Just keep it dry!
Freshness Tips : When picking herbs, go for softer ones. They should feel fresh and smell awesome. If they’re wilting, skip ‘em!
Signature Seasoning Blend
Now that we have our essentials, let’s jazz things up with signature seasonings . You know those spices that can really elevate your dish?
Essential Spice Combinations : Think about nutmeg and cinnamon for your waffles. Perfection!
Herb Selections : Pair fresh basil with sweet waffles for a quirky twist or sprinkle some chili flakes for a bit of kick.
Flavor Enhancers : Try adding a splash of vanilla or a hint of almond extract to your waffle batter for that nutty flavor in baking.
Regional Variations : Feeling adventurous? Use pumpkin spice during fall. It's like a cozy hug on a plate!
Smart Substitutions
Okay, sometimes you just don’t have everything you need on hand. No biggie!
Common Alternatives : Need a rice flour substitute ? Try oat flour or even almond flour! They work like a charm. Perfect for those easy gluten-free recipes .
Dietary Modifications : Want to go dairy-free? Swap out regular milk for almond or coconut! No one’s gonna miss it in your plant based waffle recipe .
Emergency Replacements : If you’re out of eggs, no worries! Use unsweetened applesauce 1/4 cup will do!
Seasonal Options : Grab some fresh fruits when they’re in season. They not only taste better but also make your breakfast colorful!
Kitchen Equipment Essentials
You can have the best ingredients in the world, but without the right tools, it’s harder to shine.
Must Have Tools : A waffle iron is a must! Make sure it's good quality. You’ll also need mixing bowls, a whisk, and measuring cups.
Alternative Equipment Options : If you don’t have a waffle iron, try a pancake skillet! Waffle shaped pancakes can still bring joy.
Preparation Tips : Always preheat your waffle iron trust me, it makes such a difference!
Storage Solutions : Store your tools neatly. A clutter free kitchen makes cooking more enjoyable.
Alright, my friend! now that we’ve covered the essentials, let’s jump into making those crispy waffles . follow these steps, and soon you’ll be enjoying a delightful breakfast that’s not only satisfying but also showcases how baking with rice flour substitutes can be fun and tasty.
Ready, set, let’s cook!
Cooking Like a Pro: Mastering the Art of Waffles
So, you’re ready to take your cooking skills up a notch, huh? that’s awesome! today, let’s chat about professional cooking methods in a way that makes it super easy for anyone to follow.
And trust me, once you get these down, you’ll be whipping up everything from gluten-free waffles to brunch favorites like a pro.
Essential Preparation Steps
First things first, let’s talk mise en place . this fancy french term just means everything in its place! before you start mixing, lay out all your ingredients.
It speeds things up and keeps you from running around like a headless chicken looking for that last cup of flour.
Now here’s a hot tip on time management : read the entire recipe before you start. Seriously, nothing’s worse than realizing you’re missing an ingredient when you’re already knee deep in cooking!
Being organized is key. Use bowls for dry and wet ingredients. And keep your workspace clean. You want to enjoy making that crispy waffle, not spend your morning cleaning up a mess!
Safety is crucial too. if you’re using a hot waffle iron, be careful. those plates can get up to 400° f ! always keep a towel handy to move it comfortably, and don’t forget to unplug it after you’re done! safety first, people.
Step-by-step Process
Alright, now that we’re prepped, let’s dive into the recipe! Here's how you whip up those crispy rice flour substitute waffles .
- Preheat that waffle iron based on the manufacturer’s directions. It should usually reach around 350° F .
- Combine your dry ingredients: gluten-free flour, cornstarch (which gives that incredible crispiness!), baking powder, salt, and sugar in a bowl. Whisk them together until they’re one big happy family.
- In a separate bowl, whisk your wet goodies: egg, milk (or your favorite plant based milk), vegetable oil, and vanilla extract until it’s smooth.
- Now, pour the wet stuff into the dry mix. Stir gently. Overmixing is a no-go if you want fluffy waffles.
- Grease that hot waffle iron lightly (I use spray oil), pour in about ½ cup of batter, and shut the lid.
- Cook until those beauties are golden brown and crispy. Usually, that’s about 5- 7 minutes , but keep an eye on them.
- Repeat for the rest, and voilá! You’ve got yourself a pile of mouth watering waffles.
Expert Techniques
Okay, here’s where we level up. if you want to impress your friends, consider adding a tablespoon of melted butter to your batter for an extra crispy texture.
You know, just enough to make ’em go, "whoa, these are amazing!"
Quality checkpoints are all about the look and feel. Make sure that golden brown color is consistent across your waffles. Trust your instincts and adjust accordingly they're your waffles after all!
If you run into issues, like waffles sticking, don't panic. Just adjust the oil, or even try a different gluten-free flour option like oat or almond flour .
Success Strategies
Let’s wrap things up with some success strategies. Here are common mistakes to avoid:
- Don’t crowd the waffle iron with too much batter. Only fill it halfway !
- Always test a small amount first to see how quickly it cooks.
- If they come out soggy, you may not have preheated your iron enough. You want that crispy outer layer!
For assurance, taste one before serving. You’ll get a sense of whether they need more sweetness or spices.
And don’t forget, you can make-ahead options . Waffles freeze beautifully. Just pop them in an airtight container once they cool. When you’re hungry, just toast them up!
In conclusion, whether you’re eyeing those sweet potato waffles or trying the pumpkin spice variety , the key takeaway is to have fun in the kitchen.
The joy really is in experimenting with flavors, and let’s be honest, who doesn’t want a delicious dairy-free breakfast idea that everyone will adore?
Additional Information
Ready to dive even deeper? don’t worry; i’ve got plenty of tips and tricks up my sleeve! whether it’s exploring waffle iron techniques or that perfect gluten-free mix, we’ll make sure you’re armed with everything you need to create a phenomenal breakfast feast.
Happy cooking!
Pro Tips & Secrets for Crispy Rice Flour Substitute Waffles
Oh my gosh, if you're looking to whip up some crispy gluten-free waffles , you've come to the right place! these waffles have been perfected through trial and error, and trust me, i’ve had my fair share of kitchen mishaps.
Here are some chef approved secrets to take your waffle game to the next level!
First things first, for that ideal crispiness, add cornstarch to your batter. this little secret could turn your waffles from "meh" to "heck yeah!" it’s key for that wonderful texture we all crave.
And speaking of texture, don’t overmix your batter. you want to fold gently when combining wet and dry ingredients. overmixing can deflate those bubbles, leading to sad, dense waffles all that hard work for nothing!
Another time saving tip? if your waffle iron has a timer, use it! get a feel for how long it takes to achieve that golden brown result.
Usually, it's around 5- 7 minutes for perfection. pro tip: don’t stack the waffles after cooking; let them cool on a wire rack.
This keeps them nice and crispy instead of turning them into a soggy mess.
Perfect Presentation for Your Waffles
Let’s talk about how to make these waffles look as good as they taste. you know we eat with our eyes first! plating is super easy.
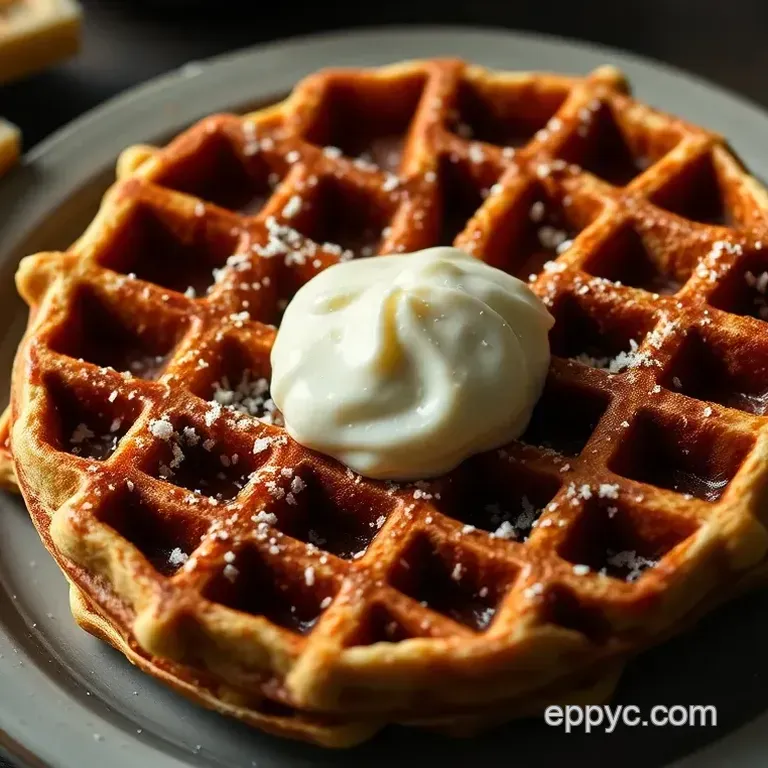
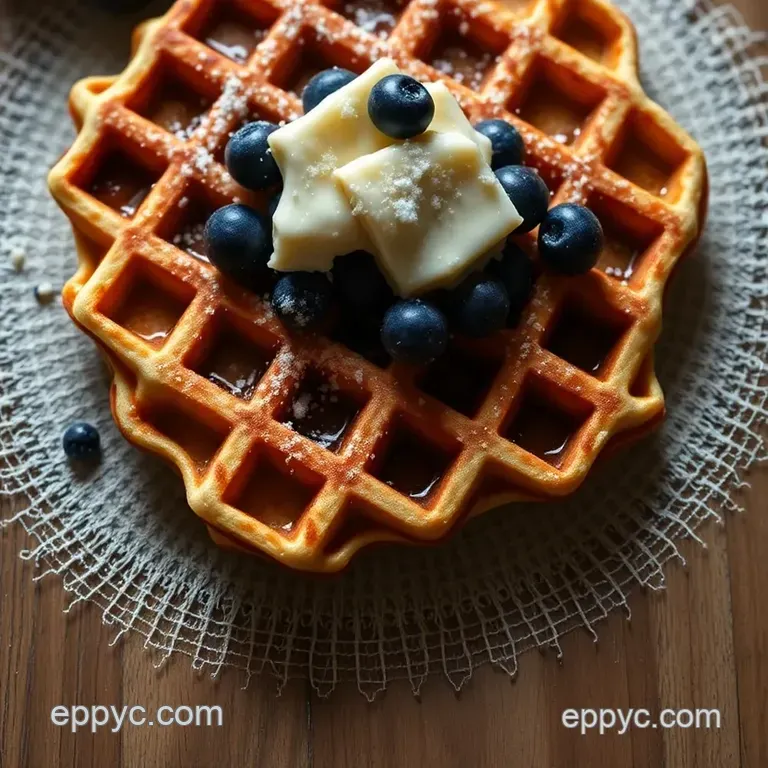
Stack two waffles on a plate, drizzle with maple syrup, and heap some fresh berries on top. you could also go for a sprinkle of powdered sugar for that classic diner vibe.
Want to impress your brunch buddies? layer the waffles with greek yogurt and a handful of nuts for a fancy touch.
For color combos, think bright berries against the golden waffles it's a winner! you can also mix in seasonal fruits for a pop of freshness.
Storage & make-ahead Tips
Got leftover waffles? no problem! let them cool completely and then wrap them in plastic. just make sure to squeeze out the air, or they’ll get kinda funky.
These waffles can last in the fridge for about three days . if you want to keep them longer, pop them in the freezer! when you’re ready to enjoy, just reheat them in the toaster or oven.
They’ll crispen right back up!
Creative Variations to Try
Feeling adventurous? play around with rice flour alternatives like oat flour or almond flour ! you can create a whole new flavor profile and enjoy the nutty flavor in baking .
Swap half of your gluten-free flour for pumpkin puree in the autumn months for some delicious pumpkin spice waffles .
You can also go savory with your waffle game. Throw in some chopped spinach and cheese for a delightful brunch dish talk about a healthy spin! Or try an egg-free waffle alternative using unsweetened applesauce in place of the egg perfect for any vegan friends, right?
Complete Nutrition Guide
Before you dig in, let’s chat about the nutrition side. each serving of these waffles packs around 200 calories with 5g of protein .
They’re low-calorie breakfast options that are satisfyingly filling! the rice flour benefits are worth noting, too it’s gluten-free, making these waffles great for anyone avoiding gluten.
If you're on a diet, remember to control your portion sizes! These waffles can be a part of your healthy brunch ideas without throwing you off course.
Expert FAQ Solutions
So, do you have questions about this recipe? don’t worry; you’re not alone! a common one is, “what if my waffles stick?” if you’re using a non-stick iron, apply less oil and check out the manufacturer’s instructions.
They can differ, so you might need to experiment a bit!
To make it extra fun, feel free to dive into various fair weather toppings —think whipped cream, peanut butter, or even melted dark chocolate. Mix things up each time!
In Conclusion
Making crispy rice flour substitute waffles is easy, and you’ll wow everyone with your delicious creations! so go ahead, grab that waffle iron and start experimenting! and remember: cooking is about having fun and enjoying the process.
Whether you stick to the recipe or decide to get creative with a sweet potato waffle twist or a savory mix , just know you’re doing awesome.
Happy cooking!
Crispy Rice Flour Substitute Waffles

