Mix Cone 10 Black Stain for Stunning Pottery Art
- look into into the World of Pottery with Cone 10 Black Stain
- A Little History: Where This Stain Comes From
- The Look and Feel of Black Stain Pottery
- Why You Should Try It
- Ready to Get Your Hands Dirty?
- An Essential Ingredients Guide to Pottery Art
- Mix Cone 10 Black Stain for Stunning Pottery Art
- Unlocking the Magic of Mixing Cone 10 Black Stain for Pottery Art
- 📝 Recipe Card
look into into the World of Pottery with Cone 10 Black Stain
Okay, let me tell you a little story. picture it: a sunny saturday morning. i’m in my cozy home pottery studio, listening to some classic rock tunes, and i’ve got a chunk of clay just waiting to be transformed into something beautiful.
But here’s the catch i wanted rich, deep color to bring my pieces to life. that’s when i stumbled onto mix cone 10 black stain for pottery art .
Oh. my. goodness! if you want to elevate your pottery game, this recipe is a total game changer.
You know how sometimes you just stumble upon an idea that kicks your creativity into high gear? that’s exactly what happened when i started digging into pottery techniques and stumbled across this black stain recipe.
It turns out, not only is it fun to mix up, but it also gives your ceramics that gorgeous, textured finish that turns heads.
A Little History: Where This Stain Comes From
So, let’s talk a bit about the journey of this stain. black stains for pottery can be traced back centuries, but the cone 10 ceramics movement really popularized high fire stains like these.
Potters were looking for ways to enhance their work's appearance while maintaining durability, and black iron oxide popped up as a top choice.
Not only has it stood the test of time, but it’s also super relevant today. pottery art projects featuring this stain are everywhere from artisanal shops to craft fairs.
What’s fantastic about this stain is you don’t need a PhD in pottery to use it. Seriously, if you’re a beginner, you’ll find that the prep time is around 10 minutes , and while it requires some finesse, many home potters like me have managed to whip it up without breaking a sweat!
The Look and Feel of Black Stain Pottery
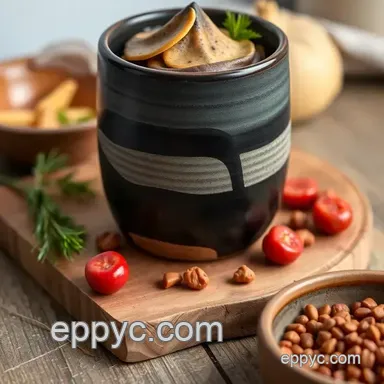
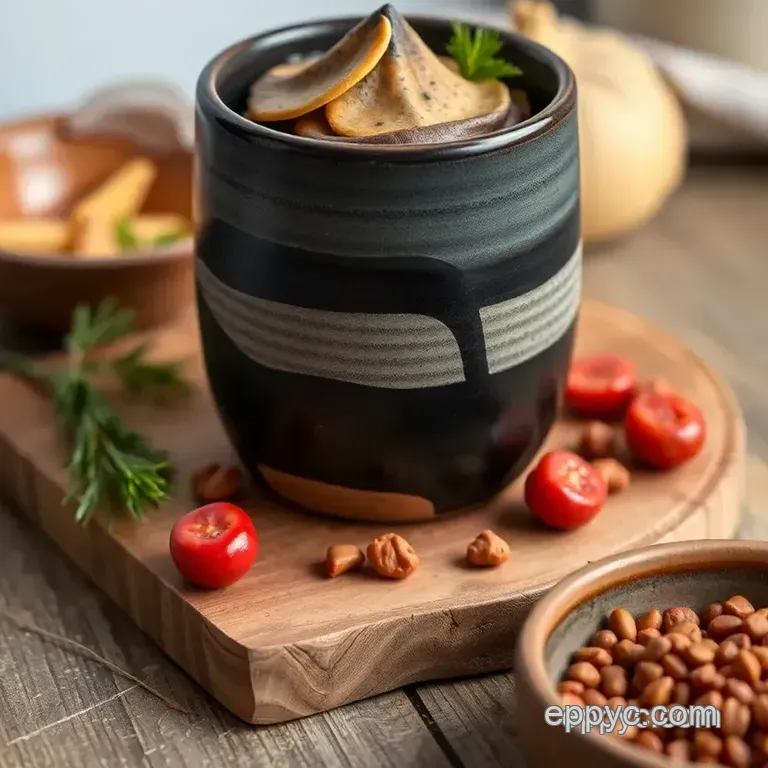
Now, let’s chat about the nitty gritty ! the yield of this mix is enough for several pottery pieces. we're not talking just a dollop of stain; we’re talking about roughly 500 grams ! and trust me, you’ll want to use it.
The versatility of this stain makes it perfect for anything from dinnerware to decorative items.
Plus, let’s not forget the cost . mixing your own stain can save you bucks in the long run compared to store-bought options.
You’re looking at just a handful of materials like black iron oxide and ball clay. it’s easy on the wallet a perfect addition to your home studio pottery setup!
Why You Should Try It
Now, here comes the juicy part: the benefits. first off, health wise , this recipe uses non-toxic materials, which is always a win for any diy lover.
The black stain gives your pottery a stunning color depth, making every piece truly unique.
Wanna know something cool? this stain works wonders on special occasions. dazzle guests at dinner parties with beautifully stained dishes or impress your family on holidays.
It’s the kind of pottery that sparks conversation and brings out those “wow” reactions.
Plus, when you compare it with other black stain recipes, this one has great application methods and makes for a smoother finish.
The viscosity in stains is just right, allowing for easy brush application no one wants streaky pottery, right?
Ready to Get Your Hands Dirty?
So, are you feeling inspired? the creative potential is just waiting for you. you can mix up this stunning mix cone 10 black stain for pottery art and dive into your next pottery venture.
Whether you're a seasoned pro or brand new to this, there’s something here for everyone. the simple act of mixing ceramics at home opens doors to new creative horizons.
Trust me, the feeling of creating your own black stain before watching it transform during firing is absolutely priceless!
Next up, let’s chat about the ingredients you’ll need to start mixing like a pro. Get that mixing bowl out I can’t wait to see what you create!
An Essential Ingredients Guide to Pottery Art
Hey there, fellow clay ensoiast! let’s talk about something that can level up your pottery game: mixing those high fire stains ! today, i’ll introduce you to the essential ingredients you need, particularly focusing on mix cone 10 black stain for pottery art .
Trust me, once you’ve got this down, your ceramics will practically pop with color.
Premium Core Components
First, let’s get into the nitty gritty of the premium core components . When mixing your black stain, you’ll need some basic things on hand, and here’s the breakdown with measurements:
- 250 grams (8.8 oz) of Black Iron Oxide : This is our star performer! It’s essential for that deep, rich color.
- 250 grams (8.8 oz) of Ball Clay : It adds workability and helps bind everything together.
- Flux Material : Between 0-200 grams (up to 7 oz). I often use Gerstley Borate, but Nepheline Syenite works like a charm too. This helps the stain melt during firing.
- 300-500 grams (10.6-17.6 oz) of water : This is where you adjust to get that perfect consistency!
Oh, and don’t forget about quality indicators ! Always opt for high-quality black iron oxide and ball clay. Poor quality can lead to uneven staining.
Storage and Freshness Tips
Once you've mixed that glorious black stain, keep it in an airtight container . with proper storage, it can last months.
If it starts to dry out, just add water slowly until it reaches the right consistency again. and trust me, checking your supplies often saves a lot of hassle down the line!
Signature Seasoning Blend
Now, let’s chat about signature seasoning blends ! Much like cooking, the right spices can transform your pottery. Think of your black stain like seasoning; it’s all about the combinations.
You might mix in some other colors for a unique look. for instance, a hint of black copper oxide can create an interesting variation.
Playing with different flux materials can also give you various textures and finishes.
Smart Substitutions
Sometimes you just don't have what you need at home, right? so, here come the smart substitutions ! no ball clay? kaolin clay to the rescue! if black iron oxide is nowhere to be found, reach for manganese dioxide instead.
And for flux options, soda feldspar can step up when gerstley borate is mia. it's all about that creative workaround.
Kitchen Equipment Essentials
In the world of pottery, your kitchen equipment essentials differ just a tad from the culinary ones. You’ll need a:
- Mixing bowl : Perfect for blending your ingredients.
- Scale : Precision is key here, folks.
- Rubber gloves : Nobody wants stained hands!
- Stirring stick or paddle : For thorough mixing, duh!
- Spray bottle : Handy for adjusting water consistency without overdoing it.
Let’s Talk Technique
Okay, here’s where the magic happens. when it comes to application methods, remember, viscosity matters! you want your mix to be brush-on, not runny.
This is where your patience pays off. test your stain on smaller pieces first to check how it reacts post firing.
Oh, and be sure to let it cure for at least 24 hours before you hit that kiln!
DIY Pottery Stains
I can tell you from experience; mixing your own diy pottery stains opens a world of creative pottery ideas . it feels personal, like you're putting a bit of your soul into each piece.
Whether you're a beginner or a seasoned potter, have fun experimenting with textures and shades!
Now that you’ve got the lowdown on mixing ceramic colors, let's dive into the instructions. I promise, it’ll be a blast!
Mix Cone 10 Black Stain for Stunning Pottery Art
Oh my gosh, if you're diving into the world of pottery, you’ve hit a creative jackpot with this mix cone 10 black stain for pottery art! it’s intense, it’s bold, and trust me, it will totally elevate your pieces.
Whether you’re a newbie or a pottery pro, this black stain is about to be your best friend. so, let’s jump in!
Essential Preparation Steps
Before you get your hands dirty, i gotta stress the importance of mise en place that's just a fancy way of saying “everything in its place!” gather your materials: 250 grams of black iron oxide , 250 grams of ball clay , and your flux of choice (you know, like gerstley borate).
Have those gloves handy, too trust me, you'll thank me later!
Next, master your time management . mixing this stain is only gonna take around 10 minutes . it's all about being efficient.
Focus on the task at hand so you’re not rushing later.
Organization is key in any kitchen or studio. i like to line up all my ingredients and tools before starting, so there’s no chaos.
And hey, don’t forget about safety! wear gloves when handling powders because no one likes stained hands (or clothes).
step-by-step Process
Alright, here’s the game plan, folks. Follow these steps to nail it:
Prepare the Work Area:
- Cover surfaces with newspapers or an old tablecloth. Pottery stains can be sneaky!
Measure Ingredients:
- Grab that scale and weigh out 250 grams of Black Iron Oxide and the Ball Clay . If you’re unsure about the flux, start with 100 grams .
Combine Dry Ingredients:
- Toss those dry ingredients into your mixing bowl and give it a good stir until everything is mixed well.
Add Water Gradually:
- Here’s where we get a bit messy! Start adding in 300-500 grams of water —keep an eye on the consistency. You want it smooth but thick enough to stick.
Test Consistency:
- Now, take a bit and brush it on a test piece. It should glide easily without being drippy.
Store Properly:
- Pop that stain into an airtight container and label it with the date. You’ve got to keep track of your creations!
Expert Techniques
Now onto the juicy pro tips!
Always remember your quality checkpoints . before applying that gorgeous black stain, do a visual check . is it the right goal? test a small area first! it’s better to catch mistakes early than end up with regret later.
And if things aren’t going how you planned, just take a breather. keep a log of what you mixed! if you’re not sure how some black iron oxide behaves, practice mixing smaller batches until you've mastered it.
It’s all about trial and error, my friends.
Success Strategies
Let’s chat about success. Common mistakes? Not measuring properly can ruin your fab pottery project, so be precise!
Also, give your stain some time to cure for at least 24 hours before firing. this step is essential for achieving that rich black color depth when you pop it in the kiln! you’ll be amazed at how powerful this can be.
If you’re a planner like me, consider making your stains in advance. you can also mix ahead of time; just make sure to check that water consistency when you’re ready to use it.
That’s it! you've got all the deets on mixing cone 10 black stain . this stain not only adds character to your pieces but helps explore various pottery techniques and ceramic coloration .
Feel free to experiment and have fun with it because that’s what pottery art projects are about!
And there you have it! With your high fire stains ready to rock, it’s time to take your creativity to the next level.
For more exciting insights into pottery and tips on perfecting your skills, stay tuned for our Additional Information section, where we dive into even more cool techniques. Happy potting!
Unlocking the Magic of Mixing Cone 10 Black Stain for Pottery Art
If you’ve been diving into the world of pottery, you might have noticed how color and texture can transform your pieces.
Seriously, just like that old saying, "it ain't what you got, it's how you use it!" and let me tell you, mixing your own cone 10 black stain can be a game changer for your pottery artistry.
Stick with me, and let’s explore some tips and tricks that’ll make your hands dirty in the best way possible!
Pro Tips & Secrets
So, let’s get real. Mixing ceramic stains can be a bit temperamental if it’s your first rodeo. Here’s what I’ve learned over the years:
Precision is Key : Use a scale to measure your ingredients carefully. You wouldn’t want to end up with a puddle instead of a paste, right?
Don’t Rush : Take your time adding water. Aim for a consistency that's smooth like peanut butter, but not too runny.
Give It Time : Allow your mixed stain to sit for about 24 hours. This gives it time to cure , and trust me, the color depth will shine after firing!
Presentation matters : before you dive into a big project, test your stain's colors on small pieces. it’ll help you avoid surprises when you're looking to highlight those textures in your pottery art projects .
Perfect Presentation
Okay, now that your stain is all set, let’s chat about how to make your pieces pop!
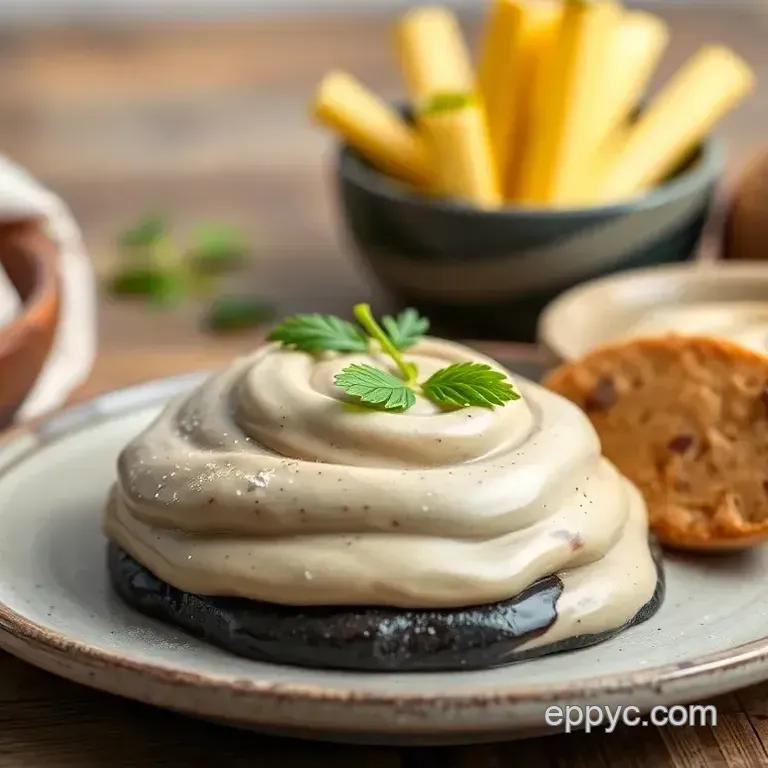
Plating Techniques : Think of your pottery like a canvas. Place your pots against vibrant backgrounds for an artistic display. Natural wood or bright fabric can do wonders.
Garnish Ideas : Consider incorporating some flowers or herbs in your pottery. A rustic vase can look even better when it’s hosting fresh blooms!
Color Combinations : Pair that stunning black iron oxide finish with some color glazes. A pop of color can contrast beautifully against the deep black stain.
Visual Appeal : Lighting plays a huge role too. Natural light can highlight those rich textures and contours.
Storage & make-ahead
Once you’ve mastered your stain, storing it right is key:
Seal It Up : Use an airtight container. I always label it with the date and proportions used it helps to keep you organized.
Don’t Skip the Fridge : Keeping it cool can prolong its life. I've found that a quick chill can keep the freshness longer.
Reheating the Magic : If your stain thickens, add a little water and give it a good stir. It can be just as good as new!
Freshness Duration : Generally, you want to use your mixed stain within a month for the best results.
Creative Variations
Sick of the same black? Let’s tweak that recipe a bit! Here are some ideas:
Flavor Adaptations : Try using Black Copper Oxide if you’re looking for a slightly different hue.
Dietary Modifications : Interested in experimenting? Swap out the ball clay for kaolin if you need a finer texture.
Seasonal Twists : Just like seasonal lattes at Starbucks, your pottery can change with the seasons! Use different stains for fall colors or bright pastels for spring.
Regional Variations : Take a page from local pottery traditions; explore the use of regional clays and mineral sources that give unique effects.
Complete Nutrition Guide
Now, I know what you're thinking nutrition? This ain't a food blog! But let's think metaphorically:
Health Benefits : Those who use non-toxic materials, like black iron oxide, can feel great about what they make.
Dietary Considerations : Always consider what materials you’re working with, especially if you want to create kid-friendly pieces!
Portion Guidance : When mixing, always prepare a little more than you think you’ll need. It’s better to have some extra for touch ups.
Expert FAQ Solutions
Stuck on something? Here are some common questions I get:
Why did my stain not turn out as expected? Ensure your measurements were precise. It happens to the best of us!
What if the stain is too thick? Just gradually mix in a bit more water.
How do I enhance the finish? Consider buffing with a soft cloth after firing for a glossy look.
Conclusion: Embrace Your Creative Journey
Mixing cone 10 black stain for pottery art may seem a bit daunting at first, but i promise, it’s worth it! with the right approach, tools, and a sprinkle of creativity, you can create pieces that tell a story.
Each pottery piece is a reflection of your journey, so let your unique style shine through!
Whether you’re just starting out or a pro in your home studio, i hope you find joy in creating and experimenting.
So get that clay on your hands and unlock the magic of black ceramic coloration today!
Mix Cone 10 Black Stain For Pottery Art