Moist Chocolate Sheet Cake Recipe
- Time: Active 15 minutes, Passive 20 minutes, Total 35 minutes
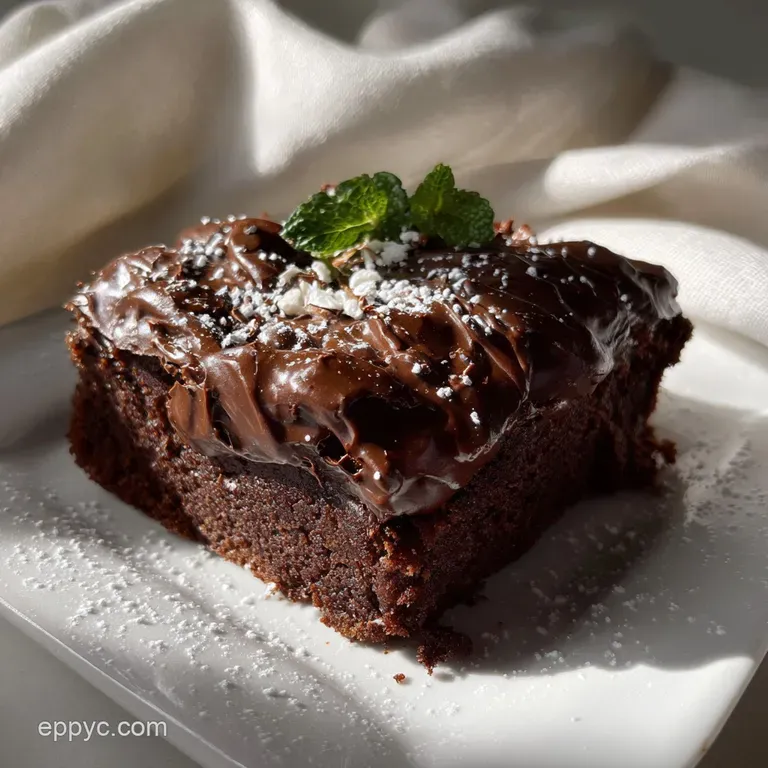
- Flavor/Texture Hook: Fudgy, silk like crumb with a crackling, sweet glaze
- Perfect for: Large family gatherings, potlucks, or busy weeknights
- How to Bake Easy Chocolate Sheet Cake
- Physics of a Fudgy Crumb
- Precision Timing and Temperature Metrics
- Pantry Staples for Superior Texture
- Simple Gear for Better Results
- Practical Methods for Rapid Baking
- Resolving Common Textural Disasters
- Smart Ingredient Swaps and Flavors
- Saving Leftovers and Reducing Waste
- Visual Styling for Maximum Impact
- Recipe FAQs
- 📝 Recipe Card
Can you hear that faint hiss? That's the sound of boiling water hitting a mixture of rich cocoa and creamy butter. If you have ever felt defeated by a dry, crumbly sponge or frustrated by the time it takes to frost a layer cake, this chocolate sheet cake is your digital age solution.
It’s the ultimate "one pan wonder" that delivers a professional result with heart felt simplicity.
I remember the first time I made this for a massive neighborhood block party. I was terrified it would be too simple, but the tray was polished clean within ten minutes. There is something about the way the warm icing seeps just slightly into the top layer of the cake, creating a fudge like boundary that is impossible to resist.
It’s not just a dessert, it’s a reliable tool in your culinary arsenal.
Right then, let's crack on. We are focusing on efficiency here. You don't need a heavy stand mixer or hours of chilling time. We are going to use basic thermodynamics to empower your baking.
Trust me on this: once you see how the "hot pour" method works, you will never go back to traditional buttercream for a sheet cake again.
How to Bake Easy Chocolate Sheet Cake
Physics of a Fudgy Crumb
Cocoa Blooming: Adding boiling water to the cocoa powder dissolves the solids and releases trapped flavor volatiles. This process, known as "blooming," ensures the chocolate sheet cake has a deep, resonant profile rather than a flat, dusty taste.
Chemical Leavening: The reaction between the acidic buttermilk and the alkaline baking soda produces immediate carbon dioxide bubbles. These bubbles are trapped by the gluten structure of the King Arthur All Purpose Flour, creating a light lift that offsets the heavy fat content.
Starch Gelatinization: Using boiling liquid partially cooks the flour starch before it even hits the oven. This creates a more stable, moist structure that holds onto water molecules, preventing the cake from drying out as it cools.
Fat Suspension: Melting the Kerrygold Butter instead of creaming it means the fat coats the flour proteins more thoroughly. This limits gluten development, resulting in a tender, "short" crumb that feels velvety on the tongue.
Emulsification: The large eggs act as the bridge between the water based liquids and the fats. This creates a smooth batter that won't separate, ensuring every bite of your chocolate sheet cake has a consistent density.
Precision Timing and Temperature Metrics
| Component | Metric | Why It Matters |
|---|---|---|
| Oven Temp | 350°F (175°C) | Balances the rise with the setting of the crumb |
| Butter State | Fully Melted | Ensures even distribution without air pockets |
| Liquid Temp | 212°F (Boiling) | Essential for blooming cocoa and gelatinizing starch |
Pantry Staples for Superior Texture
For this chocolate sheet cake, using specific ingredients makes a massive difference. I always reach for King Arthur All Purpose Flour because the protein count is consistent, which is vital for that specific sheet cake texture.
- 2 cups King Arthur All Purpose Flour: Provides the structural backbone.
- Substitute: 1:1 gluten-free flour blend. Why this? Balanced protein content ensures a tender but sturdy crumb.
- 2 cups Granulated Sugar: Sweetens and tenderizes by holding moisture.
- Substitute: Light brown sugar. Why this? Sugar interferes with gluten to keep the cake soft.
- 0.5 tsp Diamond Crystal Kosher Salt: Sharpens the chocolate notes.
- Substitute: Fine sea salt. Why this? Salt balances the high sugar content for a complex flavor.
- 1 cup Kerrygold Unsalted Butter: Provides richness and a silky mouthfeel.
- Substitute: high-quality margarine. Why this? Butter adds superior flavor compared to oil based cakes.
- 0.25 cup Unsweetened Cocoa Powder: The heart of the chocolate flavor.
- Substitute: Dutch process cocoa. Why this? Natural cocoa reacts better with the baking soda.
- 1 cup Boiling Water: Blooms the cocoa and hydrates the flour.
- Substitute: Strong hot coffee. Why this? Heat is required to unlock the chocolate's potential.
- 0.5 cup Buttermilk: Adds tang and activates the leavening.
- Substitute: 0.5 cup milk + 1.5 tsp lemon juice. Why this? Acidity is the engine that makes the cake rise.
- 2 Large Eggs: Room temperature for better emulsification.
- Substitute: 0.5 cup plain yogurt. Why this? Eggs provide structure and a rich golden hue.
- 1 tsp Baking Soda: The primary lifting agent.
- Substitute: 3 tsp baking powder (but texture will change). Why this? Reacts with buttermilk for a soft, airy sponge.
- 1 tsp Vanilla Extract: Rounds out the sweetness.
- Substitute: Vanilla bean paste. Why this? Enhances the aromatic qualities of the cocoa.
For the Fudgy Glaze
The glaze is a separate beast. It’s essentially a cooked fudge that sets into a thin, crackling layer. Similar to the logic in our How to Bake recipe, the temperature of the frosting relative to the cake is everything.
- 0.5 cup Kerrygold Unsalted Butter
- 0.25 cup Unsweetened Cocoa Powder
- 6 tbsp Whole Milk
- 3 cups Powdered Sugar, sifted
- 1 tsp Vanilla Extract
- 1 cup Chopped Pecans (optional)
Simple Gear for Better Results
You don't need a digital lab to make a great chocolate sheet cake, but a few specific tools make life easier. I prefer a Nordic Ware Natural Aluminum Commercial Baker's Half Sheet (18x13 inches). The aluminum conducts heat evenly, preventing those annoying burnt corners while the middle is still raw.
A sturdy Lodge Cast Iron Enamel Saucepan is perfect for melting the butter and cocoa. The heavy bottom prevents the chocolate from scorching. You'll also want a large balloon whisk to ensure no flour clumps remain.
Honestly, don't even bother with a hand mixer for the batter, a whisk gives you more control and prevents over mixing.
Practical Methods for Rapid Baking
Phase 1: Prepping the Pan and Dry Base
- Preheat your oven to 350°F (175°C). Grease your 18x13 inch sheet pan thoroughly with butter or a non stick spray. Note: This ensures the thin cake releases easily without tearing.
- Whisk the 2 cups flour, 2 cups sugar, and 0.5 tsp salt in a large mixing bowl. Make sure there are no large sugar clumps. Note: Dry mixing prevents "flour pockets" later.
Phase 2: The Stovetop Cocoa Melt
- Melt 1 cup butter in a saucepan over medium heat. Once liquid, whisk in 0.25 cup cocoa powder until smooth.
- Pour in 1 cup boiling water. Let the mixture bubble for 30 seconds, then remove from heat. The mixture should look glossy and dark.
- Combine the hot chocolate mixture with the dry flour ingredients. Whisk until just combined. The heat will start to thicken the batter slightly.
Phase 3: The Buttermilk Infusion
- Whisk together the 0.5 cup buttermilk, 2 eggs, 1 tsp baking soda, and 1 tsp vanilla in a small jug.
- Fold the buttermilk mixture into the chocolate batter. Stir until the color is uniform and the batter is smooth. Look for a thin, pourable consistency.
- Bake for 20 minutes. The cake is done when the top springs back or a toothpick comes out clean. It should smell intensely like a chocolate bar.
Phase 4: The Signature Pour Over Glaze
- Boil 0.5 cup butter, 0.25 cup cocoa, and 6 tbsp milk in a clean saucepan during the last 5 minutes of baking.
- Sift in 3 cups powdered sugar and 1 tsp vanilla once removed from heat. Whisk until velvety. Pour over the hot cake immediately. The glaze will shatter slightly once cooled.
Resolving Common Textural Disasters
Why Did My Cake Sink in the Middle?
This usually happens if the oven door is opened too early or if the baking soda is expired. The structure hasn't set, and the sudden drop in temperature causes the air bubbles to collapse.
Why Is the Frosting Grainy?
If you don't sift the powdered sugar, you'll get little white lumps. Also, if you don't whisk the sugar into the hot butter mixture quickly enough, the sugar won't dissolve properly.
| Problem | Cause | Fix | Pro Tip |
|---|---|---|---|
| Dry Crumb | Overbaked | Reduce time by 2 mins | Check at 18 minutes |
| Bubbles on Top | Over whisking | Tap pan on counter | Use a gentle hand whisk |
| Greasy Surface | Butter separated | Whisk better during melt | Add water slowly to butter |
Smart Ingredient Swaps and Flavors
Sometimes you need to pivot based on what's in the cupboard. This chocolate sheet cake is forgiving, but some swaps will change the "vibe" of the dish.
| Original Ingredient | Substitute | Why It Works |
|---|---|---|
| Buttermilk (0.5 cup) | Greek Yogurt (0.5 cup) | Provides the necessary acidity. Note: Result is slightly denser. |
| Whole Milk (6 tbsp) | Heavy Cream (6 tbsp) | Higher fat content. Note: Creates a much richer, softer glaze. |
| Pecans (1 cup) | Toasted Coconut (1 cup) | Adds texture. Note: Changes the profile to a tropical/German chocolate style. |
If you are looking for a more decorative finish after the glaze sets, you might find inspiration in this Foolproof Cake Decorating recipe. While this cake is traditionally served plain in the pan, a few piped stars can really make it pop.
If you want X, do Y:
- Deep Espresso Flavor: Swap the boiling water for 1 cup of hot, strong brewed coffee.
- Lighter Texture: Sift the flour three times before adding it to the bowl.
- Extra Fudge: Add 0.5 cup of semi sweet chocolate chips to the batter at the very end.
Saving Leftovers and Reducing Waste
Storage: Keep the cake in the pan, covered tightly with plastic wrap or a lid. It stays fresh at room temperature for up to 3 days. In the fridge, it will last 5 days, though the cold can dull the chocolate flavor slightly.
Freezing: This cake freezes beautifully. Cut into squares and wrap each in parchment paper, then foil. It stays perfect for up to 3 months. To reheat, just let it sit at room temperature for an hour.
Zero Waste: If you have leftover crumbs or broken pieces, don't throw them away. Mash them up with a little extra frosting to make cake balls, or layer them with whipped cream and berries for a quick trifle.
If you have leftover buttermilk from the carton, use it to soak chicken for frying or make a batch of pancakes the next morning.
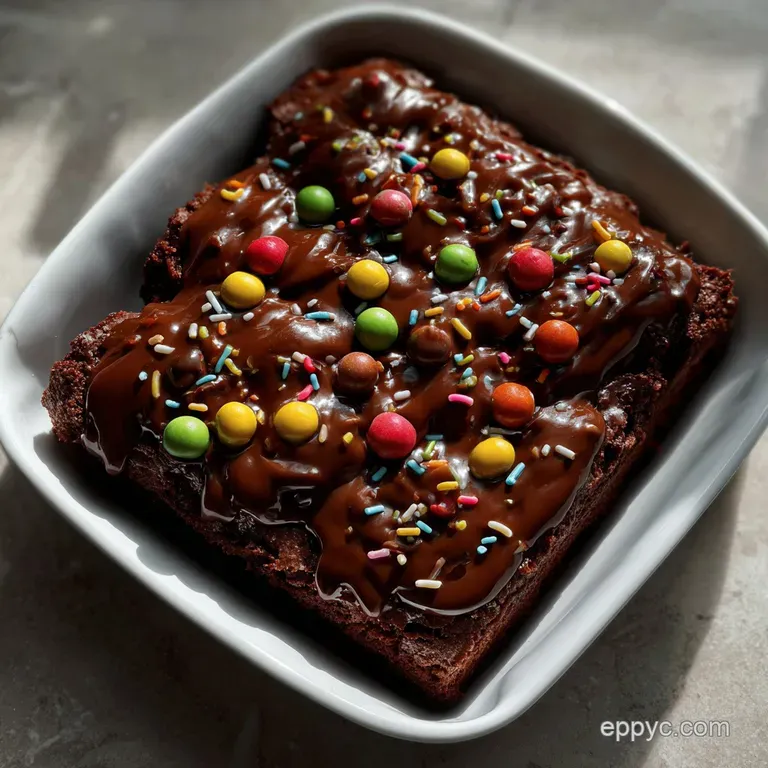
Visual Styling for Maximum Impact
While this is a humble sheet cake, the way you cut it matters. Use a hot, clean knife to get those sharp, professional edges. Wipe the knife between every single cut. This prevents the fudge glaze from smearing across the dark sponge.
If you aren't using nuts, a sprinkle of flaky sea salt (like Maldon) over the wet glaze adds a beautiful crystalline look and cuts through the sweetness. It turns a "potluck" cake into something that looks like it came from a high end bistro.
Chef's Tip: Freeze your butter for 10 minutes before starting the glaze. Grating it into the saucepan helps it melt instantly and evenly, preventing the milk from overheating before the fat is incorporated.
By focusing on these heart felt details and utilizing the digital precision of your kitchen scale, you'll produce a chocolate sheet cake that rivals any bakery. It’s about empowering yourself to use simple tools for extraordinary results. Happy baking!

Recipe FAQs
Can I substitute oil for the melted butter in the cake batter?
No, a change is not recommended. Melting the butter specifically helps create a short, velvety crumb by coating the flour proteins thoroughly, which limits gluten formation. Using oil changes the fat structure too much, likely resulting in a spongier, less fudgy texture.
How critical is using boiling water for the cocoa powder?
Yes, it is absolutely critical. Boiling water is necessary to "bloom" the cocoa, dissolving the solids and releasing deep flavor volatiles trapped within the cocoa particles. If you skip this step, the cake will taste flat and dusty, not rich.
Can this sheet cake be baked ahead of time?
Yes, it is actually better if you wait. The recipe summary suggests glazing the cake up to 24 hours before serving for the best texture, as the warm icing has time to seep in perfectly. If you are looking for another dessert that benefits from chilling, check out the recipe for Divine Tres Leches Cake: A Juicy and Easy Recipe for Your Family.
What causes the top glaze to crackle instead of remaining smooth?
The crackle is intentional and desired. When the hot, sugary glaze hits the slightly cooler cake, the sugar crystallizes rapidly as it sets, creating that signature thin, crackling shell. This contrast in texture is what makes the stovetop glaze so appealing.
My batter looked extremely thin; did I miss an ingredient?
No, that thinness is correct for this style. Because this recipe relies on melted fat and the hot water pour rather than creaming butter and sugar the batter should be thin and very pourable before baking. If you are fascinated by how liquids and fats interact, mastering this emulsification is key, much like when preparing a rich sauce for seafood like our Easy Homemade Crab Cakes: My Family's Favorite Recipe.
What is the best way to ensure the cake releases cleanly from the sheet pan?
Thorough greasing is essential, followed by immediate cooling. Grease the pan well, and bake on a light colored aluminum pan for even heat. Because the cake is thin, it needs gentle handling upon removal.
Can I use Dutch process cocoa powder instead of natural cocoa?
No, stick with natural cocoa powder for this recipe. Natural cocoa reacts strongly with the baking soda, providing a significant portion of the lift needed for this tender structure. Dutch process cocoa is neutralized and won't provide the necessary chemical reaction.
Moist Chocolate Sheet Cake

Ingredients:
Instructions:
Nutrition Facts:
| Calories | 284 kcal |
|---|---|
| Protein | 2.6 g |
| Fat | 13.2 g |
| Carbs | 41.5 g |
| Fiber | 0.8 g |
| Sugar | 32.8 g |
| Sodium | 128 mg |
