Perfect Hard Boiled Eggs: Easy Peel
- Time: Active 2 min, Passive 23 min, Total 25 min
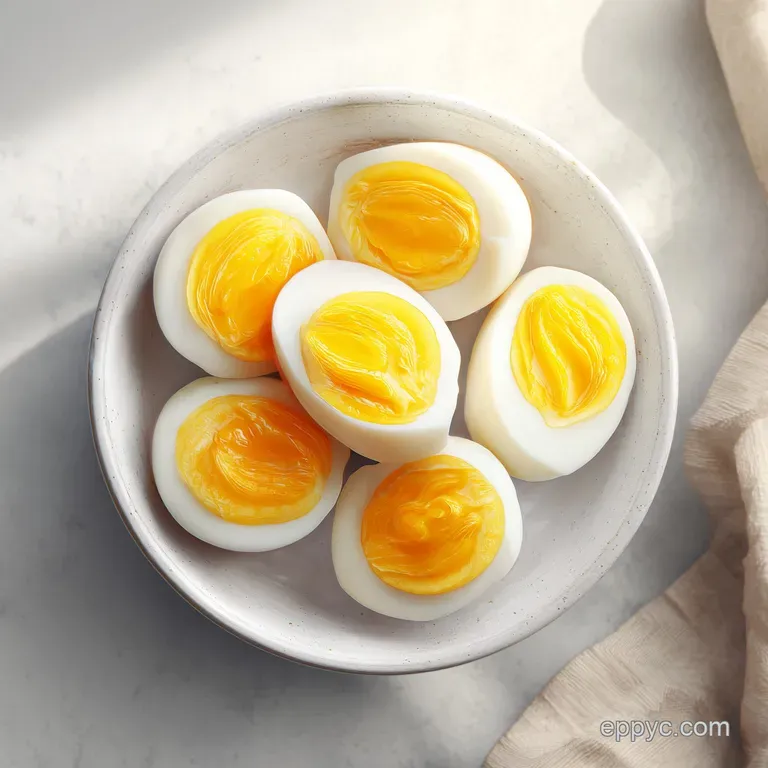
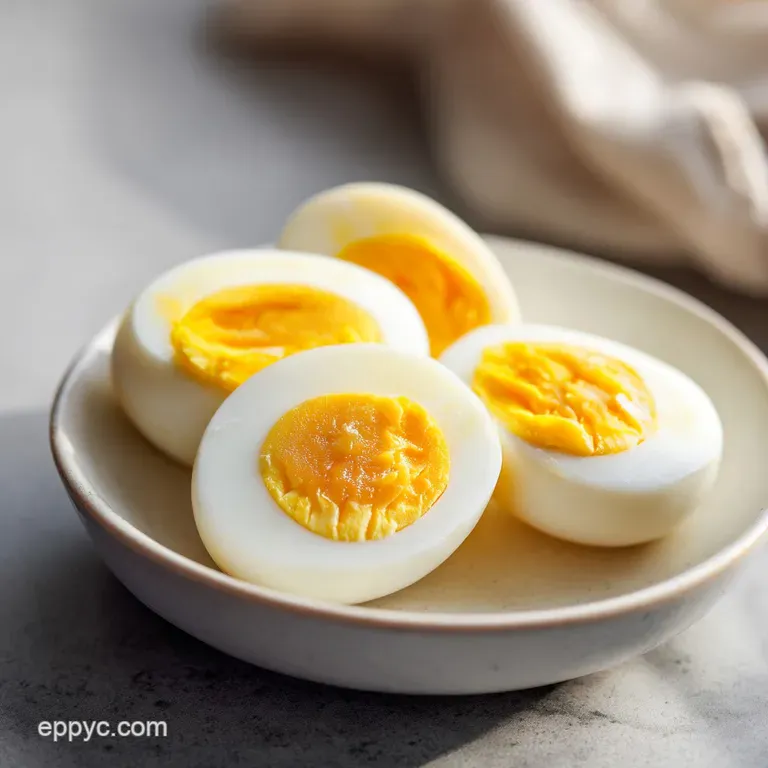
- Flavor/Texture Hook: Velvety yolks with a snappy, tender white
- Perfect for: High protein meal prep and holiday appetizer bases
- The Science of Membrane Separation
- Component Analysis for Better Eggs
- Essential Ingredients and Smart Substitutes
- Step by Step Kitchen Instructions
- Solving Common Egg Peeling Issues
- Guidelines for Scaling Your Batch
- Debunking Common Egg Preparation Myths
- Storage Strategies and Zero Waste
- Recipe FAQs
- 📝 Recipe Card
Remember that time you tried to make a big batch of deviled eggs for the family reunion, and they ended up looking like they’d been through a rock tumbler? I’ve been there.
I stood over my kitchen sink, picking tiny shards of shell off a mangled egg white, feeling my blood pressure rise with every torn crater. It’s frustrating because it feels like it should be the easiest thing in the world, yet the results are so often hit or-miss.
After that "egg pocalypse," I went into full innovator mode. I obsessed over the digital precision of water temperatures and the chemistry of the eggshell membrane. I stopped guessing and started testing every variable from altitude to alkalinity.
What I discovered changed everything: the secret isn't in the egg itself, but in how we manipulate the environment surrounding it.
We've all heard the old wives' tales about starting with cold water or using "old" eggs. Honestly, life is too short to wait for eggs to age in your fridge. We’re going to use digital tools like your phone’s timer and a reliable stovetop to create a process that works every single time, regardless of how fresh your ingredients are.
Let's crack on and master this essential kitchen skill.
The Science of Membrane Separation
Thermal Shock Protein Denaturation: Dropping cold eggs into boiling water causes the egg white proteins to seize and pull away from the shell membrane instantly. This creates a physical gap that prevents the "velcro effect" often seen with cold start methods.
The pH Factor: Adding baking soda increases the alkalinity of the water, which helps weaken the bond between the inner shell membrane and the egg white. This specifically targets the keratin in the membrane, making it brittle enough to shatter rather than tear.
Rapid Equilibrium via Ice Bath: The immediate plunge into ice water stops the carryover cooking that causes the unsightly green sulfur ring around the yolk. It also causes the egg to contract slightly within the shell, further easing the peeling process.
| Method Type | Total Time | Texture Outcome | Best For |
|---|---|---|---|
| Classic Hot Start | 25 mins | Firm whites, creamy center | Most home cooking |
| Steam Method | 20 mins | Extra tender whites | Ultra fresh farm eggs |
| Pressure Cooker | 15 mins | Very firm, uniform | Mass meal prep |
Choosing the right method depends on your available gear, but for most of us, the stovetop remains the king of consistency. If you're looking to use these for a larger spread, they pair beautifully with my Classic Deviled Eggs recipe which takes advantage of that perfectly centered yolk.
Component Analysis for Better Eggs
| Ingredient | Science Role | Pro Secret |
|---|---|---|
| 12 Large Eggs | Primary Protein | Room temperature eggs crack less when hitting hot water. |
| Baking Soda | pH Modifier | A tiny amount makes the shell "shatter" rather than peel. |
| Kosher Salt | Osmotic Pressure | Seasoning the water helps coagulate any whites if a shell leaks. |
Essential Ingredients and Smart Substitutes
- 12 large eggs: These are the gold standard for timing. Why this? Larger or smaller eggs require different digital timer settings to avoid runny centers.
- Substitute: Medium eggs (reduce cook time by 1 minute).
- 3 quarts water: Provides enough thermal mass to keep the temperature stable. Why this? Too little water drops in temp when eggs are added.
- Substitute: Filtered water if your tap water is heavily chlorinated.
- 1 teaspoon baking soda: The key to the Easy Peel Hard Boiled Eggs trick. Why this? It raises the alkalinity of the water significantly.
- Substitute: Skip it if using eggs older than 2 weeks.
- 1 tablespoon kosher salt: Helps with clean up if an egg happens to crack. Why this? Salt hastens protein coagulation in the water.
- Substitute: Sea salt or table salt (use half the amount for table salt).
- 4 cups ice: Crucial for the shock phase. Why this? You need a true 32°F environment for instant stopping.
- Substitute: Reusable ice bricks in a bowl of cold water.
step-by-step Kitchen Instructions
- Boil the water. Fill a large pot with 3 quarts of water and bring it to a rolling boil over high heat. Note: Using a large pot prevents the eggs from knocking into each other too much.
- Add the boosters. Stir in 1 teaspoon of baking soda and 1 tablespoon of kosher salt until dissolved.
- Lower the heat. Turn the burner down to a simmer before adding the eggs. Note: This prevents the eggs from hitting the bottom of the pot too hard and cracking.
- Submerge the eggs. Use a slotted spoon to gently lower 12 large eggs into the water. Checkpoint: Ensure water covers eggs by at least one inch.
- Set the timer. Increase the heat back to medium high to maintain a gentle boil and set your digital timer for exactly 23 minutes. Note: This total time includes the transition and simmering period for a fully set yolk.
- Maintain the simmer. Adjust the flame so the water is active but not violent. until you see small, steady bubbles.
- Prepare the shock. While the eggs cook, fill a large bowl with 4 cups of ice and enough cold water to create a slushy bath.
- Transfer the eggs. When the timer beeps, immediately move the eggs from the pot to the ice bath using a slotted spoon.
- Chill thoroughly. Let the eggs sit in the ice bath for at least 5 minutes until the shells feel cold to the touch.
- Crack and peel. Tap the egg on a hard surface to shatter the shell, then peel under the water or a running tap.
Solving Common Egg Peeling Issues
Why Your Eggs Have Green Rings
This is a classic case of overcooking or cooling too slowly. When the egg gets too hot for too long, the iron in the yolk reacts with the sulfur in the white, creating that unappealing grayish green circle. It doesn't affect the flavor much, but it looks terrible in a salad.
The Shell Sticks To Whites
This usually happens because the eggs were started in cold water. When the egg heats up slowly, the membrane has time to fuse to the white. Using the "hot start" method described above is the digital age solution to this analog problem.
| Problem | Root Cause | Solution |
|---|---|---|
| Rubbery Whites | High heat boil | Keep the water at a gentle simmer, not a rolling boil. |
| Off Center Yolks | Settled proteins | Stir the eggs gently during the first 2 minutes of cooking. |
| Cracking on Entry | Thermal stress | Prick the fat end of the egg with a thumb tack first. |
Common Mistakes Checklist
- ✓ Never crowd the pot; eggs should be in a single layer for even heat distribution.
- ✓ Don't skip the baking soda if you are using farm fresh eggs with low pH levels.
- ✓ Always use a digital timer; 30 seconds can be the difference between creamy and chalky.
- ✓ Let the eggs sit in the ice bath for the full 5 minutes to ensure the core temp drops.
- ✓ Peel starting from the wider end where the air pocket usually sits.
Guidelines for Scaling Your Batch
If you are cooking for a crowd, it's tempting to throw 24 eggs into the same pot. However, physics dictates that more cold objects will drop the water temperature significantly. To scale up, increase the water to 5 quarts and the salt to 1.5 tablespoons, but keep the baking soda at 1 teaspoon.
Work in batches if your pot isn't wide enough to keep the eggs in a single layer.
For a half batch (6 eggs), you can reduce the water to 1.5 quarts, but keep the cook time identical. The thermal mass of the water is what governs the timing, not the number of eggs. This is a great way to prep for a smaller portion of My Favorite Potato recipe during your weekly meal prep.
Debunking Common Egg Preparation Myths
The idea that "fresh eggs are bad for boiling" is a half truth. While older eggs have a higher pH and larger air pockets, you can achieve the same results with fresh eggs by using the alkaline boost of baking soda. We no longer have to wait for our groceries to get old to enjoy a clean peel.
Another common myth is that adding vinegar to the water makes them easier to peel. Chemistry actually tells us the opposite. Vinegar is an acid, and acids strengthen the eggshell membrane. For the easiest peel, you want an alkaline environment, which is why we use baking soda instead of vinegar.
Storage Strategies and Zero Waste
Storage: Keep your Hard Boiled Eggs in their shells in a sealed container in the fridge for up to 7 days. If you've already peeled them, submerge them in a bowl of cold water and change the water daily to keep them fresh for up to 3 days.
Do not freeze whole hard boiled eggs, as the whites become tough and watery upon thawing.
Zero Waste: Don't throw those eggshells in the trash! They are packed with calcium. I dry mine in a low oven for 10 minutes, crush them into a fine powder, and sprinkle them around my tomato plants to prevent blossom end rot. It’s a heartfelt way to give back to your garden.
If you have leftover yolks but no whites, crumble them over a bowl of ramen or use them to thicken a homemade vinaigrette for an extra hit of richness. Mastering these small loops makes your kitchen more efficient and sustainable.
If you find yourself with extra buttermilk from another project, it makes a tangy base for a dressing to go over these eggs. You can learn How to Make Buttermilk recipe right in your own kitchen to keep the cycle of self sufficiency going. Making everything from scratch might take a few extra minutes, but the quality of the final dish is incomparable.

Recipe FAQs
How long do you hard boil eggs for?
12 to 13 minutes for fully set yolks. Use the hot-start method, bringing water to a boil before adding the eggs, then simmer for 12 13 minutes, followed by an immediate ice bath.
What is the trick to making hard boiled eggs peel easily?
Add baking soda to the boiling water. This increases the alkalinity, which weakens the bond between the shell membrane and the egg white, leading to a cleaner separation.
What is the 10-5-10 rule for boiling eggs?
No, this is not the optimal technique; we recommend the Hot Start. The 10-5-10 rule often refers to 10 minutes boiling, 5 minutes ice bath, 10 minutes resting, but starting cold is less reliable for peeling.
What is the 6-6-6 method for hard boiled eggs?
This method is generally for medium boiled, not hard boiled eggs. It typically means 6 minutes boiling, 6 minutes resting, and 6 minutes in ice water, resulting in a softer yolk.
Should I use cold water to start boiling eggs to prevent cracking?
No, starting cold is a common misconception that hinders peeling. Dropping cold eggs directly into already boiling water causes the proteins to seize quickly, separating them cleanly from the membrane.
Is it true I should only use "old" eggs for hard boiling?
No, this is a common misconception that is no longer necessary. While older eggs naturally have a higher pH, using fresh eggs with baking soda achieves the same easy peel result without waiting weeks.
What is the proper chilling time after boiling?
Chill for a minimum of 5 minutes in a true ice bath. This rapid temperature change stops carryover cooking, preventing the green ring, and causes the egg to contract slightly away from the shell.
Perfect Hard Boiled Eggs

Ingredients:
Instructions:
Nutrition Facts:
| Calories | 72 calories |
|---|---|
| Protein | 6.3 g |
| Fat | 4.8 g |
| Carbs | 0.4 g |
| Fiber | 0 g |
| Sugar | 0.2 g |
| Sodium | 124 mg |
