Perfect Hard Boiled Eggs: the 13-Minute Method

- Time: Active 2 minutes, Passive 23 minutes, Total 25 minutes
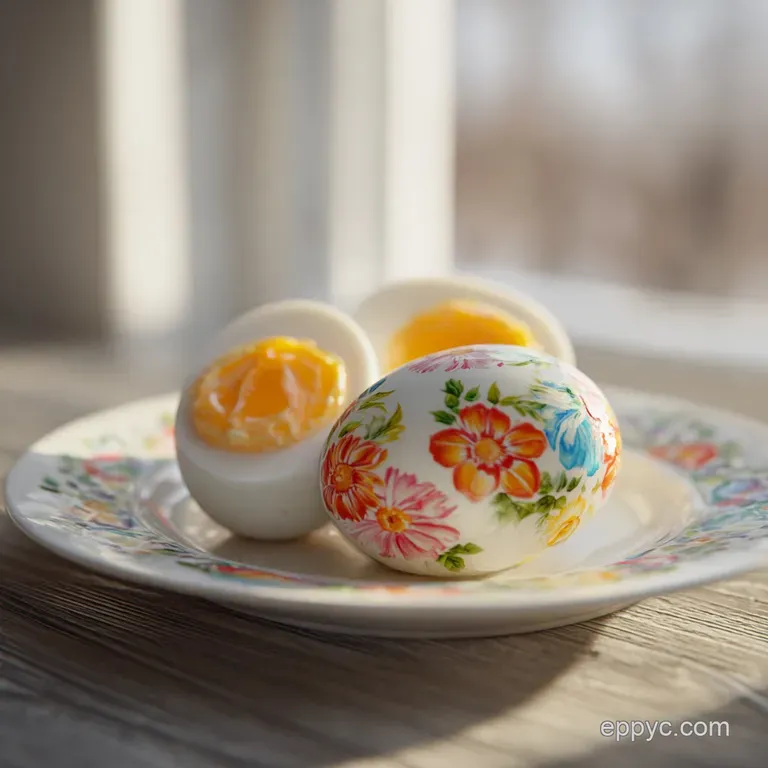
- Flavor/Texture Hook: Silky, buttery yolks with a firm, snap back white
- Perfect for: High protein meal prep and foolproof holiday appetizers
- Mastering the Secret to Perfect Hard Boiled Eggs
- Why Heat Shock Creates the Perfect Shell
- Essential Ingredients and Smart Swaps
- Digital Tools for Accurate Cooking
- The Step by Step Cooking Guide
- Fixing Problems with Boiled Eggs
- Budget Friendly Flavor Variations
- Storage and Meal Prep Strategies
- Perfect Pairings for Your Eggs
- Debunking Egg Cooking Myths
- Recipe FAQs
- 📝 Recipe Card
Mastering the Secret to Perfect Hard Boiled Eggs
You know that feeling when you try to peel an egg and half the white comes off with the shell? It feels like a personal insult from the kitchen gods. I used to think it was just bad luck or "too fresh" eggs, but it turns out there is a digital age solution to this ancient problem.
We are going for a specific result here: a shell that feels like it’s ready to shatter away at the slightest tap, revealing a smooth, unblemished surface underneath.
The payoff is immediate. When you slice through the center, you want to see a vibrant, sun yellow core that is creamy rather than chalky. This isn't just about food; it’s about empowering your morning routine with a reliable win.
We’re using a "hot start" method that utilizes basic physics to make your life easier, and honestly, once you try this, you will never go back to the "cold water start" again. It's a total shift in how we think about the humble egg.
By focusing on the timing and the temperature transition, we eliminate the guesswork. You don't need expensive gadgets, just a heavy pot and a digital timer to stay on track. Whether you are prepping for a busy week or getting ready to whip up some deviled egg recipe options for a party, this technique ensures consistency that feels like a professional kitchen secret.
Why Heat Shock Creates the Perfect Shell
Many people start their eggs in cold water and bring them to a boil together. That is exactly why the shells stick. When you gradually heat an egg, the proteins in the membrane have time to fuse to the shell.
By dropping cold eggs into already boiling water, we create an immediate "heat shock" that forces the whites to contract away from the membrane instantly.
The Membrane Gap: The sudden temperature spike causes the egg white to firm up so quickly that it pulls inward, creating a microscopic layer of steam between the white and the shell.
The pH Shift: While older eggs are naturally easier to peel because their pH rises over time, this boiling method mimics that effect by quickly altering the protein structure, making even farm fresh eggs manageable.
Digital Precision: Using a timer for exactly 11 minutes ensures the yolk reaches the ideal setting point where it is solid but retains a velvety, buttery mouthfeel without becoming dry or crumbly.
| Method | Total Time | Ease of Peeling | Yolk Texture |
|---|---|---|---|
| Hot Start (Boil) | 25 minutes | Effortless | Velvety & Consistent |
| Cold Start | 30+ minutes | Difficult | Often Chalky |
| Steam Method | 20 minutes | Easy | Tender but less stable |
Regardless of the age of your eggs, the hot start method provides a level of reliability that the cold start simply cannot match. It is the smartest way to ensure you aren't wasting food by tearing up the whites during the peeling process.
Essential Ingredients and Smart Swaps
We are keeping this budget friendly and straightforward. The core of this recipe relies on the interaction between the eggs and the water temperature. You don't need fancy vinegar or baking soda tricks those are mostly myths that don't actually change the peeling experience as much as the temperature does.
- 12 large eggs: Use eggs straight from the fridge; the temperature difference is key for the shock. Why this? Larger eggs provide a consistent ratio of white to yolk for timing.
- 4 quarts water: Enough volume to maintain heat when the cold eggs hit the pot. Why this? Prevents the water temperature from dropping too low upon entry.
- 1 tsp salt: Added to the boiling water. Why this? Helps seal minor cracks if an egg bumps the bottom too hard.
- 2 cups ice cubes: For the mandatory ice bath. Why this? Drops the temperature instantly to stop the cooking process.
- 4 cups cold water: To create the chilling medium. Why this? Liquid water transfers cold much faster than air alone.
| Original Ingredient | Substitute | Why It Works |
|---|---|---|
| Large Eggs | Medium or Extra Large | Adjust time by 1 min. Note: Smaller eggs cook faster. |
| Table Salt | Sea Salt | Same mineral effect. Note: Dissolves slightly slower. |
| Ice Cubes | Very Cold Running Water | Continuous flow mimics a bath. Note: Uses more water. |
If you are out of ice, don't panic. You can run the eggs under a constant stream of the coldest water your tap provides for about 5 minutes, but the ice bath is the gold standard for that "easy peel" result we are after.
Digital Tools for Accurate Cooking
To get the most out of your kitchen, you need to lean into the technology you already have. A digital timer is your best friend here. Don't rely on your "internal clock" or a quick glance at the stove clock seconds matter when you're aiming for that silky yolk.
A heavy bottomed pot, like a Dutch oven, is also a secret weapon because it holds thermal mass. This means when you drop 12 cold eggs into the water, the temperature doesn't plummet, keeping your cook time accurate.
A slotted spoon is the other non negotiable. You need to be able to lower the eggs gently to the bottom. If you just drop them in, they will hit the floor of the pot and crack, leading to those weird "egg white streamers" floating in your water. Precision in the entry is just as important as precision in the timing.
The step-by-step Cooking Guide
- Fill your heavy bottomed pot with 4 quarts of water and bring it to a rolling boil over high heat. Note: You want to see big, aggressive bubbles before you even think about the eggs.
- Once the water is raging, reduce the heat to a low simmer. This prevents the eggs from bouncing and breaking.
- Use a slotted spoon to gently lower the 12 cold eggs into the water one-by-one.
- Increase the heat back to medium high to keep a gentle, steady boil.
- Set your digital timer for exactly 11 minutes. This is the sweet spot for classic hard boiled texture.
- While the eggs are dancing in the pot, combine 2 cups of ice and 4 cups of cold water in a large bowl to create an ice bath.
- As soon as the timer beeps, use the slotted spoon to transfer the eggs into the ice bath. The "clink" of eggs hitting ice is the sound of success.
- Let them chill for 10 to 15 minutes. Note: This shrink wraps the internal membrane away from the shell.
- To peel, tap the wider end (where the air pocket is) on a hard surface and roll the egg gently until the shell is a mosaic of cracks.
- Peel under a thin stream of cool water. The water helps lubricate the space between the shell and the white.
Fixing Problems with Boiled Eggs
Even with the best tech, things can go sideways. The most common issue is the "green ring" around the yolk. This is actually a chemical reaction between the iron in the yolk and the sulfur in the white, and it only happens when the egg is overcooked or cooled too slowly.
The ice bath isn't just for peeling; it’s a preventative measure against that unappealing gray green color and the "sulfury" smell that turns people off from eggs.
Why Your Shells Are Sticking
If the shells are still clinging like their life depends on it, it usually means the water wasn't quite at a full boil when the eggs went in, or the eggs weren't cold enough. The temperature differential is what creates the physical gap between the egg and its housing.
| Problem | Root Cause | Solution |
|---|---|---|
| Green Ring | Overcooking / Slow Cooling | Use an ice bath immediately for 10 mins. |
| Rubbery Whites | Water temperature too high | Keep at a gentle boil, not a violent roll. |
| Cracked Shells | Dropping eggs too hard | Use a slotted spoon to lower them gently. |
Another trick for your arsenal is the "crack and soak" method. If you find a particularly stubborn batch, crack the shells all over and then put them back into the cold water for 5 minutes. The water will seep under the shell and help loosen the grip.
Common Mistakes Checklist
- ✓ Never start with eggs in cold water (makes them impossible to peel).
- ✓ Don't skip the ice bath - cold tap water isn't cold enough to stop the carryover heat.
- ✓ Avoid overcrowding the pot; eggs should have room to move slightly.
- ✓ Check your timer twice; a 2 minute error completely changes the yolk's heart.
- ✓ Pat the eggs dry after peeling if you are using them for creamy potato salad so the dressing sticks.
Budget Friendly Flavor Variations
Once you have the base technique down, you can start experimenting without spending extra cash. You can use this same boiling method to create different yolk textures just by tweaking the digital timer. If you want a "jammy" egg for ramen, 7 minutes is your target.
For a slightly soft but set yolk, go for 9 minutes.
You can also infuse flavor after the boil. A popular budget move is the "tea egg" or "soy egg." After peeling, soak the eggs in a mixture of soy sauce, water, and a pinch of sugar. The eggs will take on a beautiful mahogany color and a savory depth that feels much more expensive than it actually is.
Quick Texture Decisions
- For a liquid gold center: Set timer for 6 minutes.
- For a jammy, custard like yolk: Set timer for 8 minutes.
- For the classic "deviled egg" firm yolk: Stick to the 11 minute rule.
Storage and Meal Prep Strategies
Hard boiled eggs are the ultimate digital age fuel for busy people. You can make a dozen on Sunday and have a high protein snack ready to go all week. However, keep them in their shells until you are ready to eat them.
The shell acts as a natural protective barrier that keeps the egg from absorbing "fridge smells" (like that half cut onion in the back drawer).
- Fridge Life
- Store in an airtight container for up to 7 days.
- Freezer Warning
- Do not freeze whole hard boiled eggs. The whites turn into a rubbery, weeping mess that is completely unpalatable.
- Zero Waste Tip
- Don't throw those shells in the trash! Crush them up and put them in your garden or indoor plant soil. They are a massive source of calcium carbonate and help keep your plants healthy.
Perfect Pairings for Your Eggs
Now that you have these flawlessly peeled beauties, what do you do with them? Beyond just hitting them with a pinch of flaky salt and cracked pepper, they are the workhorse of the kitchen. They add instant substance to a simple green salad or a bowl of grains.
I love smashing a couple of these onto a piece of toasted sourdough with a drizzle of olive oil and some red pepper flakes. The velvety yolk acts almost like a sauce, coating the bread. They are also the essential component of a classic creamy potato salad, where the richness of the yolk blends into the dressing to create a silky mouthfeel that you just can't get from mayo alone.
Debunking Egg Cooking Myths
There is so much misinformation about boiling eggs that it’s almost funny. Let's clear the air so you can cook with confidence.
The Baking Soda Myth: People claim adding baking soda to the water makes eggs easier to peel by raising the pH. While technically true in a lab setting, in a real kitchen, the "hot start" method is so much more effective that the baking soda becomes redundant and can sometimes give the eggs a faint soapy taste.
The Vinegar Myth: Some say vinegar prevents shells from cracking. Vinegar actually softens the shell (calcium), which might make it more likely to break if the eggs are bumping around.
The real way to prevent cracking is a gentle entry with a slotted spoon and keeping the boil at a "gentle" level rather than a "violent" one.
The Piercing Myth: You don't need to poke a hole in the bottom of the egg with a needle. While this can help reduce the flat spot at the end of the egg, it also increases the risk of the egg cracking during the cook.
A good ice bath actually helps "plump" the egg back up slightly as it cools, minimizing that flat spot naturally.

Recipe FAQs
What is the trick to perfect hard boiled eggs?
Start by adding eggs to already boiling water. Placing eggs into cold water causes the membrane to bond to the shell, making them nearly impossible to peel cleanly.
How long do you boil for a hard egg?
Boil for exactly 11 minutes. This specific timing ensures the yolk sets perfectly without developing a chalky texture or green ring.
Is a boiled egg good for diabetes?
Yes, they are an excellent choice. Eggs provide a high protein, zero carb snack that helps maintain stable blood sugar levels throughout the day.
What is the 10 5 10 rule for boiling eggs?
No, this is a common misconception. You should follow the proven method of boiling for 11 minutes followed by a 10 15 minute ice bath to ensure a clean peel and proper texture.
How to keep eggs from cracking during boiling?
Lower the eggs gently using a slotted spoon. Avoid overcrowding the pot so the eggs do not knock against each other while the water is at a rolling boil.
How to ensure the yolk does not become rubbery?
Use an ice bath immediately after the 11-minute cook time. If you enjoyed learning how to use an ice bath for fresh herbs in other recipes, you will see how it works here to instantly halt carryover cooking and preserve the ideal yolk texture.
How to store hard boiled eggs for the week?
Keep them in their shells in an airtight container. The shell acts as a protective barrier against refrigerator odors, allowing them to stay fresh for up to 7 days.
Perfect Hard Boiled Eggs 2

Ingredients:
Instructions:
Nutrition Facts:
| Calories | 78 kcal |
|---|---|
| Protein | 6.3 g |
| Fat | 5.3 g |
| Carbs | 0.6 g |
| Fiber | 0 g |
| Sugar | 0.6 g |
| Sodium | 70 mg |
