Blind Bake Pie Crust

- Time: Active 40 minutes, Passive 1 hours 10 mins, Total 1 hours 50 mins
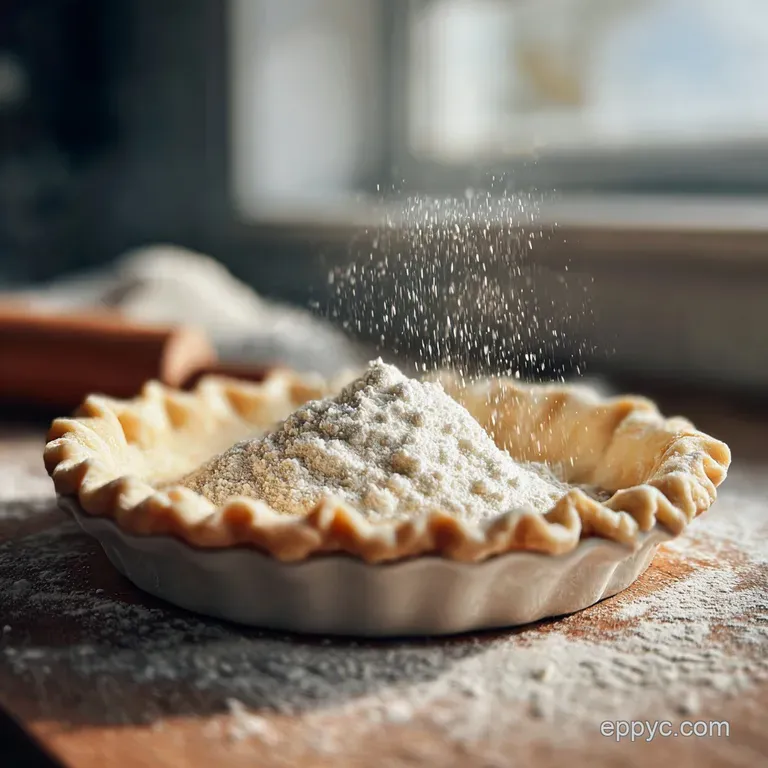
- Flavor/Texture Hook: Shatteringly flaky with a buttery, toasted aroma
- Perfect for: Holiday centerpieces, custard filled tarts, and show stopping brunch quiches
- Achieving Flawless Blind Bake Pie Crust
- The Architecture of the Crisp
- Vital Specs for Pastry Art
- Curating the Foundation Elements
- Essential Tools for Sculpting Shells
- Choreographing the Heat and Flour
- Navigating the Delicate Pastry Balance
- Infusing Your Base with Joy
- Preserving Your Handcrafted Shell Integrity
- Final Touches for Show Stopping Displays
- Blind Bake Pie Crust FAQs
- 📝 Recipe Card
Achieving Flawless Blind Bake Pie Crust
The kitchen hums with the scent of toasted butter and flour, a fragrance that signals the start of something truly festive. I remember the first time I attempted a custard tart for a gallery opening; I skipped the weights, the edges slumped like a tired curtain, and the center puffed into a bread like dome.
It was a disaster, but it taught me that a blind bake pie crust isn't just a step it's the architectural blueprint of a show stopping dessert.
We are aiming for a shell that holds its shape with regal posture, ready to cradle velvety fillings without losing its crisp integrity. This isn't about rushing; it's about the artistry of patience and the joy of watching a pale circle of dough transform into a bronze vessel of flavor.
Whether you’re preparing for a grand celebration or a quiet Sunday bake, this technique ensures your pastry never yields to moisture.
Today, we're focusing on the precise choreography of temperature and weight. You want that satisfying shatter when the fork hits the crust, a texture that only comes from understanding how fat and flour interact under pressure.
Let’s create a foundation that is as beautiful to look at as it is to eat, ensuring every slice you serve is a work of culinary art.
The Architecture of the Crisp
Thermal Shock Management: Extreme cold meets high heat to instantly vaporize water in the butter, creating distinct layers of air and fat. This explosive reaction is what produces that unmistakable shatteringly flaky texture in the finished shell.
Structural Reinforcement: Mechanical weight prevents the dough from shrinking down the sides of the pan or bubbling upward. By holding the pastry against the metal during the initial set, we lock in the tall, sharp edges required for professional presentation.
Precision Checkpoints
- Target Temperature: Ensure your oven stays at exactly 190°C (375°F) for the initial set.
- Minimum Weight: Use exactly 900g of ceramic weights to provide uniform pressure across the base.
- Internal Visual: The pastry must look "matte" and dry before removing the weights for the final crisp.
| Method | Texture Result | Best Application |
|---|---|---|
| Classic Weighted | Uniformly flat, sturdy edges | Custard tarts, deep dish quiche |
| Pricked (Docked) | Light, slightly uneven rise | Thin fruit tarts, quick bakes |
| Double Pan | Compressed, very dense | Professional tarts, extra thin shells |
Using the classic weighted method remains the gold standard for a reason. It provides the most reliable architecture for heavy fillings. If you are starting from scratch, I highly recommend using a chilled Homemade Pie Crust recipe to ensure the fat to flour ratio is balanced for this specific heat application.
Vital Specs for Pastry Art
| Component | Science Role | Pro Secret |
|---|---|---|
| 350g Pastry Dough | Structural Matrix | Keep it at 4°C until the moment it touches the oven. |
| 900g Ceramic Weights | Displacement Force | Distribute weights into the "corners" to prevent edge slump. |
| Large Egg (Wash) | Moisture Barrier | Proteins coagulate to form a waterproof seal against fillings. |
Curating the Foundation Elements
To build this masterpiece, you will need a few specific items. Each serves a purpose in the thermal dance of the oven.
- 350g chilled pie dough: The canvas of our creation. Why this? Provides enough volume for a standard 9 inch deep dish pan with decorative overhang.
- 30g all purpose flour: Used for dusting. Why this? Prevents the dough from tearing while rolling without drying out the surface.
- 1 large egg: For the final seal. Why this? The fat and protein create a golden, glossy, and moisture proof finish.
- 1 tbsp water: To thin the wash.
- 900g ceramic pie weights: Or dried beans if needed.
Chef's Tips
- The Foil Trick: Lightly brush the side of the parchment or foil facing the dough with a neutral oil. This prevents the weights from sticking to the delicate buttery layers as they melt.
- Pre Heat the Weights: Keep your ceramic weights in a metal bowl near the oven. Using slightly warm weights helps the heat penetrate the bottom of the crust faster, preventing a "soggy bottom" before the edges set.
Essential Tools for Sculpting Shells
You don't need a pantry full of gadgets, but a few specific items change the game. A heavy glass or metal pie plate is non negotiable for heat conductivity. Avoid thin, disposable foil pans as they don't hold enough thermal mass to crisp the bottom effectively.
You will also need high-quality parchment paper. Don't reach for the wax paper it will smoke and ruin the flavor of the butter. If you're feeling particularly artistic, a small pastry brush with natural bristles allows for a more even application of the egg wash than silicone versions, which can leave puddles that turn into "scrambled eggs" in the oven.
Choreographing the Heat and Flour
Phase 1: The Cold Foundation
Roll the 350g chilled dough on a surface dusted with 30g flour until it reaches a 3mm thickness. Drape it over the pan, trim the edges to leave a 2cm overhang, and fold them under to create a thick rim.
Chill this in the freezer for 20 minutes; this relaxation is vital to stop the crust from shrinking during the blind bake pie crust process.
Phase 2: The Weighted Bake
Preheat the oven to 190°C. Line the chilled shell with a large piece of parchment paper, ensuring it covers the fluted edges. Pour in the 900g of weights until they reach the top rim. Bake for 15 minutes until the edges are set and pale gold.
Phase 3: The Finishing Crisp
Carefully lift the parchment and weights out. Lower the oven to 175°C. Prick the bottom with a fork (docking) until tiny air vents appear across the base. Bake for another 10 to 12 minutes until the bottom looks dry and sandy.
Phase 4: The Moisture Seal
Whisk the egg and 1 tbsp water. Using a brush, paint a thin, even layer over the entire interior. Bake for a final 3 minutes until the wash is glossy and hard. This creates a barrier that allows you to pour in a The Homemade Key recipe filling without the crust turning to mush.
Navigating the Delicate Pastry Balance
The Heartbreak of Shrunken Edges
Shrinkage usually happens when the gluten is overworked or the dough hasn't rested enough. When flour meets water, gluten strings form; if you stretch them into the pan, they act like rubber bands and snap back in the heat. Resting in the freezer allows those strings to relax, keeping your edges tall and proud.
The Mystery of the Bubble
If the center of your crust rises like a balloon after you remove the weights, it’s because steam is trapped. Docking the dough (pricking it) is the solution. It creates tiny chimneys for the steam to escape, ensuring the base stays flat and ready for your filling.
| Problem | Root Cause | Solution |
|---|---|---|
| Slumping Edges | Warm fat or tight gluten | Chill for 20 mins; don't stretch dough. |
| Greasy Bottom | Oven temp too low | Increase heat to 190°C for initial bake. |
| Tough Texture | Over handling dough | Handle minimally; use chilled tools. |
Common Mistakes Checklist
- ✓ Never stretch the dough when placing it in the pan (this causes shrinking).
- ✓ Fill the weights all the way to the top to support the side walls.
- ✓ Ensure the egg wash is thin; thick pools will taste like sulfur.
- ✓ Let the crust cool completely before adding cold fillings to maintain crispness.
Infusing Your Base with Joy
While a classic buttery shell is magnificent, you can adapt the flavor profile to match your occasion. For a holiday flair, try rubbing a bit of orange zest into the flour before rolling.
If you’re leaning into a savory direction, like a quiche, adding a pinch of dried thyme or cracked black pepper into the dough provides a sophisticated aromatic layer.
Decision Shortcut
- For a Savory Finish: Add 2g of dried herbs to the dry dough mix.
- For a Sweet Crunch: Sprinkle 5g of granulated sugar over the egg wash before the final 3 minute bake.
- For Extra Flakiness: Substitute 50g of the butter for high-quality leaf lard.
Preserving Your Handcrafted Shell Integrity
Once your blind bake pie crust is out of the oven, it is at its most fragile. If you aren't filling it immediately, let it cool completely on a wire rack. Air circulation is your best friend here; trapped steam underneath the pan will soften the bottom you just worked so hard to crisp.
Storage: You can keep the baked shell at room temperature for up to 48 hours. Cover it loosely with a clean kitchen towel do not use plastic wrap, as it traps moisture and kills the "shatter" factor. For longer storage, the baked shell can be frozen for up to 1 month.
Zero Waste: Don't discard the dough scraps! Gather them, roll them thin, sprinkle with cinnamon sugar, and bake them alongside the crust. These "pie fries" are a joyful kitchen snack for the cook while the main event finishes.
Final Touches for Show Stopping Displays
Presentation is where the artistry truly shines. When your shell is perfectly golden, use a microplane to gently shave any uneven bits off the top rim for a sharp, professional look. If you’re making a fruit filled masterpiece, like a Classic Cherry Pie Recipe, the blind bake ensures that even the juiciest cherries won't compromise the structure.
When serving, always use a serrated knife for the first cut. This allows you to saw through the hardened edge without shattering the entire side of the crust. There is a deep, artistic joy in seeing a clean, sharp slice of tart on a plate, showing off those beautiful, buttery layers you’ve carefully cultivated.
Your guests will notice the difference that a dedicated blind bake makes it's the signature of a cook who truly cares about the craft.

Blind Bake Pie Crust FAQs
How to blind bake pie crust without weights?
Use dried beans or uncooked rice as an alternative. Line the chilled crust with parchment paper, fill with enough beans or rice to reach the rim, and bake as directed. These dense materials provide even pressure to prevent shrinkage and puffing.
When to not blind bake pie crust?
Do not blind bake for recipes with very quick cooking fillings. If your filling is moist and cooks rapidly, the crust may bake sufficiently within the tart itself, like in some simple fruit tarts. However, for custards or wet fillings, it's essential.
How to par bake pie crust without parchment paper?
Lightly grease the pie plate and fill directly with weights. Ensure the dough is very well chilled. The grease helps prevent the weights from sticking directly to the dough, though it's less foolproof than parchment.
Do you have to pre-bake a pie crust for quiche?
Yes, for most quiches, blind baking is highly recommended. This prevents a soggy bottom, especially with quiches that have a high moisture content like Chicken Pot Pie Filling. A pre-baked crust ensures a crisp texture that holds up to the filling.
What happens if I don't blind bake a pie crust?
The crust may shrink, puff up unevenly, or become soggy. Without the initial bake and weight, the dough's structure isn't set, leading to a less attractive and potentially mushy base, especially with wet fillings.
How to dock a pie crust for blind baking?
Prick the bottom of the chilled, unbaked crust all over with a fork. Do this before adding weights or after removing them for the final crisping stage. This creates small vents for steam to escape, preventing the bottom from puffing.
Can I use foil instead of parchment paper for blind baking?
Yes, heavy duty aluminum foil can be used as a substitute for parchment paper. Line the crust with the foil, ensuring it tucks into the sides, then fill with your weights. It serves the same purpose of holding the crust shape and preventing sticking.
Blind Bake Pie Crust

Ingredients:
Instructions:
Nutrition Facts:
| Calories | 215 calories |
|---|---|
| Protein | 3.4g |
| Fat | 12.1g |
| Carbs | 23.1g |
| Fiber | 0.7g |
| Sugar | 0.2g |
| Sodium | 197mg |
