How to Make Ghee from Butter
- Time: Active 5 minutes, Passive 15 minutes, Total 20 minutes
- Flavor/Texture Hook: Toasted, buttery, and velvety
- Perfect for: over High heat searing and deep flavor building
- How to make ghee from butter effortlessly
- Why this nutty fat works
- The simple 20 minute timeline
- Selecting the best butter ingredients
- Essential pots and straining tools
- Step by step cooking method
- Solving common kitchen mishaps
- Infusions for extra flavor depth
- Storing your gold correctly
- Meals that love this fat
- Debunking popular cooking myths
- Recipe FAQs
- 📝 Recipe Card
How to make ghee from butter effortlessly
Have you ever stood over a skillet, watched your butter turn black in seconds, and felt that pang of frustration? I used to do that all the time before I learned the magic of clarifying my own fats.
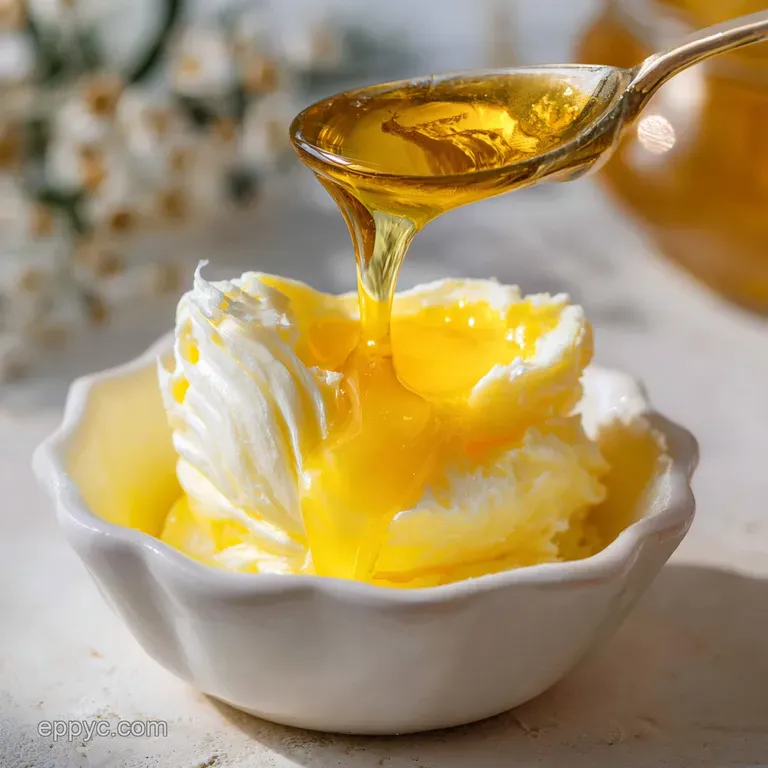
There is something truly therapeutic about watching a block of butter transform into a clear, golden liquid that smells like toasted popcorn.
Honestly, the first time I tried this, I was terrified I’d burn the whole batch, but once you hear that specific rhythmic sizzle change to a quiet hum, you’ll know you’ve nailed it. It is one of those foundational skills that makes you feel like a pro without needing a culinary degree.
We are going to take a simple pound of butter and strip away everything that makes it "splatter" or "burn." What is left is pure, liquid gold that stays fresh on your counter for months. It is practical, efficient, and honestly, it just makes your kitchen smell like a dream.
Why this nutty fat works
The Science of Why it Works
Phase Separation: Heating butter allows the water to evaporate while the milk solids (proteins and sugars) sink to the bottom. Maillard Reaction: As the solids toast at the bottom of the pan, they develop complex, nutty aromatic compounds that infuse the remaining fat.
- Purity: Removing milk solids increases the smoke point from 350°F to 450°F, allowing for intense searing.
- Shelf Stability: Without water or proteins, there is nothing left for bacteria to feed on, so it won't spoil quickly.
- Digestibility: The process removes most of the lactose and casein, making it a friendlier option for those with dairy sensitivities.
- Concentrated Flavor: By evaporating the 15-20% water content in butter, you are left with a more potent, rich taste.
Chef's Tip: Freeze your butter for 10 minutes before starting, then grate it into the pan. This increased surface area ensures it melts evenly and prevents the bottom from browning before the top has even melted.
The simple 20 minute timeline
| Stage | Action | Focus |
|---|---|---|
| 0-5 Mins | Melt & Foam | Getting the butter liquid and watching the first foam rise. |
| 5-15 Mins | Simmer & Toast | Evaporating water and letting the solids turn golden brown. |
| 15-20 Mins | Strain & Cool | Separating the pure fat from the toasted sediment. |
The separation of solids
The primary goal here is clarity. You want to see right through that liquid to the bottom of the pot. It is much easier than it sounds, similar to the patience required in my How to Make Buttermilk recipe.
Deepening the toasted flavor
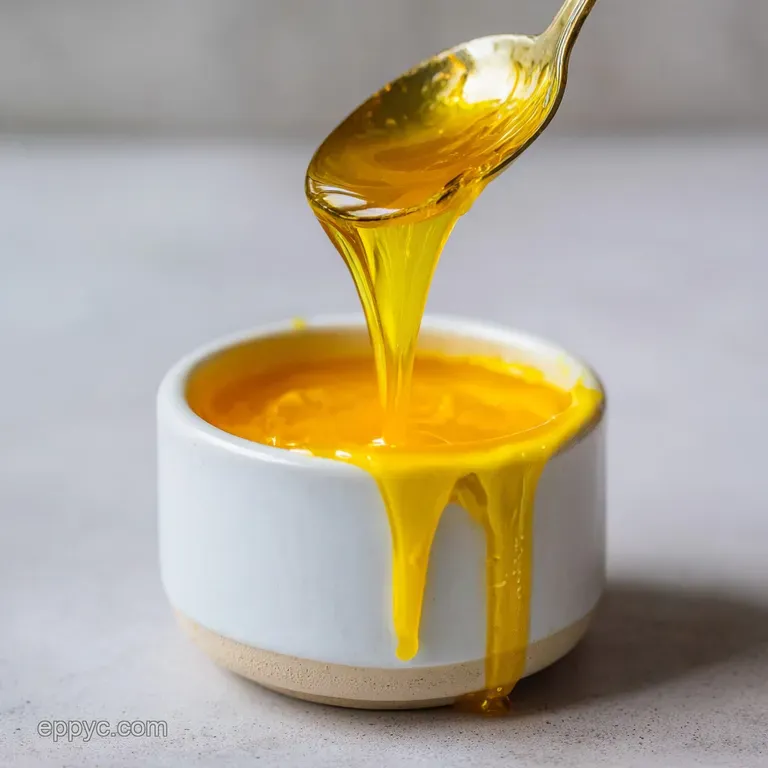
If you stop as soon as it is clear, you have clarified butter. If you wait just a minute longer until those bits at the bottom look like toasted almonds, you have achieved true ghee.
Selecting the best butter ingredients
The quality of your butter dictates the flavor of your gold. I usually reach for Kerrygold Unsalted Butter because the grass fed nature gives it a naturally vibrant yellow hue that looks stunning in a jar.
- 1 lb unsalted butter: Use high-quality, grass fed butter if possible for better nutrient density.
- 1 pinch sea salt: Just enough to sharpen the nutty notes without making it salty.
- 1 cinnamon stick: Adds a woody, sweet aroma that is subtle but brilliant.
- 2 whole cloves: Provides a hint of warmth and antiseptic properties.
- 1 tsp fenugreek seeds: This is my "secret" for that authentic, maple like scent found in traditional batches.
The base fats
| Component | Science Role | Pro Secret |
|---|---|---|
| Unsalted Butter | Pure fat source | Always go unsalted to control the final seasoning level perfectly. |
| Water Content | Steam generation | The "sputtering" sound is water escaping; wait for the silence. |
| Milk Solids | Flavor catalyst | These are the bits that toast; don't discard them too early! |
The aromatic spices
| Original Ingredient | Substitute | Why It Works |
|---|---|---|
| Fenugreek Seeds | Toasted Cumin | Adds a savory, earthy depth. Note: Changes flavor profile to savory. |
| Cinnamon Stick | Star Anise | Gives a licorice like sweetness. Note: Very strong; use only half. |
| Sea Salt | Himalayan Pink Salt | Provides minerals and clean salinity without harshness. |
Essential pots and straining tools
You don't need fancy tech, but a heavy bottomed pot like a Le Creuset Dutch Oven is a total life saver here. It distributes heat so evenly that you’re much less likely to scorch those delicate milk solids.
- Heavy bottomed saucepan: Prevents hot spots that burn the sediment.
- Fine mesh strainer: The first line of defense against the larger toasted bits.
- Cheesecloth or Coffee Filter: Mandatory for getting that crystal clear finish.
- Glass Mason Jar: For storage; make sure it is bone dry to prevent spoilage.
step-by-step cooking method
- Place butter in a cold Le Creuset saucepan. Note: Starting cold prevents the bottom from burning.
- Melt 1 lb unsalted butter over medium low heat until completely liquid and bubbling.
- Add 1 cinnamon stick, 2 whole cloves, and 1 tsp fenugreek seeds. Note: Adding them now allows the spices to bloom in the fat.
- Simmer gently for about 10 minutes until a thick white foam forms on top.
- Skim the foam occasionally with a spoon. Note: You don't have to be perfect; the filter will catch the rest.
- Watch the bubbles transform from large and noisy to small and tight until the liquid turns clear.
- Monitor the bottom of the pan until the milk solids turn a light golden brown.
- Remove from heat immediately until the toasted aroma fills the room.
- Strain the liquid through a double layer of cheesecloth into a jar. Note: This removes every trace of protein.
- Cool completely at room temperature until the ghee is firm and opaque.
Solving common kitchen mishaps
Why It Smells Burnt
If you step away for even 30 seconds at the end, the solids can go from golden to black. If the liquid looks dark brown, it's overdone.
Why It Stays Cloudy
This usually means there is still moisture left or your filter wasn't fine enough. A second pass through a paper coffee filter usually fixes this.
| Problem | Cause | Fix | Pro Tip |
|---|---|---|---|
| Grainy texture | Slow cooling | Place in fridge to set fast | Rapid cooling creates smaller crystals for a smoother mouthfeel. |
| Rancid smell | Moisture in jar | Dry jar with a towel | Always use a sterilized, bone dry jar for storage. |
| Splattering | Heat too high | Reduce flame immediately | Slow and steady wins the race for clarity. |
Infusions for extra flavor depth
For Flavor Infusions (Optional)
If you want to get creative, try adding a few cloves of smashed garlic or a sprig of rosemary during the last 5 minutes of simmering. It makes the best "instant" garlic butter for bread.
For the Pure Ghee
If you prefer the clean, traditional taste, stick to the cinnamon and cloves. It’s versatile enough for both coffee (yes, bulletproof style!) and sautéing veggies.
Chef's Tip: Save those toasted milk solids! I stir them into my morning oatmeal or fold them into popcorn salt. They are basically "butter croutons" and they're addictive.
Storing your gold correctly
- Fridge vs Pantry: If your jar is sterile and the ghee is pure, it will last 3 months on the counter. If you want it to last a year, pop it in the fridge.
- Zero Waste: Never pour your "discarded" foam down the drain. Use it to flavor mashed potatoes immediately since it still has great butter flavor but won't keep as long as the ghee itself.
Meals that love this fat
Ghee is a workhorse in the kitchen. I love using it when I'm searing a steak, specifically for my Juicy how to recipe. Because the smoke point is so high, you can get that restaurant style crust without the kitchen filling with smoke.
It also works wonders on roasted root vegetables. The toasted notes of the fat complement the natural sugars in carrots and sweet potatoes perfectly.
| Feature | Homemade Ghee | store-bought Shortcut |
|---|---|---|
| Aroma | Intense, toasted, fresh | Often flat or waxy |
| Cost | 50% cheaper | Premium pricing |
| Control | You choose the spices | Pre determined flavors |
Debunking popular cooking myths
Myth: Ghee and clarified butter are the exact same thing. Truth: Not quite! Clarified butter is pulled off the heat as soon as the water evaporates. Ghee is cooked longer until the milk solids caramelize, giving it that signature nutty flavor and longer shelf life.
Myth: You must use a cheesecloth to strain it. Truth: While cheesecloth is traditional, a standard paper coffee filter actually does a better job of catching the tiny, microscopic milk solids that cheesecloth might miss.
Myth: Ghee needs to be refrigerated. Truth: Because the water and milk solids are removed, it is essentially a pure oil. As long as you don't introduce moisture (like using a wet spoon), it is perfectly safe at room temperature.

Recipe FAQs
How do I make homemade ghee from butter?
Yes, it is a straightforward stovetop process. Melt butter slowly over medium low heat until the water evaporates, the milk solids separate, and the solids toast to a golden brown at the bottom. Strain immediately to separate the pure fat from the solids.
Can I use salted butter to make ghee?
No, unsalted is highly recommended. While you technically can, using salted butter means you cannot control the final salt level of the ghee, which is meant to be a pure fat. Always start with unsalted butter for the best flavor control.
How long does it take to make ghee from butter?
About 20 minutes total. The active time is low, around 5 minutes of gentle heating, followed by about 15 minutes of passive simmering and cooling before straining. The key is not rushing the simmering stage where the water cooks off.
Is the process for making ghee from butter the same in India and the UK?
Yes, the core technique is universal. The method relies on heat separation, regardless of location. In India, spices like cardamom or fenugreek are often added for deeper aroma, similar to how we infuse aromatics in recipes like The Best Authentic Fettuccine Alfredo Sauce Recipe No Cream.
What is the main difference between clarified butter and ghee?
Ghee is cooked longer for nutty flavor. Clarified butter stops once the water evaporates and the foam subsides, leaving pure fat. Ghee continues cooking until the milk solids caramelize, which develops that deep, toasted aroma and increases shelf stability.
Why are my milk solids burning too quickly?
Your heat is too high, causing scorching. The milk solids sink and burn easily when the temperature spikes. You must maintain a low, steady simmer, paying close attention to the texture changes, much like you would when tempering chocolate.
What is the best way to store finished homemade ghee?
Store in a clean, dry, airtight jar at room temperature. Because all the water and proteins have been removed, pure ghee has a shelf life of several months without refrigeration. Ensure you never use a wet spoon to scoop it out, which could introduce moisture.
How To Make Ghee From Butter

Ingredients:
Instructions:
Nutrition Facts:
| Calories | 116 calories |
|---|---|
| Protein | 0 g |
| Fat | 13.1 g |
| Carbs | 0 g |
| Fiber | 0 g |
| Sugar | 0 g |
| Sodium | 2 mg |
