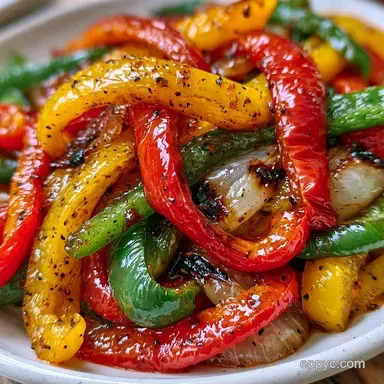
Tricolor Pepper Fajitas in 20 Minutes
- Time: 10 min active + 12 min cooking
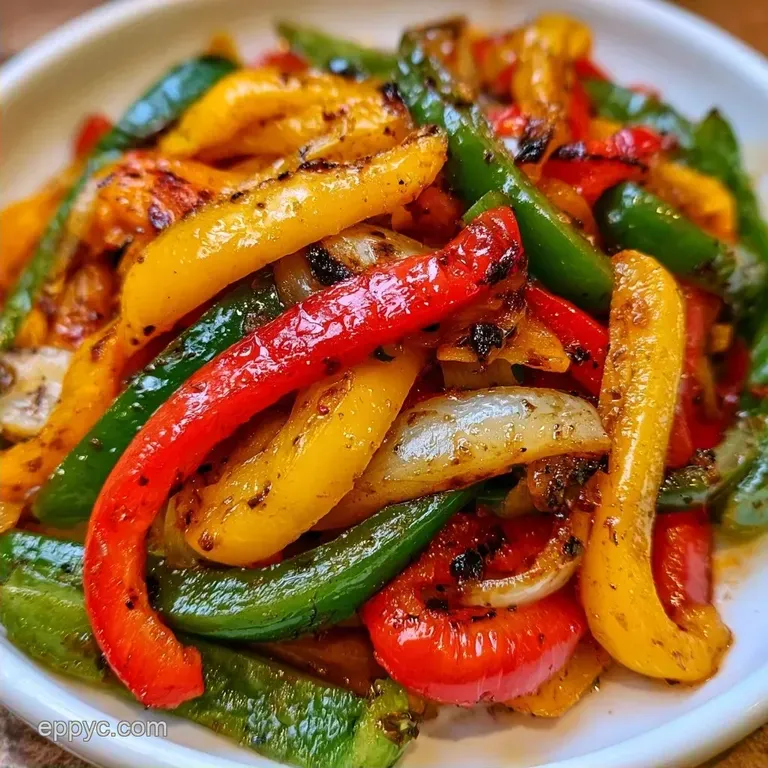
- Flavor/Texture Hook: Smoky, charred edges with a crisp center
- Perfect for: Quick weeknight dinner or healthy meal prep
The sound of a cast iron skillet screaming hot is the only way to start this meal. I first tried these at a small spot near the Texas border where the sizzle of the plate could be heard from the kitchen before the food even hit the table.
That tradition of over high heat searing isn't just for show, it's what gives the vegetables their soul.
For a long time, I thought the trick was adding more oil. I was wrong. The actual goal is to let the vegetables hit the metal and stay there until they develop a deep brown color. This is how you get the authentic taste of Pepper Fajitas without needing a commercial grill.
You can expect a meal that feels light but tastes heavy on the smoke. These Pepper Fajitas work as a main dish or a side, and they take less than half an hour from chopping to plating.
The Trick Behind the Texture
High Temperature: Cooking at a high heat triggers a quick sear. This browns the outside of the veg while keeping the inside from getting mushy.
Uniform Slicing: When all the strips are the same thickness, they cook at the same rate. This means you don't end up with some burnt bits and some raw ones.
The Late Acid: Adding lime at the end preserves the brightness. If you cook the lime juice, it loses that zesty punch and can turn bitter.
The Gear You'll Need
For the best results, use a cast iron skillet. Its superior heat retention compared to non-stick or stainless steel is key to achieving those dark, charred edges. A thick stainless steel pan is a suitable alternative, though you'll need to keep the heat high.
Metal tongs are also essential. Stirring with a spoon often crushes the vegetables, while tongs allow you to toss and flip the strips without breaking them.
Ingredient Deep Dive
| Ingredient | What It Does | Best Swap |
|---|---|---|
| Bell Peppers | Provides bulk and sweetness | Poblano peppers (adds heat) |
| White Onion | Adds savory depth | Red onion (sweeter, softer) |
| Smoked Paprika | Gives the smoky flavor | Ancho chili powder (earthier) |
| Lime Juice | Cuts through the oil | Lemon juice (slightly different zest) |
Recipe Specs
The Plan
- Prep (10 min): Chop all veg and whisk the spice oil.
- Cook (12 min): over High heat sear followed by a quick toss.
- Finish (1 min): Stir in lime juice and plate.
Stovetop vs Oven
| Method | Texture | Effort |
|---|---|---|
| Stovetop | High char, crisp center | Active stirring |
| Oven | Softer, more uniform | Hands off |
Precision Checkpoints
- The Heat Test: A drop of water must evaporate instantly on the pan.
- The Sear: Vegetables should sit undisturbed for exactly 2-3 minutes.
- The Finish: Edges must be mahogany brown before removing from heat.
Goal Based Adjustments
| Goal | What to change |
|---|---|
| Extra Char | Use a cast iron skillet |
| Less Prep | Use pre sliced frozen peppers |
| Low Calorie | Reduce olive oil by 1 tbsp |
Shopping List Breakdown
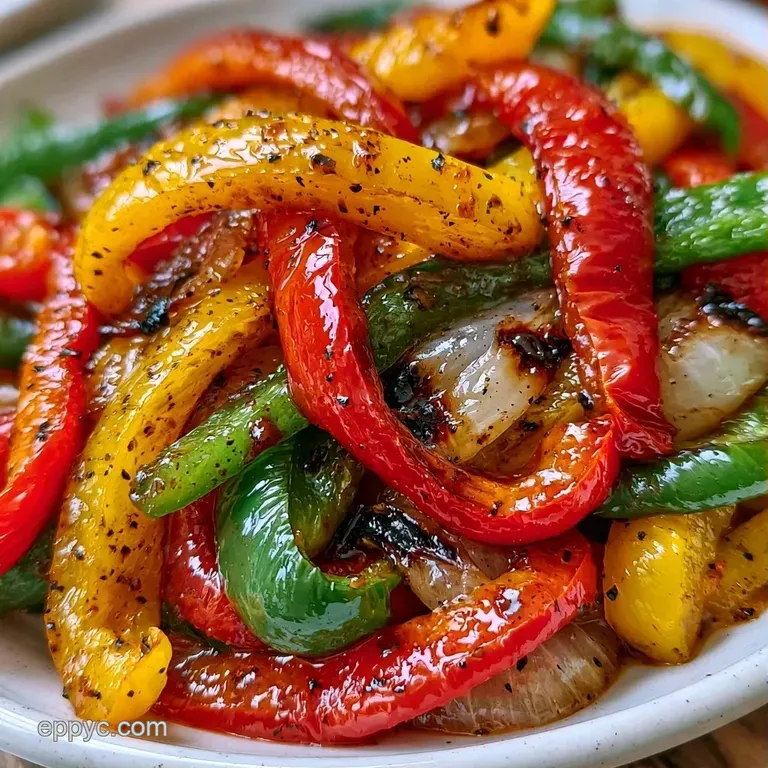
- 1 red bell pepper, sliced into 1/4 inch strips (140g) The goal: For sweetness and vivid color
- 1 yellow bell pepper, sliced into 1/4 inch strips (140g) The goal: To balance the overall taste
- 1 green bell pepper, sliced into 1/4 inch strips (140g) The goal: To add that classic earthy flavor
- 1 large white onion, sliced into 1/2 inch strips (200g) The goal: Prevent scorching with thicker slices
- 2 tbsp extra virgin olive oil The goal: Clean profile and high smoke point
- 1 tsp smoked paprika The goal: Mimic a smoky charcoal grill
- 1 tsp ground cumin The goal: Provide a nutty, warm aroma
- 1/2 tsp garlic powder The goal: Blend more evenly than fresh garlic
- 1/2 tsp kosher salt The goal: Pull out moisture for a superior sear
- 1/4 tsp cracked black pepper The goal: Add a subtle peppery kick
- 1 tbsp fresh lime juice The goal: Cut through the rich spices
Key Steps
Phase 1: The Precision Prep
Remove the cores and seeds from the bell peppers. Cut the red, yellow, and green peppers into uniform 1/4 inch strips, and slice the peeled onion into 1/2 inch strips. Combine the olive oil, smoked paprika, ground cumin, garlic powder, kosher salt, and cracked black pepper in a bowl to build the flavor base for your Pepper Fajitas.
Phase 2: The over High heat Sear
Set your cast iron pan over medium-high heat. Wait until a drop of water sizzles and evaporates instantly. Pour the oil and spice blend into the pan. Once the oil shimmers, arrange the peppers and onions in one layer.
Leave them untouched for 2-3 minutes until a deep, mahogany sear forms.
Phase 3: The Flavor Finish
Toss the vegetables using metal tongs. Cook for an additional 5-7 minutes, stirring every so often, until edges are browned but centers maintain a slight snap. Take the pan off the heat immediately and stir in the fresh lime juice to complete your Pepper Fajitas.
What Can Go Wrong (and How to Fix It)
Veggies Steaming Instead of Searing
This happens when you crowd the pan. Too many vegetables release moisture at once, creating a steam bath instead of a sear. If you're making a double batch of Pepper Fajitas, cook them in two separate turns.
Spices Burning in the Pan
If the oil smokes too aggressively before you add the veg, the paprika can burn and taste acrid. Ensure the vegetables go in the moment the oil shimmers. If it happens, just wipe the pan and start the oil phase over.
Peppers Turning Mushy
This is usually a result of cooking on medium heat for too long. You want high heat and a shorter cook time. Keep the total cook time around 12 minutes to ensure the centers stay crisp.
| Problem | Root Cause | Solution |
|---|---|---|
| Steamed veg | Overcrowded pan | Cook in smaller batches |
| Bitter taste | Burnt paprika | Add veg immediately to shimmering oil |
| Mushy texture | Heat too low | Increase to medium high heat |
How to Store and Keep Fresh
Keep leftover Pepper Fajitas in a glass container and refrigerate for 4 days. Let them cool entirely before closing the lid so they don't get soggy.
In the freezer, these will last 2 months. Use a flat bag to maximize your space. To reheat, steer clear of the microwave if you can; instead, toss them into a hot skillet for 3 minutes. This restores the charred finish that makes the dish so great.
Don't throw away your pepper seeds or onion ends. Store them in a freezer bag with other vegetable scraps. Once the bag is full, simmer everything in water to whip up a quick vegetable stock.
Variations & Substitutions
Consider stirring in sliced portobello mushrooms for a heartier texture. They absorb the spiced oil perfectly, enhancing the Pepper Fajitas. Simply toss them in along with the onions.
To adjust the spice level, substitute the green pepper with a poblano. These are milder than jalapeños and offer a deeper, smokier taste. For an additional protein to complete a fusion-inspired meal, my Chicken with Soy Sauce recipe pairs wonderfully here.
Alternatively, you can oven-roast the peppers and onions. Spread the ingredients on a sheet pan and roast at 400°F (200°C) for 15-20 minutes. While you'll get less char than using a skillet, it's a much simpler method when cooking for a crowd.
What to Serve This With
Warm corn or flour tortillas are the ideal accompaniment. I personally enjoy charring them over a gas flame for a few seconds to create those toasted black spots.
To turn this into a hearty meal, include pickled red onions, sour cream, and sliced avocado. For an optional side dip, a homemade Yum Yum sauce offers a tangy, creamy contrast to the smoky flavor of the Pepper Fajitas.
If you prefer a healthier option, serve these over brown rice or quinoa instead of tortillas. This creates a nutrient-rich power bowl that is excellent for office lunches.
You're all set to get dinner on the table. Just remember to be confident with your heat; let those peppers sizzle and avoid stirring them too early. Enjoy your Pepper Fajitas!
Recipe FAQs
How to achieve a deep sear on the peppers?
Let the vegetables sit undisturbed in the shimmering oil for 2–3 minutes.
Tip: use a cast-iron skillet to maintain a steady high heat.
Is it true that tricolor peppers are too sweet for authentic fajitas?
That's a myth. Red and yellow peppers provide a balanced sweetness that pairs perfectly with the smoked paprika and cumin.
Tip: slice all peppers into consistent 1/4 inch strips for even cooking.
Can I substitute green peppers for poblano peppers?
Yes, poblanos offer a richer, smokier flavor while remaining mild, and they pair well with crispy potato patties on the side.
Tip: add these at the same time as the other peppers to ensure they soften properly.
What causes the vegetables to become mushy?
Overcrowding the pan or cooking longer than 5–7 minutes after the initial sear causes the vegetables to steam instead of brown.
Tip: remove the skillet from heat immediately once the centers maintain a slight snap.
Pepper Fajitas in 20 Minutes