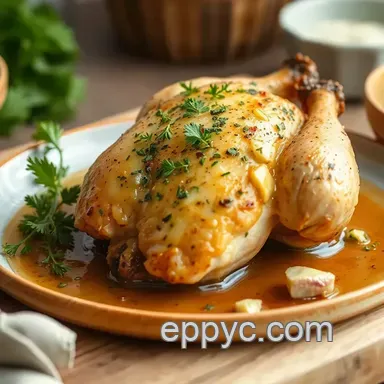
Garlic Herb Butter Baked Chicken in 30 Minutes
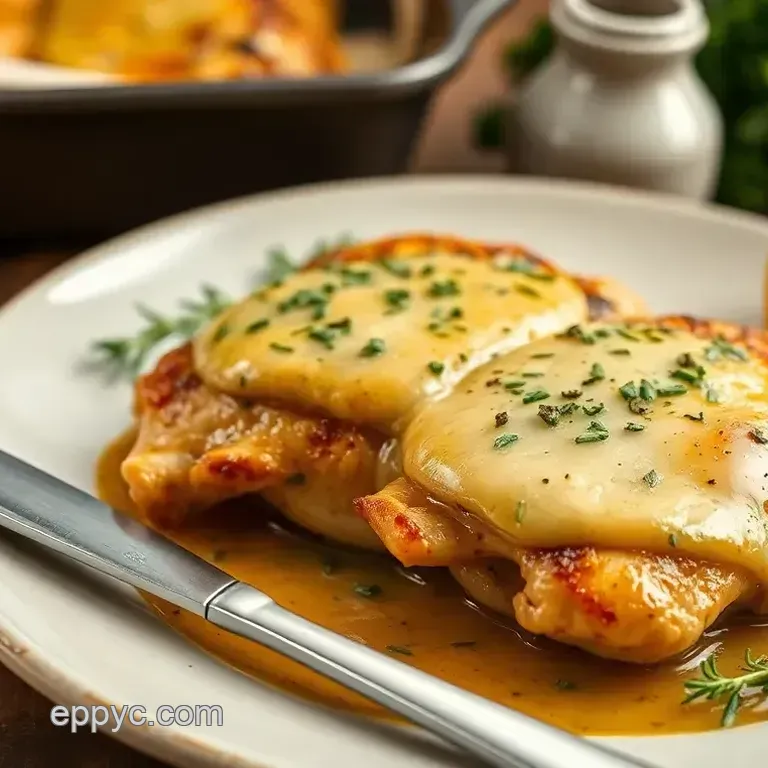
- Timing: 10 min active + 20 min cooking
- Taste & Texture: A golden-brown exterior with a rich, herb-infused glaze
- Best for: Hectic weeknights or a low-carb dinner that feels truly indulgent
The scent of garlic sizzling in hot oil is easily one of my favorite aromas. It’s that pungent, sharp fragrance that signals a great meal is on the way. This recipe is essentially a tribute to the French-American tradition of compound butters.
For years, home cooks in the US have adapted the sophisticated "beurre composé" from French bistros to give lean cuts of meat a more luxurious feel. Rather than spending time reducing a heavy cream sauce, you simply blend herbs into butter and let the oven handle the rest.
I used to simply bake chicken breasts and wonder why they always tasted like cardboard. The turning point came when I stopped relying solely on the oven. By combining a high-heat sear with a butter cap, you shield the meat from the drying air of the oven.
You can expect a Garlic Herb Butter Baked Chicken with a deep mahogany crust and a tender center. It is a budget-friendly way to serve a "fancy" meal, as the flavor relies on basic pantry staples like paprika and dried herbs if fresh ones aren't on hand.
It’s honest, uncomplicated cooking that requires no special expertise.
Garlic Herb Butter Baked Chicken
The logic here is simple. We aren't just adding flavor, we're managing moisture.
- The Sear: Searing doesn't seal in juices, but it creates a flavor crust. It adds a nutty depth that baking alone can't touch.
- The Butter Cap: A layer of herb butter acts as a shield. As it melts, it bastes the chicken constantly, preventing the lean breast meat from drying out.
| Method | Time | Texture | Best For |
|---|---|---|---|
| Sear + Bake | 35 min | Crispy outside, juicy inside | Maximum flavor |
| Oven Only | 25 min | Soft, steamed texture | Low effort meal prep |
| Pan Sear Only | 20 min | Very brown, higher risk of overcooking | Quick lunches |
The Essential Ingredient List
I've found that combining soft herbs like parsley with woodier varieties (rosemary, thyme) creates the most balanced flavor. If you're watching your budget, dried herbs are a fine alternative, though you should only use about a third of the amount.
For the Chicken Prep
- 4 (6 oz / 170g) boneless skinless chicken breasts Why this? Ensures uniform cooking times
- 1 tsp (5ml) olive oil Why this? Better for searing than butter due to its higher smoke point
- ½ tsp (3g) kosher salt Why this? Coarse grains are easier to spread evenly
- ½ tsp (3g) cracked black pepper Why this? Coarse grinds provide a robust, peppery snap
- ½ tsp (3g) paprika Why this? Gives the meat a beautiful golden-brown hue
For the Garlic Herb Butter
- 3 tbsp (42g) unsalted butter, softened Why this? Lets you customize the salt content
- 3 cloves (15g) garlic, minced Why this? Fresh cloves offer a more pungent, crisp flavor
- 1 tbsp (3g) fresh parsley, finely chopped Why this? Lends a bright, garden-fresh note
- 1 tsp (1g) fresh rosemary, minced Why this? Adds a fragrant, forest-like quality
- 1 tsp (1g) fresh thyme, minced Why this? Introduces a light, citrusy floral essence
- 1 tsp (5ml) lemon juice Why this? Brightens the flavor and balances the creamy butter
| Original Ingredient | Substitute | Why It Works |
|---|---|---|
| Unsalted Butter | Ghee (clarified butter) | Higher smoke point. Note: Offers a slightly nuttier taste |
| Fresh Parsley | Dried Parsley (1 tsp) | Comparable taste. Note: Color is less vivid |
| Lemon Juice | Apple Cider Vinegar | Adds required acidity. Note: Brings a sharper, fermented quality |
Cooking Specs and Timing
Precise temperature control is key to keeping the meat juicy rather than letting it turn rubbery. I always rely on a digital thermometer since timers are mostly guesswork.
- Prep Time: 10 minutes
- Cook Time: 20 minutes
- Total Time: 35 minutes
- Oven Temp: 400°F (200°C)
- Target Internal Temp: 165°F (74°C)
- Resting Time: 5 minutes
| Goal | What to change |
|---|---|
| More crust | Increase sear time by 1 min per side |
| Leaner meal | Swap butter for olive oil and lemon zest |
| Thicker breasts | Increase bake time by 3-5 minutes |
The Kitchen Gear Needed
No high-end equipment is required for this; a basic home setup is plenty. The only absolute essential is the skillet.
- Oven safe skillet: Cast iron is ideal due to its superior heat retention. If you use stainless steel, just ensure the handles are oven-safe.
- Meat thermometer: An instant-read probe is the best way to verify the chicken is cooked through without cutting into it and losing the juices.
- Small mixing bowl: To mash the compound butter.
- Paper towels: Essential for patting the meat dry.
Step by step Cooking Process
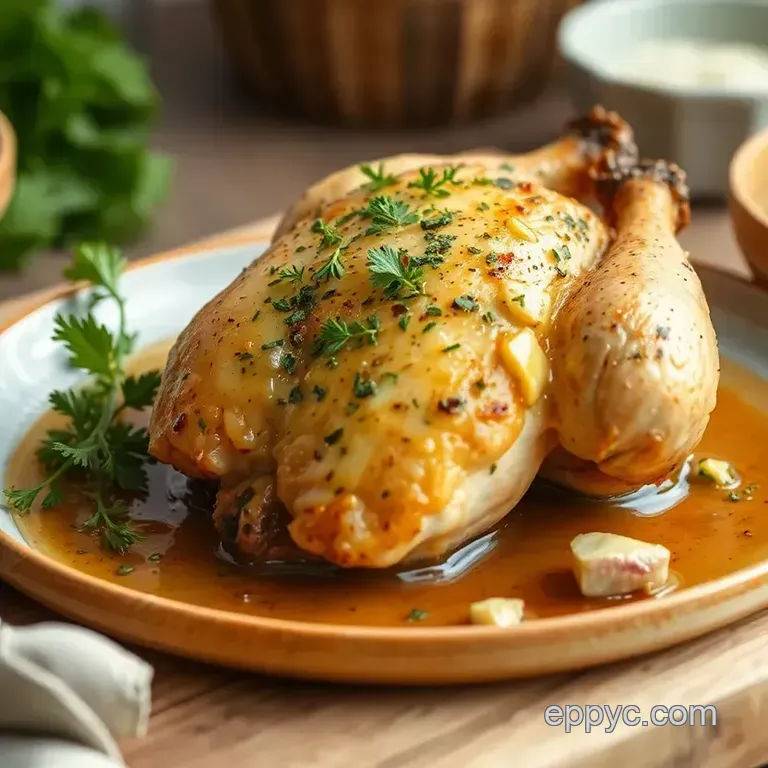
Let's get started. The trick is to work quickly once the butter is added so it doesn't fully melt before the skillet is in the oven.
Phase 1: Season and Prep
- Use paper towels to pat the chicken breasts completely dry. Note: Wet meat will steam instead of searing.
- Rub each piece with olive oil, then season evenly with salt, pepper, and paprika.
- In a small bowl, combine the softened butter, minced garlic, parsley, rosemary, thyme, and lemon juice, mashing them into a smooth paste.
Phase 2: High Heat Sear
- Preheat the oven to 400°F (200°C).
- Heat an oven-safe skillet over medium-high.
- Once the oil shimmers, sear the chicken for 3–5 minutes per side until golden brown.
Phase 3: Butter Glaze and Bake
- Turn the heat down to low.
- Add a generous dollop of the garlic herb butter to each breast, spreading it over the top.
- Immediately move the skillet to the oven and bake for 10–15 minutes, until the meat hits 165°F (74°C) internally.
Phase 4: The Essential Rest
- Take the pan out of the oven and transfer the chicken to a plate.
- Drizzle the remaining pan juices over the meat.
- Allow the chicken to rest for 5 minutes until the juices redistribute.
Fixing Common Cooking Issues
Most issues with this recipe come down to heat management. If the pan isn't hot enough, you won't get that brown crust. If it's too hot, the garlic in the butter will burn and turn bitter.
Dealing with Dry Meat
Overcooking is the main enemy. Lean breasts cook fast. If you rely on a timer instead of a thermometer, you'll probably overdo it. I usually pull my chicken at 160°F (71°C) because carry over cooking brings it up to 165°F while it rests.
Fixing Bitter Garlic
If your garlic tastes burnt or bitter, you probably seared the chicken with the butter already on. Always sear with oil first. The butter goes on at the very end before the oven stage because it has a lower smoke point and burns quickly.
Solving the Pale Meat Problem
If your chicken looks grey instead of golden, your pan wasn't hot enough or the meat was too wet. Make sure the oil is shimmering before the chicken hits the pan and use plenty of paper towels to dry the surface.
| Problem | Root Cause | Solution |
|---|---|---|
| Rubber Texture | Overcooked | Pull meat 5 degrees before target temp |
| Garlic Burned | Butter added too early | Sear with oil, add butter before baking |
| Meat Stuck to Pan | Pan not preheated | Wait for oil to shimmer before adding meat |
Storage and Freezer Tips
The butter glaze helps this chicken stay moist, making it ideal for reheating.
Keep any remaining portions in an airtight glass jar in the refrigerator for up to 72 hours. To maintain the texture, avoid using a high-power microwave setting. Instead, opt for low power or warm it in a 300°F (150°C) oven for 10 minutes, adding a bit of water to the pan for steam.
For long-term storage, wrap individual breasts in aluminum foil and tuck them into a freezer bag. These will remain fresh for roughly 3 months. Defrost them in the fridge overnight before warming.
Don't toss the extra herb butter; it works beautifully melted over steak or mixed into steamed veggies. You can also combine chicken bones from other cuts with the pan drippings to simmer a quick stock. Serving this with Twice Baked Potatoes makes for a complete, comforting meal.
Plating for Better Look
You don't need to be a pro to make this look like it came from a restaurant. The color is already doing the heavy lifting.
Place the chicken on a warm platter and spoon the brown bits from the pan directly over the center. Garnish with a fresh sprig of parsley and a thin slice of lemon. The bright yellow of the lemon against the mahogany chicken makes the colors pop.
If you're serving this for a crowd, slice the breasts on a bias (diagonally). This exposes the juicy interior and makes the portion look larger on the plate.
Ways to Change Flavors
Once you've got the base method down, you can tweak the ingredients to fit whatever you have in the fridge.
Using Thighs
For a Garlic Butter Herb Roasted Chicken Thigh version, just increase the bake time. Thighs are more forgiving and can handle higher heat. Bake them for 20-25 minutes instead of 10-15.
Adding Heat
If you want a spicy kick, add 1/2 tsp of crushed red pepper flakes to the butter mixture. The fat in the butter carries the heat and spreads it evenly across the meat.
Dairy-free Option
Swap the butter for a high-quality vegan butter or a mix of olive oil and a pinch of nutritional yeast for a similar savory depth.
If you find you prefer something even creamier, you might enjoy a Chicken Cordon Bleu Lasagna for your next dinner party.
Debunking the Sear Myth
A lot of people think searing "locks in" the juices. It doesn't. Moisture loss happens regardless of how you start the cook. The real reason we sear is for the flavor. The browning creates complex compounds that make the meat taste richer.
Recipe FAQs
Should I use 400°F or 350°F for baking?
400°F (200°C) is the ideal temperature. This higher heat ensures a golden-brown sear and keeps the interior juicy.
Is it true that butter makes baked chicken too greasy?
This one's false: butter forms a protective glaze. This layer locks in moisture and prevents the meat from drying out during the roasting process.
How do I season the meat?
Pat the chicken breasts completely dry with paper towels. Rub each with olive oil, salt, pepper, and paprika before applying the herb butter paste.
What are the ingredients and baking instructions?
Combine softened butter, garlic, parsley, rosemary, thyme, and lemon juice into a paste. Sear seasoned breasts for 3–5 minutes per side, top with butter, and bake at 400°F for 10–15 minutes. This flavor-layering technique is similar to how we approach a beef tenderloin roast.
Garlic Herb Butter Baked Chicken for 4