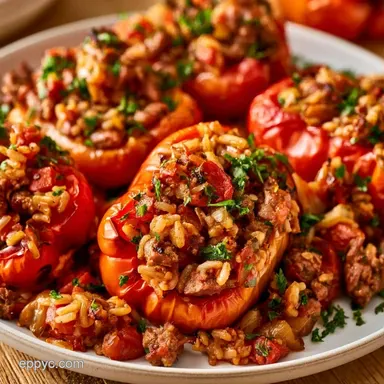
Freezer Bag Stuffed Peppers with Beef and Rice
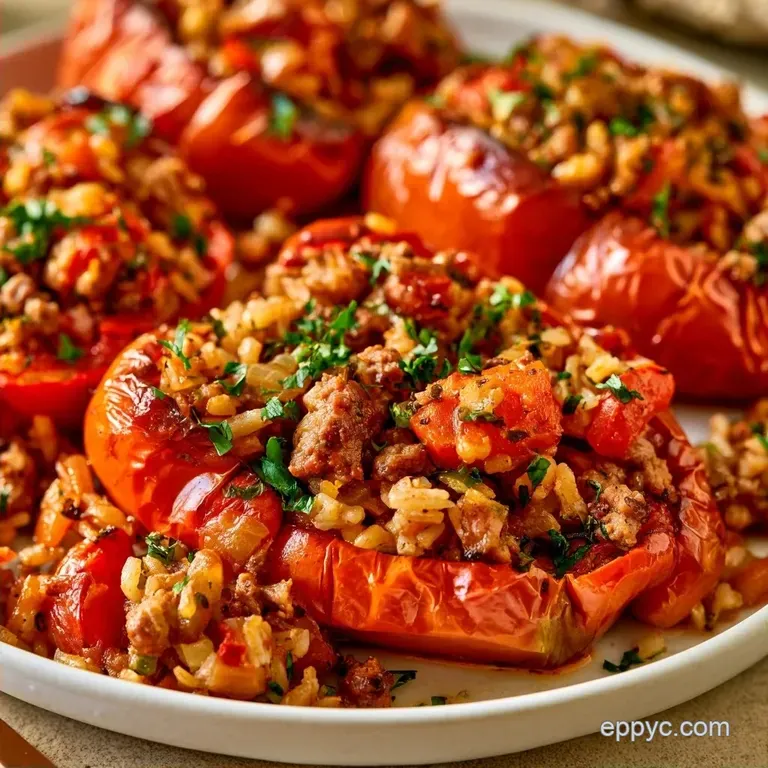
- Time: 30 min active + 24 hr thawing
- Flavor/Texture Hook: Hearty, savory beef with tender, steaming peppers
- Perfect for: Busy weeknight dinners or meal prep beginners
Easy Stuffed Peppers For Meal Prep
The smell of roasting bell peppers filling the kitchen is one of those things that just feels like home. I still think about my grandmother's kitchen on Sundays, where the air was thick with garlic and simmering tomatoes.
She did everything by hand, but in today's fast paced world, we don't always have four hours to spend on a single dinner.
That's why I shifted this classic to a freezer friendly system. It gives you that same heartfelt, home cooked taste but fits into a schedule that actually works. You get the comfort of Stuffed Peppers without spending your entire evening scrubbing pots and pans.
We're focusing on the bell pepper as the star here. It acts as a natural vessel that steams the filling from the outside in. When you get the moisture ratio right, the pepper softens just enough to be tender but keeps enough structure to hold everything together.
Recipe Specs
Here are the details. This recipe serves a typical family, and the prep work consists mainly of mixing and bagging.
- Prep time:30 minutes
- Cook time:35 minutes
- Total time:65 minutes
- Yield: 6 servings
- Oven Temp:350°F (180°C)
Because this is a "dump" meal, the primary time commitment is the 24 hour thaw in the fridge. Make sure not to skip this step, or your dinner may have a frozen center.
What Nobody Tells You
Most people just throw everything in a pot, but there's a reason this specific flow works.
- Pre Cooked Rice: Using cooked rice instead of raw prevents the filling from soaking up all the tomato sauce. It keeps the mixture rich and prevents the rice from becoming a gummy mass.
- The Bag Massage: Gently kneading the thawed bag breaks up any rice clumps. This ensures every bite has an even mix of beef and sauce.
If you're looking for a side to go with this, a creamy Mac and Cheese balances the acidity of the tomato sauce beautifully.
| Method | Time | Texture | Best For |
|---|---|---|---|
| Classic Stuffed | Slow | Very Soft | Sunday Dinner |
| Freezer Bag | Fast | Hearty | Weeknight Meal |
Shopping List Breakdown
I've listed everything you need below. I prefer using lean ground beef so we don't end up with a pool of grease at the bottom of the baking dish.
| Ingredient | What It Does | Best Swap |
|---|---|---|
| Ground Beef | Hearty base | Ground Turkey (lean) |
| White Rice | Absorbs juices | Brown Rice or Quinoa |
| Tomato Sauce | Adds acidity/moisture | Crushed Tomatoes |
| Bell Peppers | Steams the filling | Zucchini (hollowed) |
Full Ingredients List:
- 1 lb lean ground beef
- 2 cups cooked white or brown riceWhy this? Keeps the filling from getting too dry
- 15 oz tomato sauce
- 1 medium yellow onion, finely diced
- 3 cloves garlic, minced
- 1 tbsp Worcestershire sauce
- 1 tsp dried oregano
- ½ tsp salt
- ¼ tsp black pepper
- 6 large bell peppers
- 1 cup shredded mozzarella or cheddar cheese
- ½ cup beef broth or water
If you don't have Worcestershire, a splash of soy sauce provides a similar depth. For the cheese, I've found that a mix of mozzarella and sharp cheddar gives the best pull and flavor.
Equipment Needed
Basic kitchen tools are all you'll need for this.
- Gallon sized freezer bags (essential for these dump meals)
- Large mixing bowl (if you prefer to mix before bagging)
- Baking dish (a 9x13 inch size works best)
- Chef's knife and cutting board
- Baking sheet (to help freeze the bags flat)
Stick with heavy duty freezer bags. Cheaper options can leak or tear while you are massaging the thawed ingredients, and nobody wants a beef sauce mess in the refrigerator.
The Cooking Process
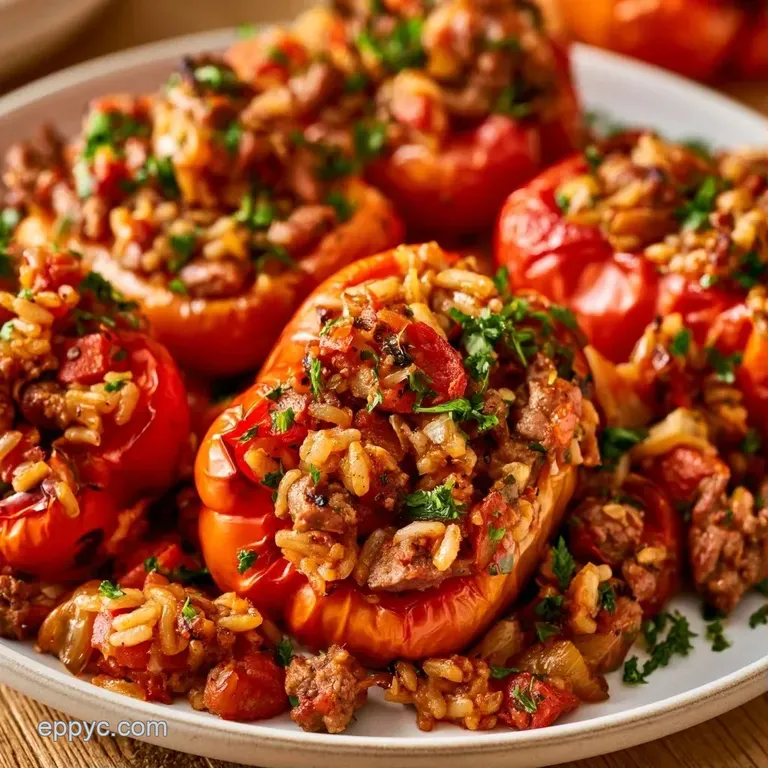
Let's dive in. The key is how you prepare the Bag Stuffed Peppers before they even go into the oven.
- Prepare the beef mixture. Combine the raw ground beef, diced onion, and minced garlic in a gallon sized freezer bag.
- Incorporate the binder. Mix in the cooked rice, tomato sauce, Worcestershire sauce, oregano, salt, and pepper. Note: To save on dishes, use a spoon to stir the ingredients directly inside the bag.
- Remove air. Press any excess air out and close the seal tightly.
- Flash freeze. Lay the bag flat on a baking sheet. Freeze for 2-4 hours until firm. This allows them to stack more easily in the freezer.
- Store. Move the bag to your main freezer. These Freezer Bag Stuffed Peppers keep for up to 3 months.
- Thaw. Move the bag to the refrigerator 24 hours before you plan to cook.
- Massage. Once thawed, gently knead the bag to break up any rice clumps.
- Fill peppers. Stuff the mixture into your prepared bell peppers and set them upright in a baking dish.
- Add liquid. Pour the ½ cup beef broth into the bottom of the pan.
- Bake. Cook at 350°F (180°C) for 35 minutes until the peppers are tender and the cheese is bubbling.
Alternatively, you can prepare these in a slow cooker on low for 6 hours. Just be careful not to add too much liquid, or they will boil instead of steam.
Pro Tips & Pitfalls
Even basic recipes can have hiccups. Here are some tips for troubleshooting common Stuffed Pepper problems.
Preventing Soggy Bottoms
If your peppers feel mushy or slide around, you likely added too much broth. Use exactly ½ cup. Excessive liquid leads to boiling, which breaks down the pepper walls too fast.
Avoiding Rubbery Cheese
Adding cheese too soon can result in a tough, oily layer. For a rich and stretchy finish, wait until the final 10 minutes of cooking to add your topping.
Solving Clumped Rice
If the rice isn't blending well, it's usually the result of thawing too quickly. Avoid using the microwave. A slow thaw in the fridge, combined with the massage step, is the best way to ensure a consistent texture.
According to USDA guidelines, the filling should hit 165°F. Check the center with a meat thermometer to be certain.
Adjusting Your Batch Size
If you need to adjust the batch size, keep these tips in mind.
Cutting it in half: Use an 8x8 pan. Because the cooking time typically decreases by about 20%, begin checking for doneness at 25 minutes.
Doubling the batch: Avoid doubling the salt and oregano; instead, use 1.5x the spices to prevent the flavor from becoming overwhelming. Use two separate baking dishes rather than one large one to ensure the heat circulates evenly.
Common Misconceptions
Searing the meat before freezing is often suggested to "lock in flavor." In reality, the beef cooks slowly inside the pepper, and the tomato sauce provides plenty of moisture. Searing actually adds an extra step that isn't necessary for this specific dump meal style.
Some think you must parboil the peppers first. You don't. If you use a small amount of broth in the pan, the steam does the work for you, keeping the peppers from becoming overly limp.
Creative Twists and Swaps
I love experimenting with these. If you want a different flavor profile, try these changes.
- Mexican Style: Swap the oregano for cumin and chili powder. Use pepper jack cheese instead of mozzarella.
- Leaner Option: Use ground turkey. Just be sure to add an extra tablespoon of olive oil to the mix, as turkey lacks the fat of beef.
- Vegetarian Version: Replace the beef with cooked lentils or a plant based crumble. This makes great Freezer Bag Stuffed Peppers Vegetarian.
For those who want a more concentrated flavor, you can use a hearty stuffed pepper filling which uses a slightly different ratio of aromatics.
Decision Shortcut:
- Extra tang? → fold in 1 tsp lemon zest.
- More heat? → add 1/2 tsp red pepper flakes.
- Leaner meat? → drain beef thoroughly before bagging.
Keeping It Fresh
If you have leftovers, make sure they don't go to waste.
Fridge: Store in a sealed container and keep chilled for 3 days maximum. Freezer: Fully cooked Stuffed Peppers stay fresh in the freezer for up to 2 months. Just wrap each one individually in foil.
Zero Waste Tip: Save those pepper tops! Dice them and sauté with onions for your next batch, or store them in a small bag in the freezer to toss into a veggie soup later.
How to Serve and Enjoy
The best way to enjoy these is straight from the oven. Let them rest for 5 minutes so the juices settle.
I like serving these with a side of steamed greens or a light salad to cut through the richness. If you're feeling indulgent, a dollop of sour cream on top adds a nice cool contrast to the savory beef.
These Freezer Stuffed Peppers are a staple in my house because they bridge the gap between "fast food" and "slow food." Whether you're prepping a dozen Bag Stuffed Peppers for the month or just making a few for tonight, the consistency is always there. Trust me, your future self will thank you when you pull a ready to go meal out of the freezer on a rainy Tuesday.
Recipe FAQs
Is it best to freeze stuffed peppers cooked or uncooked?
Surprisingly, no, you should freeze the filling uncooked in a bag before stuffing the peppers.
Tip: Freezing the raw mix prevents the rice from becoming mushy and the peppers from getting soggy.
How to freeze stuffed peppers?
Combine raw beef, onion, garlic, cooked rice, tomato sauce, and seasonings in a freezer safe zip-top bag.
Tip: Lay the bag flat on a baking sheet while freezing to ensure the filling thaws evenly.
How to cook stuffed peppers that have been frozen?
Thaw the filling in the refrigerator for 24 hours, stuff into bell peppers, and bake in a dish with beef broth.
Tip: Gently massage the thawed bag to break up any rice clumps before filling the peppers.
What are some freezer ready meal recipes you enjoy?
Stuffed peppers are a great start, but I also love prepping hearty sides like twice baked potatoes for easy reheating.
Tip: Use gallon sized bags for "dump meals" to save space and minimize cleanup.
Freezer Bag Stuffed Peppers