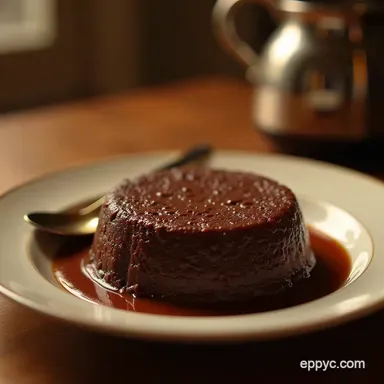
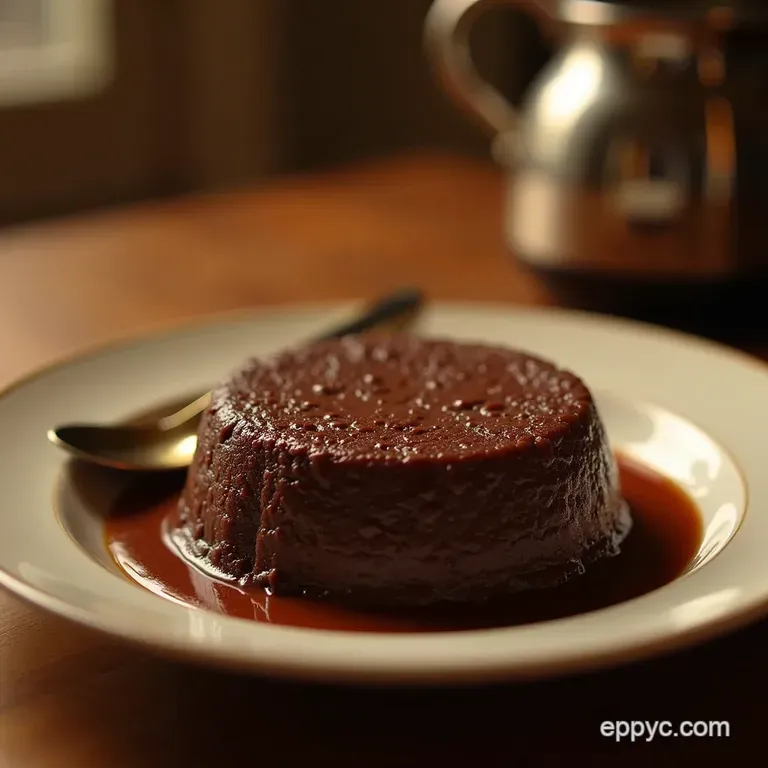
The Proper Cuppa Rich Silky Stovetop Dark Chocolate Custard Pudding
- Why This Homemade Chocolate Pudding Beats the Box Mix Every Time
- Unveiling the Magic of True Stovetop Custard
- The Essential Pantry Lineup for Luxurious Chocolate Pudding
- Step-by-Step Mastery: Achieving the Perfect Pudding Consistency
- Elevating Your Dessert: Serving Suggestions and Garnishes
- Troubleshooting Common Stovetop Pudding Pitfalls
- Recipe FAQs
- 📝 Recipe Card
Why This Homemade Chocolate Pudding Beats the Box Mix Every Time
Let’s be honest, there’s a time and a place for the quick fix we all love convenience. But when it comes to true culinary satisfaction, nothing and I mean nothing —compares to the deep, luxurious experience of genuine homemade chocolate pudding .
We are venturing far beyond those grainy, artificially flavoured sachets today. This recipe harks back to the classic, comforting desserts of yesteryear, relying on the alchemy of simple ingredients cooked low and slow on the stovetop to yield something truly spectacular.
If you're craving a comfort food dessert that feels both nostalgic and incredibly sophisticated, prepare to elevate your dessert game. This isn't just pudding; it’s a testament to how phenomenal simple technique can be.
Unveiling the Magic of True Stovetop Custard
What separates this recipe from lesser versions? It’s the method. We are making a true chocolate custard recipe , one that relies on egg yolks for body and richness, rather than purely relying on commercial stabilizers. The result is profoundly satisfying.
Think of it as the velvet glove wrapping around a core of intense cocoa flavour. This is the kind of recipe you write down and guard with your life, ensuring you can recreate that perfect, melt-in-your mouth experience every single time.
The Comfort Food Mandate: Embracing True Indulgence
The mission here is clear: to create a dessert that feels like a warm hug from your Nan on a chilly evening. This rich chocolate pudding isn't light; it’s decadent, relying on whole milk and the richness of egg yolks to deliver a mouthful of pure indulgence.
We are aiming for that nostalgic feeling associated with the best desserts, but with a flavour profile far more complex and satisfying than anything you can simply stir into cold water.
Decoding the 'Silky' Texture: What Sets This Recipe Apart
The secret to that signature velvety mouthfeel lies in a few key structural elements, primarily the careful use of cornstarch alongside the egg yolks, and meticulous temperature management.
The goal is a silky chocolate pudding that flows languidly off the spoon before firming slightly upon chilling. We achieve this by tempering the yolks correctly and ensuring the starch is fully cooked out, eliminating any chalkiness that can plague thinner custards.
A Note on Deep, Dark Chocolate Flavor Profiles
To achieve a truly deeply chocolatey pudding , the quality of your cocoa matters immensely. We strongly recommend Dutch processed cocoa powder for this iteration.
Dutch processing neutralizes some of the cocoa’s natural acidity, resulting in a darker colour and a smoother, less sharp chocolate flavour that pairs beautifully with the richness of the dairy and eggs. This selection is foundational to making the best chocolate pudding possible.
The Essential Pantry Lineup for Luxurious Chocolate Pudding
This chocolate pudding recipe relies on core pantry staples, but selecting good quality versions of these ingredients makes all the difference. You'll need 2 cups of whole milk (full fat is non-negotiable for the best texture), ½ cup of granulated sugar, ¼ cup of high-quality unsweetened cocoa powder, 3 large egg yolks, 3 tablespoons of cornstarch, a pinch of salt, 1 teaspoon of vanilla extract, and 1 tablespoon of unsalted butter for the final flourish.
Tool Checklist: Essential Equipment for Stovetop Success
The right tools prevent panic! Your primary piece of equipment must be a medium heavy bottomed saucepan . This is non-negotiable. A thick base distributes heat evenly, dramatically lowering the risk of scorching the milk and starch mixture on the bottom.
You will also need a good balloon whisk constant stirring is mandatory and a rubber spatula to scrape the sides and bottom thoroughly. Finally, have your 6 individual ramekins or serving dishes ready before you even turn on the heat.
The Role of the Thickener: Mastering Cornstarch Ratios
Cornstarch (or cornflour) acts as our primary stabilizer here, providing that essential structure once chilled. The ratio of 3 tablespoons to 2 cups of liquid is calculated precisely to create a pudding that sets firmly but remains lusciously soft, avoiding the gluey texture sometimes associated with too much starch.
It works in tandem with the egg yolks, ensuring a clean set.
Sourcing Premium Cocoa Powder for Maximum Impact
Since chocolate is the undisputed star, don’t skimp here. Dutch processed cocoa powder gives a beautiful, dark hue and a mellow, profound chocolate flavour. Avoid basic baking cocoa if you want a truly rich chocolate pudding experience, as it can sometimes introduce a slightly bitter or harsh edge when cooked this way.
Related Recipes Worth Trying
- Ultimate NoBake Chocolate Biscuit Cake Easy Dessert Recipes for a Crowd — Need easy dessert recipes for a crowd that taste amazing This makeahead chocolate biscuit cake is fudgy crunchy and requires zero oven time A guaranteed...
- Decadent Midnight Velvet Flourless Chocolate Torte Recipe — Forget flour This easy flourless cake recipe yields an intensely rich fudgy torte that melts in your mouth Perfect for a simple yet stunning dessert
- Grasshopper Pie Recipe My Mint Chocolate Dream Pie — Craving a retro classic My easy grasshopper pie recipe features a chocolate cookie crust and a creamy mint filling A refreshing chocolate mint dessert Get...
Step-by-step Mastery: Achieving the Perfect Pudding Consistency
The process requires focus but is remarkably straightforward once you understand the sequence. The initial step involves mixing all your dry ingredients the sugar, cocoa, cornstarch, and salt right in the saucepan before adding any liquid.
This ensures the starch and cocoa are fully dispersed, preventing frustrating lumps later on.
Phase One: Blooming the Cocoa in the Cold Base
Once the dry ingredients are combined, we pour in the remaining milk and whisk until completely smooth. This mixing stage, while the ingredients are still cold, allows the cocoa powder to 'bloom' slightly in the liquid before heat is introduced.
This simple pre-step enhances the final colour and flavour depth of your stovetop chocolate pudding .
The Whisking Regimen: Preventing Lumps on Medium Heat
With the mixture gently warming over medium heat, you must commit to a constant whisking regimen . Do not stop. The starch will settle and scorch the moment you look away. Continue whisking until the mixture begins to steam and slowly coats the back of a spoon.
This is the thickening starting point.
Testing for Readiness: The Back-of-the-Spoon Indicator
Once the mixture is noticeably thicker, you need to introduce the tempered egg yolks. After adding them back slowly while whisking furiously, continue to cook gently over low heat for another minute or two after the mixture starts to bubble slowly.
The definitive test for this chocolate custard recipe is the back-of-the-spoon test: dip a clean spoon into the pudding, run your finger across the back of the spoon, and if the line holds clear without the pudding running back to meet itself, you've cooked the starch sufficiently.
Chill Time Secrets: Cooling Your Freshly Made Chocolate Pudding
Immediately remove the pan from the heat. This is where we add the final notes of luxury: the vanilla extract and the tablespoon of butter, stirring until the butter melts and gives the pudding a wonderful, glossy sheen.
For the smoothest possible result, immediately pour the mixture through a fine mesh sieve into a clean bowl before portioning. To prevent that unpleasant skin from forming on top during chilling, press a piece of plastic wrap directly onto the surface of the pudding in each serving dish.
A minimum of three hours in the refrigerator is required for this chocolate pudding to achieve its perfect, sliceable yet yielding texture.
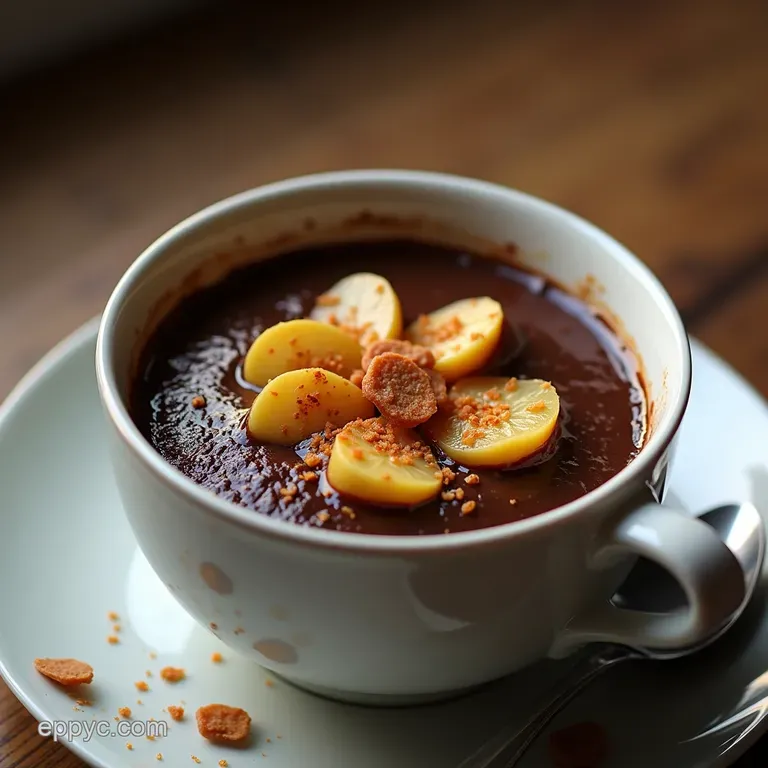
Elevating Your Dessert: Serving Suggestions and Garnishes
While magnificent on its own, a spoonful of this deeply chocolatey pudding begs for a textural companion. A generous dollop of freshly whipped, unsweetened cream provides a beautiful, airy contrast to the dense custard below.
For something more complex, consider a sprinkle of flaky sea salt it miraculously amplifies the chocolate notes or perhaps some toasted, chopped pecans for a welcome crunch.
Troubleshooting Common Stovetop Pudding Pitfalls
If your pudding ends up slightly lumpy, don't panic; a good strain through a sieve before chilling can often rescue it. If it hasn’t set after chilling, it likely needed 30 more seconds of cooking time before the eggs were added, or the heat was too low initially.
If it scrambles, the heat was too high when the yolks were introduced; next time, temper more slowly!
Storage Life and Reheating Best Practices
This Silky Dark Chocolate Custard Pudding keeps beautifully in an airtight container in the refrigerator for up to four days. Because it is custard based, reheating should be done gently.
A quick 10-second burst in the microwave, followed by a vigorous whisk, is usually enough to loosen the texture back up without causing the yolks to separate.
Variation Station: Adding Spices, Coffee, or Mint Essence
To explore beyond the classic, consider infusing the milk slightly. Gently heat the milk with a cinnamon stick or a few star anise pods for 15 minutes before removing the spice and proceeding with the recipe strain the milk first.
Alternatively, dissolving a teaspoon of instant espresso powder into the cold milk before heating unlocks a phenomenal mocha dimension. For a refreshing twist, stir in a few drops of pure peppermint extract along with the vanilla at the very end.
Nutritional Snapshot: Understanding the Treat Factor
As an old-fashioned, egg-yolk rich comfort food dessert , this recipe carries satisfying richness from the whole milk and butter. While certainly a treat, it offers a higher protein content compared to gelatin set puddings due to the yolks.
It is best enjoyed mindfully, savouring every luxurious spoonful of what is undoubtedly the best chocolate pudding you’ll ever make at home.
Recipe FAQs
My Chocolate Pudding seems a bit thin after chilling. What went wrong?
This usually happens if the mixture wasn't cooked long enough to activate the starch, or if the tempering process was rushed. Remember, once the mixture thickens, you still need to cook it gently for a minute or two while stirring constantly to ensure the cornstarch fully gelatinizes.
If it's only slightly loose, a quick reheat and stir might help, but mostly, chilling time is crucial!
How do I stop that awful rubbery skin forming on top of my Chocolate Pudding while it cools?
Ah, the dreaded pudding skin! It's caused by evaporation and cooling proteins on the surface. To avoid this bit of kitchen bother, you must press a layer of plastic wrap directly onto the surface of the pudding in each serving dish immediately after you strain it.
This blocks the air, keeping the top beautifully smooth and velvety, much like a well ironed shirt!
Can I make this Chocolate Pudding recipe ahead of time, and how long does it keep?
Absolutely, this is a fantastic make-ahead dessert, often tasting even better the next day! Once fully chilled, it will keep well in the refrigerator for up to 3 to 4 days, provided it’s kept tightly covered (plastic wrap touching the surface is best). It’s perfect for prepping before a big Sunday roast!
I'm nervous about tempering the egg yolks is there a simpler way to thicken this pudding?
Tempering is just gently warming the yolks so they don't scramble, but if you’re keen to avoid it, you can skip tempering by whisking the yolks thoroughly into the cold milk and starch mixture initially, before applying any heat. Then, heat slowly, whisking absolutely non-stop until it thickens.
Just be extra vigilant, as the risk of scorching is higher!
What's the best way to serve this rich pudding? Any interesting toppings?
For a traditional treat, a generous cloud of freshly whipped cream, perhaps flavoured with a hint of vanilla or a splash of brandy, is divine. If you fancy a textural contrast, try scattering some toasted, chopped pecans or flaked sea salt right before serving. It’s all about balance, isn't it?
Silky Chocolate Custard Pudding