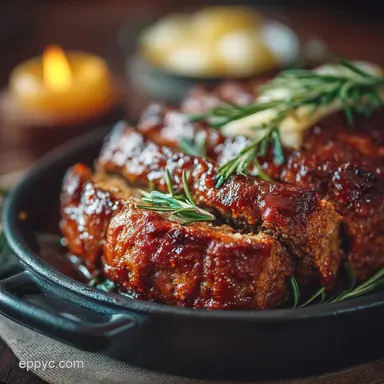
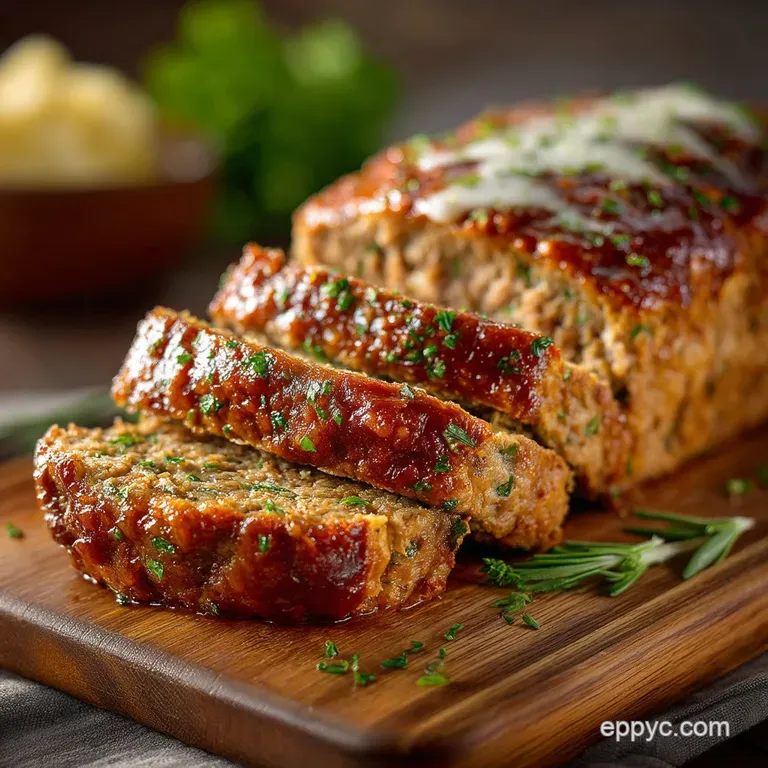
Crispy Buttermilk Fried Pickles with Smoked Paprika Dust
- Elevating the Classic: Why Buttermilk Makes Better Fried Pickles
- Essential Pantry & Produce for Crispy Fried Pickles
- Necessary Kitchen Gear for Deep-Frying Success
- Step-by-Step Culinary Journey to Perfect Golden Results
- Troubleshooting and Expert Tips for Your Fried Pickles Batch
- Recipe FAQs
- 📝 Recipe Card
Elevating the Classic: Why Buttermilk Makes Better Fried Pickles
There is a noticeable difference between a good fried pickle and a truly great one. The secret to achieving that deep, shattering crunch and exceptional flavour adhesion lies not just in the frying technique, but in the pre-treatment.
By introducing a buttermilk soak, we leverage the natural acidity and thicker texture of this essential dairy product. The buttermilk slightly tenderizes the exterior of the pickle slice, allowing the flour mixture to bond more aggressively than it would to a simple, wet brine soaked surface.
This ensures that every piece of your fried pickles recipe emerges with a stable, thick, and incredibly delicious crust.
The Secret to Serious Crunch: Buttermilk Prep
Achieving superior crispness starts long before the pickles meet the hot oil. First and foremost, all moisture from the initial brine must be removed; you need to thoroughly drain and pat the chips dry with paper towels.
Once dry, the buttermilk, combined with one egg and a teaspoon of hot sauce for subtle depth, forms a perfect liquid binder. The viscosity of the buttermilk ensures a thick, even coating, creating the foundation for truly crispy fried pickles .
This step is non-negotiable for producing homemade fried pickles that rival any restaurant standard.
Tangy Perfection: Understanding the Pickle Frying Science
The science of frying pickles is a beautiful study in contrast. You are dropping a cold, briny item, stabilized by the buttermilk coating, into scorching hot oil (ideally 350°F/175°C).
The rapid thermal shock instantly sets the coating, minimizing oil absorption and creating the immediate, hard crust necessary to protect the tangy pickle interior. If the coating is thin or the temperature is too low, the pickle will continue to leach moisture, resulting in a greasy, soft exterior.
Our robust fried pickles batter recipe is specifically designed to resist this process, locking in the vinegar flavour while promoting a perfect golden hue.
A Brief History of This Beloved Southern Delicacy
While the exact moment of invention is debated, fried pickles are firmly cemented in the culinary history of the American South. Often credited to the Duchess Drive-In in Atkins, Arkansas, in the early 1960s, these savory snacks quickly traveled beyond roadside diners and into the heart of pub and bar menus everywhere.
Originally conceived as a simple way to utilize a common pantry staple, they rapidly became a global sensation, recognized for their unique and satisfying combination of heat, salt, and crunch.
Essential Pantry & Produce for Crispy Fried Pickles
Creating the ultimate snack requires precision in ingredient selection. Beyond the 32-ounce jars of dill pickle chips, the success hinges entirely on the dry dredge. We rely on a blend of 1.5 cups of all-purpose flour and 1/2 cup of fine yellow cornmeal.
The cornmeal is a key element, providing the granular texture that translates into that dramatic, shatteringly crisp finish. The spice profile is generous, featuring a full tablespoon of smoked paprika, garlic powder, onion powder, and dried oregano, ensuring the coating itself is richly seasoned, not just salty.
Related Recipes Worth Trying
- The Best Crispy Fried Eggplant Slices Recipe Meltingly Tender — Forget soggy veg This simple fried eggplant recipe gives you meltingly tender insides and a shatteringly crisp coating every time Perfect starter recipe
- The Best Veggie Fried Rice with Cauliflower Under 35 Mins — Ditch the takeaway guilt This Cauliflower Veggie Fried Rice recipe creates light fluffy rice packed with crisp veg A healthy fried rice with cauliflower...
- The Sunday Best Seriously Crispy Buttermilk Fried Chicken — Achieve truly juicy fried chicken with that perfect crunch using this classic buttermilk brine and doubledredge technique Your best homemade fried chicken...
Necessary Kitchen Gear for Deep Frying Success

While the ingredients are important, the proper tools ensure safety and accuracy. For deep frying, a large, deep sided vessel is essential. We recommend a heavy bottomed Dutch oven, which maintains heat stability far better than a standard skillet. Crucially, you must have a deep fry or candy thermometer.
Attempting to judge the required 350°F (175°C) temperature by eye is a recipe for disaster, leading inevitably to either greasy or burnt results. You will also need two shallow dishes for the wet and dry mixtures, a slotted spoon or spider for safe oil retrieval, and a wire cooling rack set over a tray for post fry drainage.
Choosing the Right Brine: Dill vs. Sweet Options
For a truly classic experience, dill pickle chips are the undisputed champion. Their bold, salty, and sour profile stands up brilliantly against the heavy, savory coating. However, if you prefer a subtle hint of sweetness to balance the salt, consider substituting Bread and Butter pickles.
If choosing the latter, remember to slightly reduce the amount of added salt in your batter mix, as the sweet brine already contains less sodium than a traditional dill preparation.
The Ultimate Batter Mix: Flour, Spice, and Everything Nice
The detailed composition of our fried pickles batter recipe is what sets this dish apart. It's more than just seasoned flour; it’s a balanced combination of textures and aromas. The ratio of flour to fine cornmeal (3:1) delivers maximum structure and audible crunch.
The inclusion of smoked paprika provides a crucial layer of deep, savory flavour that traditional recipes often miss, elevating the simple snack into an appetizer worthy of fanfare.
Don't Forget the Dip: Quick Sauce Pairing Ideas
While the pickles are magnificent on their own, no batch of fried pickles is truly complete without a cool, creamy contrast. The inherent heat and savoriness of the smoked paprika dusting cry out for something refreshing.
Simple ranch dressing is the classic choice, but a spicy comeback sauce (often mayo based with chili, Worcestershire, and garlic) offers a vibrant, fiery counterpart.
Optimizing Oil Temperature with a Digital Thermometer
Maintaining the correct temperature is the single most important factor in achieving golden results. The optimal frying zone is 340°F to 350°F (170°C to 175°C). Use your digital thermometer to confirm this before adding the first batch.
If the oil drops below 325°F, the pickles will soak up the oil and turn out heavy and sodden. If it climbs above 360°F, the coating will burn before the inner layers have crisped. Temperature stability is key.
Safety First: Selecting the Best Frying Vessel
When cooking with hot oil, safety is paramount. A vessel like a high walled Dutch oven provides necessary depth to prevent boiling oil from bubbling over, which can be extremely dangerous.
Always ensure the oil level is no more than half to two-thirds the height of the pot, allowing ample room for the oil to rise once the cold, battered pickles are introduced.
Step-by-step Culinary Journey to Perfect Golden Results
Stage One: Draining and Buttermilk Soaking Protocol
Begin by completely draining the pickle brine from the chips using a colander. Allow them to sit for 10 minutes, and then transfer them to a double layer of paper towels. Pat them dry until they feel matte, not slick.
Once dry, combine the one cup of buttermilk with the egg and hot sauce in a shallow dish, and let the dried pickles soak for at least 5 minutes, ensuring every surface is wet.
Stage Two: Achieving Maximum Coating Adhesion
Once coated in the buttermilk soak, lift the pickles and let the excess drip off briefly. Transfer the wet pickles to the dry dredge mixture the seasoned flour and cornmeal blend. Work in small batches, pressing firmly on the coating with your hand to ensure it fully adheres and encapsulates the pickle slice.
After dredging, immediately transfer the coated pickles to a clean wire rack set over a baking sheet. Crucially, chill the pickles in the refrigerator for a minimum of 30 minutes.
This resting period allows the gluten and cornmeal to hydrate slightly and form a tenacious bond with the buttermilk, preventing the coating from sloughing off in the fryer.
Stage Three: Monitoring the Oil for Ideal Frying Temperature
While the pickles are chilling, start heating your oil in the Dutch oven, monitoring the temperature carefully until it reaches a stable 350°F (175°C). Once hot, gently drop the coated pickles into the oil, working in batches small enough to not crowd the surface.
Overcrowding dramatically lowers the oil temperature, ruining the delicate crunch you worked so hard to achieve.
Post Fry Care: Ensuring Maximum Crispness and Drainage
Fry each batch for approximately 2 to 3 minutes, turning them halfway through, until they achieve a deep, beautiful golden brown. Remove the pickles using a spider or slotted spoon and immediately transfer them to a clean wire rack.
Avoid placing them on paper towels, as the towels trap steam, which can instantly soften the crust. While they are still piping hot, sprinkle them lightly with an extra pinch of kosher salt to enhance the flavour and adhesion.
Troubleshooting and Expert Tips for Your Fried Pickles Batch
Avoiding the Soggy Center: Mastering Slice Thickness
If you are slicing whole pickles instead of using pre-cut chips, consistency is vital. The ideal thickness is about 1/4 inch (6 mm). Slices that are too thick will retain too much moisture, creating a burst of hot brine and moisture that steams the batter from the inside out, resulting in a soggy spot.
Slices that are too thin will cook almost instantly and become tough.
Air Fryer and Oven Baked Variations for Healthier Results
For those seeking a reduced fat option, our fried pickles recipe air fryer variation is a perfect solution. Follow all preparation steps including the buttermilk soak and dredging but instead of frying, preheat your air fryer to 400°F (200°C).
Spray the coated pickles generously with neutral cooking spray to mimic the oil. Cook for 8 to 10 minutes, flipping halfway through, until they are golden and crispy fried pickles emerge. This method delivers fantastic texture with minimal oil absorption.
Reheating Leftover Fried Pickles Without Losing the Crunch
Never, ever microwave your leftovers. Microwaving creates steam and instantly turns the crispy coating into rubber. To revive the crunch, use either the oven or the air fryer. Preheat your chosen appliance to 350°F (175°C) and heat the pickles for 5 to 8 minutes until they are hot to the touch and the crust has re-crisped completely.
Ideal Dipping Sauces to Complement the Smoked Paprika Dust
When selecting the perfect fried pickles sauce , think balance. The savory, smoky, and salty profile demands a cool, creamy counterpart. A homemade dill ranch is ideal, as the herbs echo the dill brine.
For a spicy kick, a classic Southern Comeback Sauce built on a mayonnaise and ketchup base with added hot sauce, lemon, and a touch of Worcestershire is an unforgettable pairing that truly completes the experience.
Quick Reference Guide: Estimated Prep and Cook Time
To help you plan, the total active prep time, including slicing and mixing the batter, is roughly 15 minutes. However, the crucial chilling period requires a mandatory 30 minutes, which must be factored in.
The actual cook time is very rapid, requiring only 10 to 15 minutes in total, cooking in quick batches.
Understanding the Calorie Content of Deep Fried Snacks
It is important to understand the nature of deep fried appetizers. Due to the necessary oil absorption during the frying process, the estimated calorie content for these snacks is significant, typically ranging between 350 to 400 kcal per generous serving (assuming six servings total).
The sodium content is also naturally high because the base ingredient is cured in brine. Enjoy these homemade fried pickles for the satisfying indulgence that they are.
Recipe FAQs
My Fried Pickles went a bit soggy what’s the trick to getting that proper pub-standard crunch?
The secret is a two-step process focusing on moisture control. Firstly, you must pat the drained pickles bone dry before soaking them in buttermilk; moisture is the enemy of crispness! Secondly, ensure you chill the fully coated pickles for at least 30 minutes.
This critical rest period glues the coating to the pickle, preventing it from falling off when it hits the hot oil.
I'm making these for a party. Can I prep the pickles ahead of time, and how should I reheat them?
You can absolutely prep them ahead of time by completing the dredge/coating step and keeping them chilled on the wire rack for up to four hours. When serving, avoid the microwave, as it will destroy the texture!
To reheat leftovers, use an oven set to 350°F (175°C) or an air fryer for a few minutes until they are piping hot and crisp again.
What is the magic temperature for frying these, and what happens if the oil is too hot or too cold?
The gold standard for oil temperature is a steady 350°F (175°C). Use a thermometer, as this is non-negotiable for perfection! If the oil drops too low (which happens when you overcrowd the pot), the pickles soak up the fat and become incredibly greasy.
Conversely, if it’s too hot, the coating will burn before the pickle heats through a proper culinary nightmare.
I don't fancy deep frying all that oil. Is there a way to make a healthier version, like in an air fryer?
There certainly is! For a lighter bite, follow the coating process exactly, but instead of frying, spray the coated pickles generously with cooking oil. Air fry them at 400°F (200°C) for 8 10 minutes, flipping halfway.
While they won't quite match the sheer indulgence of deep frying, they achieve a genuinely respectable crunch.
Help! I haven't got any buttermilk kicking about. Is there a simple substitute I can use?
Not a spot of bother at all! If you're caught short and buttermilk isn't on hand, you can create a perfectly acceptable substitute. Simply mix one cup of regular milk with a tablespoon of white vinegar or lemon juice.
Let it stand for five minutes until it slightly curdles, and then use it as usual in the wet soak to help the batter cling.
Crispy Buttermilk Fried Pickles Recipe